
Finding the perfect big disposable bag size for shipping requires looking beyond flat, two-dimensional measurements. When you place a three-dimensional object into a flexible plastic mailer, the bag must stretch around the item’s depth, which naturally reduces the available width and length. Selecting an incorrect size leads to split seams, wasted postage from excess bulk, or damaged goods that lack proper protection. By mastering a few simple measurement formulas and understanding how different product categories behave under compression, you can streamline your packaging process and ensure every order arrives safely.
How to Measure and Read Big Disposable Bag Specifications
To choose the right packaging, you must first understand how manufacturers list dimensions on their product labels. Most disposable shipping bags, often called poly mailers, are specified by width and length (for example, 350 mm by 450 mm). If the bag features a gusset—an extra fold of material along the sides or bottom—this dimension will be listed separately as the expanded depth. A bottom gusset allows the bag to stand or expand outward, making it highly suitable for boxed or thick items, whereas a flat bag relies entirely on its flat width to accommodate product thickness.
Before selecting a bag, measure your product in its final, ready-to-ship state rather than its loose or unfolded form. If you are shipping apparel, fold the garment exactly as it will sit inside the package, then measure the maximum length, width, and height of the folded stack. For boxed items or hard goods, use a ruler to find the precise height, width, and depth of the box. Never estimate these dimensions, as even a small discrepancy can prevent the bag from sealing properly.
Products mentioned in this guide


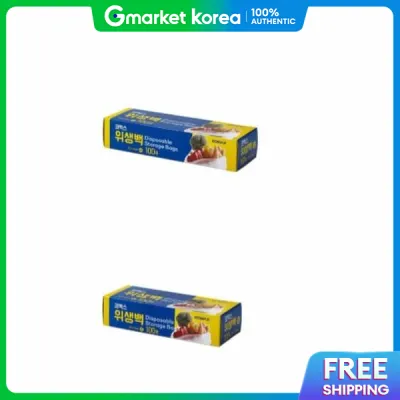
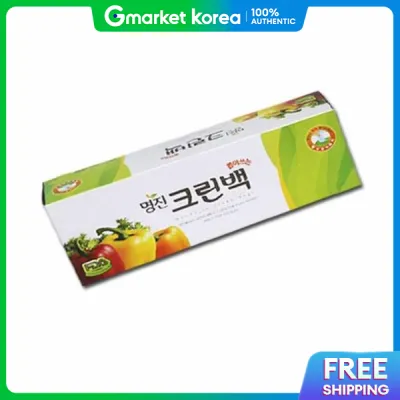

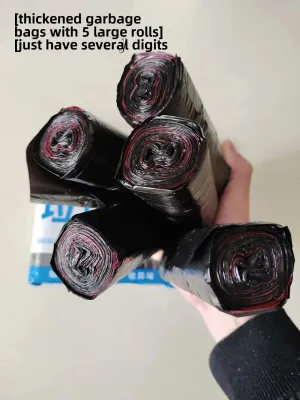

Prices are valid at publication and may change. Please refer to the product page for the latest price.
To calculate the minimum bag width required for a three-dimensional object, use the standard formula: add the product’s width to its thickness, then add an extra 20 to 30 millimeters as a safety margin. For the bag length, add the product’s length to its thickness, plus an additional 50 millimeters to account for the flap and adhesive strip. This adhesive-strip margin is critical; pulling the flap too tightly over a bulky item stresses the seams and risks popping the seal open during transit.
Sizing Bags for Clothing and Soft Goods
Apparel and textiles are highly forgiving when it comes to flexible packaging, but they still require careful sizing to maintain a professional presentation. When packing soft goods, your goal is to match the bag width to your standard folding technique. A flat, uniform fold ensures the garment distributes its weight evenly across the bag, preventing unsightly lumps and reducing the risk of the package catching on sorting conveyor belts.

Bulky items like winter jackets, heavy denim, or thick knit sweaters require significantly larger bags with higher thickness ratings to handle the volume. For these items, look for bags made from co-extruded polyethylene, which offers superior puncture resistance and stretch. When packing bulky garments, you will need to size up considerably to accommodate the height of the folded fabric. Conversely, lightweight summer wear, such as t-shirts or activewear, should be packed in smaller, snug-fitting bags to prevent the items from shifting excessively and becoming deeply creased during delivery.
Before committing to a specific bag size for a high-volume clothing line, perform a manual test with a sample garment. Place the folded item inside the bag and check if the material stretches excessively or if the seams show signs of tension. If the plastic turns white or feels highly taut along the edges, the bag is too small. A properly sized bag should allow the garment to slide in easily, leaving enough loose material to fold the adhesive flap flat against the back of the package without compressing the fabric into a hard, rigid ball.
Selecting Dimensions for Electronics and Fragile Items
Shipping electronics and fragile items in disposable bags requires a different approach, as these products demand robust protective cushioning. You must never place a bare electronic device directly into a standard disposable bag. Instead, calculate your bag dimensions based on the item after it has been wrapped in bubble wrap, foam inserts, or rigid corner protectors.
To determine the correct bag size, wrap the device in its protective layers first, then measure the total outer dimensions of the padded bundle. Add at least 30 millimeters to both the calculated width and length to ensure the bundle slides into the bag without compressing the protective air bubbles. Overly tight packaging squeezes the air out of bubble wrap and compresses foam, which transfers external impact forces directly to the delicate electronic components inside.
Additionally, pay close attention to the bag’s material specifications when shipping items with sharp corners, protruding ports, or rigid edges. Standard lightweight mailers puncture easily under the pressure of hard plastic or metal corners. For these applications, select heavy-duty disposable bags with a thickness of at least 60 to 75 microns. Verify the puncture resistance by pressing a sample corner against the material; if it stretches or punctures easily, you must either add extra corner padding or upgrade to a thicker bag.
When shipping electronics, also verify the compatibility of your shipping labels with the bag’s surface material. Because label adhesion and ink drying speed depend on the exact plastic and adhesive combination, perform a quick trial. Apply a shipping label to a sample bag and rub it firmly; if the ink smudges or the label corners peel up easily, you may need to switch to a different label brand or use a bag with a matte, high-adhesion finish.
Matching Sizes for Accessories and Small Hard Goods
Accessories and small hard goods, such as cosmetics, stationery, or small tools, present unique packaging challenges due to their varied shapes and weights. For these items, selecting the smallest viable bag size is essential to restrict internal movement. When small, heavy items are allowed to slide freely inside a large, empty bag, they generate momentum during transit, which can lead to ruptured seams or internal abrasion that damages the product’s retail packaging.
To secure multiple small accessories efficiently, group them into a single inner pouch, paper wrap, or bundle before placing them into the outer shipping bag. This consolidation keeps the items organized, prevents them from rubbing against each other, and makes it easier to slide the entire order into a single, compact mailer. It also ensures that if the outer bag is accidentally punctured, the individual items remain contained within their secondary packaging.
However, you must recognize the structural limits of flexible plastic packaging. If an accessory is exceptionally heavy, has sharp metal edges, or is highly rigid, a disposable bag may not provide adequate support. Items like heavy metal hardware or delicate glassware should always be packed in a sturdy corrugated box with appropriate void fill, rather than a flexible bag. Using a box protects the item from crushing forces that a plastic bag simply cannot deflect.
Factoring in Padding, Void Fill, and Multi-Item Orders
When preparing multi-item orders or adding custom branding elements, your base size calculations must adapt to accommodate the extra volume. Adding void fill, such as packing peanuts, crumpled paper, or air pillows, significantly increases the outer dimensions of your shipment. Always measure the bundled items with their protective wrapping fully applied before selecting your bag size, allowing a generous clearance margin for any thank-you cards, catalogs, or promotional inserts.
For orders containing multiple products, evaluate whether to use one large disposable bag or to split the shipment into separate packages. While bundling everything into a single large bag reduces packaging waste, it can create an awkwardly shaped, heavy package that is difficult to seal securely. If the combined weight of the items causes the bag to sag or distort when held, the package integrity is compromised.
As a general rule, disposable shipping bags are best suited for lightweight to medium-weight loads. When the total weight of an order exceeds two to three kilograms, or when the volume requires a bag larger than 500 mm by 600 mm, the structural limits of the plastic are tested. In these cases, transitioning to a corrugated shipping box is the safest choice to ensure the order survives the rigors of automated sorting systems and manual handling.
Frequently Asked Questions (FAQ)
Can I use a big disposable bag for shipping shoes?
Yes, but you should not place loose shoes directly into a flexible bag, as they can easily get scuffed, crushed, or puncture the plastic. Instead, keep the shoes inside their original cardboard shoebox or use rigid shoe trees to maintain their shape. Measure the outer dimensions of the shoebox (length, width, and height), then apply the standard sizing formula to find a bag that comfortably accommodates the box. The bag acts as a waterproof outer layer that protects the retail box from dirt and moisture during transit.
What is the standard seal margin I should leave when choosing a bag size?
For most standard shipments, you should leave a minimum seal margin of 50 millimeters at the top of the bag. This space ensures you can fold the flap over and press the adhesive strip firmly against a flat surface on the back of the package. If your product is exceptionally thick or bulky, increase this margin to 75 millimeters or more. A generous margin prevents the adhesive strip from being pulled over a curved edge, which can cause the seal to peel back or fail under tension during shipping.

Community discussion
Share your experience or ask a question. Comments are reviewed before publication.