
Finding the correct replacement zipper pull requires verifying three main compatibility factors: the physical attachment mechanism, the zipper gauge or size, and the specific design of the slider body. By carefully inspecting your existing hardware and taking precise measurements, you can confidently select a pull that fits securely and functions smoothly without damaging the zipper track. A mismatched pull can lead to a stiff zipper, accidental opening, or permanent damage to the slider crown, making a methodical approach essential before purchasing any replacement parts.
When a zipper pull breaks, the slider body itself is often still perfectly functional. Instead of replacing the entire zipper assembly—which requires advanced sewing skills and unpicking fabric seams—you can simply attach a new pull tab. This guide walks you through the exact steps to identify your hardware, measure the critical dimensions, and troubleshoot common fit issues to restore your garments, bags, and stationery pouches to working order.
Identify Your Zipper Slider's Attachment Type
Before choosing a replacement zipper pull, you must examine how the original pull was connected to the slider body. The slider body typically features a raised bridge or loop on its top surface, commonly referred to as the crown. The shape, thickness, and accessibility of this crown dictate what kind of replacement connector can pass through it. Some crowns are completely closed loops, while others have a small gap or a spring-loaded gate designed for specific pull styles.
Products mentioned in this guide
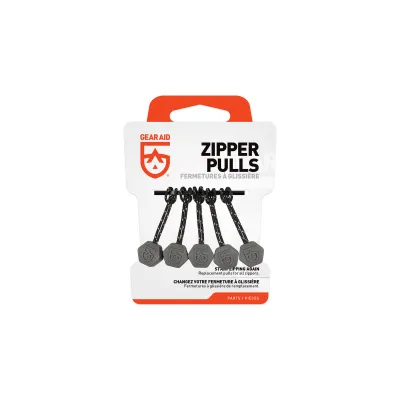
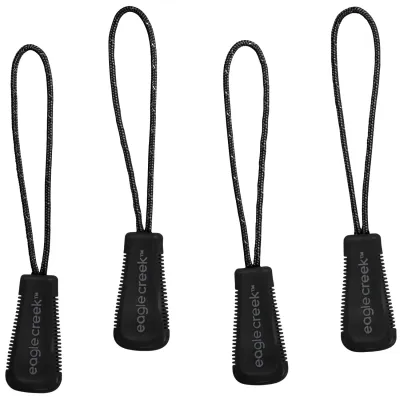
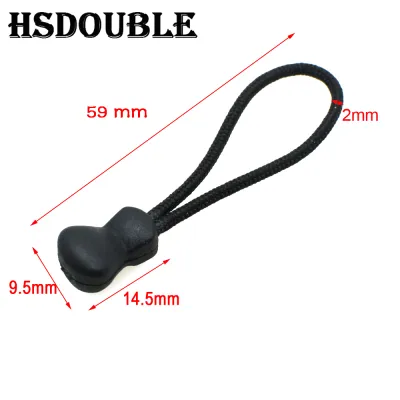
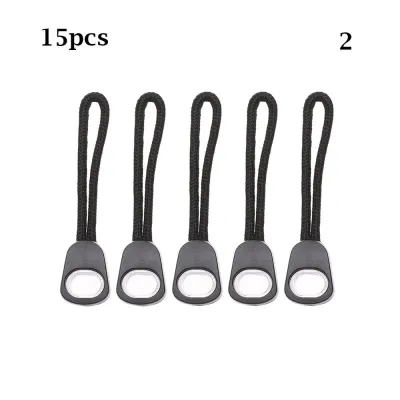
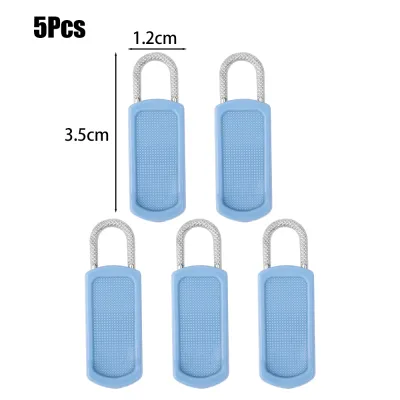
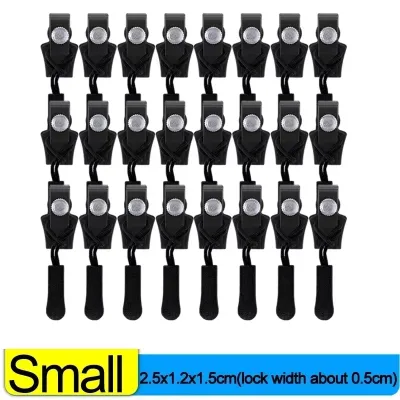
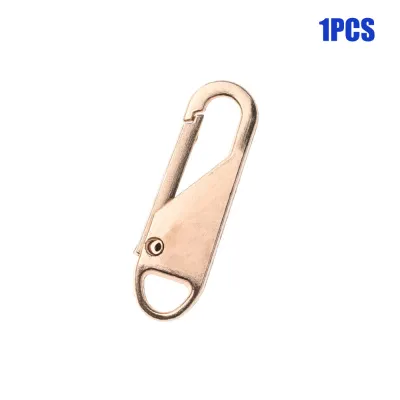
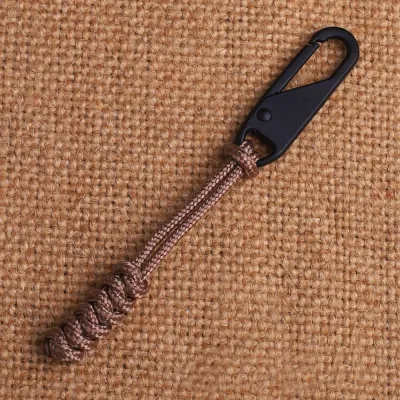
Prices are valid at publication and may change. Please refer to the product page for the latest price.
Replacement zipper pulls come in several distinct attachment styles, each suited for different slider designs. A split-ring connector works similarly to a miniature keyring, allowing you to thread it through a closed crown. A lobster clasp or spring-gate pull features a trigger-activated hook that opens and snaps shut around the crown, offering a tool-free installation. Direct-pin pulls, often found on heavy-duty gear, require you to insert a small metal pin through the crown and secure it with a cap or by gently bending the metal prong with pliers.
To ensure a secure fit, you must verify the inner diameter of the slider’s crown hole. If the replacement pull’s connector is too thick, it will not pass through the hole, or it may jam and prevent the pull from pivoting freely. Conversely, if the connector is too thin, the pull may wobble excessively or slip out of alignment. Use a fine wire or a sewing pin to gauge the clearance of the crown hole before selecting your replacement hardware.
Determine the Correct Zipper Size and Gauge
Zipper sizes are standardized across the haberdashery industry, represented by numbers that correspond to the width of the zipper teeth in millimeters when the zipper is closed. For example, a #5 zipper has teeth that measure approximately five millimeters across. Matching the replacement pull to the correct gauge is critical because the connector’s physical proportions scale up or down depending on the zipper size.

To find your zipper’s size, start by inspecting the slider body itself. Manufacturers often stamp the size number directly onto the back, underside, or side of the metal slider. You might see a simple digit like “3”, “5”, or “8”, sometimes accompanied by letters indicating the manufacturer or the specific slider style. If you spot this marking, you can search directly for a replacement pull rated for that specific gauge.
If the stamp has worn off or was never present, you can determine the gauge by measuring the width of the closed zipper teeth. Use a precise ruler or a tape measure to measure across the interlocking teeth at a point where the zipper is fully zipped. If the teeth measure roughly three millimeters, you are dealing with a #3 zipper, which is common for stationery cases, delicate clothing, and interior pockets. A measurement of five millimeters indicates a #5 zipper, typical for jackets and everyday backpacks, while eight to ten millimeters points to heavy-duty luggage or outdoor gear.
Check Zipper Teeth Material and Slider Design
The material of your zipper teeth directly influences the shape and profile of the slider body, which in turn affects how the pull tab sits and moves. Zipper tracks generally fall into three categories: coil, molded plastic, and metal. Coil zippers, made from extruded polyester or nylon spirals, use sliders with a flatter, wider profile. Molded plastic zippers, often called Vislon, feature individual blocky teeth and require chunkier sliders. Metal zippers use individual brass, aluminum, or nickel teeth clamped onto the fabric tape, requiring robust, angular sliders.
Because the top profile of the slider varies by teeth material, the pull tab must be compatible with that specific shape. A slider designed for a metal zipper often has a raised, angled crown to clear the thick metal teeth, allowing the pull to hang straight down. A coil zipper slider typically has a flatter crown, meaning a stiff or bulky replacement pull might catch on the surrounding fabric tape or the coil itself during use. Observe the clearance between the crown and the slider body to ensure your new pull has enough rotational freedom.
Additionally, consider the practical demands of the item you are repairing. A heavy-duty winter jacket or a travel backpack requires a pull made from a durable material like solid brass, stainless steel, or thick molded plastic that can withstand high pulling forces. For a lightweight stationery pouch or a delicate dress, a smaller, lighter alloy pull or a simple nylon cord loop is more appropriate, as a heavy metal pull could weigh down the fabric and cause the zipper to slide open on its own.
Step-by-Step Guide to Measuring and Matching
To guarantee a precise match and avoid the hassle of returning incompatible parts, follow this systematic measurement process before purchasing your replacement zipper pull. Having the right tools on hand will make this task much easier and more accurate.
- Gather your tools: Prepare a precise ruler with millimeter markings or a set of digital calipers. A magnifying glass or your smartphone's camera zoom will help you read tiny stamps on the slider body. Keep a notepad handy to record your measurements.
- Measure the crown opening: Insert the tips of your calipers or a fine ruler into the hole of the slider's crown. Measure the internal width and height of this opening. This ensures the replacement pull's loop, clasp, or ring can pass through without binding.
- Measure the closed teeth width: Zip the item closed. Place your measuring tool flat across the interlocking teeth and record the width in millimeters. This measurement confirms the overall zipper gauge (#3, #5, #8, etc.).
- Measure the slider body dimensions: Measure the overall width and length of the slider body. This is especially helpful if the teeth are missing or if you are trying to match a specialized slider shape.
- Compare with product specifications: When browsing online marketplaces or local haberdashery catalogs, look for detailed technical drawings or dimension lists. Compare your recorded measurements against the thickness of the replacement pull's connector ring and its stated gauge compatibility.
Troubleshooting Common Fit Issues
Even with careful measurement, you may occasionally encounter fit issues after attaching a new zipper pull. Understanding how to diagnose and resolve these problems can save you from having to buy additional replacement parts.
If your newly attached pull feels wobbly, loose, or rattles excessively, the connector ring is likely too thin for the slider’s crown, or the crown itself has stretched open over time. If the crown is made of a malleable metal like brass or aluminum, you can use a pair of needle-nose pliers to gently squeeze the crown back into its original shape, narrowing the gap. Work slowly and apply minimal pressure, as cast metals can snap easily if bent too far or too quickly.
If the zipper sticks or catches when you pull it, check whether the base of the replacement pull is rubbing against the zipper teeth or the fabric tape. This often happens if the connector loop is too wide or has sharp, unfinished edges from the manufacturing process. You can try replacing the stiff metal connector with a flexible nylon cord loop, which eliminates friction against the slider body and allows you to pull from various angles without binding.
In some cases, a replacement pull will not fix the issue because the slider body itself is damaged. If the slider is cracked, missing its internal tension spring (which keeps locking sliders in place), or has widened channels that no longer force the teeth to interlock, you must replace the entire slider body. Inspect the side walls of the slider; if they are bowed outward, you can try gently squeezing them with pliers, but if the teeth still fail to join, a full slider replacement is necessary.
Frequently Asked Questions (FAQ)
Can I use a universal zipper pull on any slider?
Universal zipper pulls are highly convenient, but they are not compatible with every slider. Most universal designs rely on a standard split-ring or a spring-loaded clasp that fits standard closed-crown sliders. They typically do not work well on specialized locking sliders, which require a specific pull tab shape to disengage the internal lock, or on very small zipper gauges like #2 or #3, where the crown opening is too small to accommodate the universal connector.
What should I do if my slider has no size marking?
If your slider lacks a manufacturer’s stamp, you can determine the size by measuring the width of the closed zipper teeth in millimeters. A width of 3 mm corresponds to a #3 zipper, 5 mm corresponds to a #5 zipper, and 8 mm corresponds to a #8 zipper. If your measurement falls between these standard sizes, consult a standard zipper gauge chart from a reputable haberdashery supplier to find the closest match.
Are decorative zipper pulls functional for heavy-duty jackets?
Decorative zipper pulls made from thin zinc alloys, acrylic, or soft plastics are generally not suitable for heavy-duty jackets or outdoor gear. These materials lack the tensile strength required to pull open stiff, weather-resistant zipper tracks, especially in cold or humid conditions. For high-stress applications, always prioritize functional hardware with solid brass, steel, or heavy-duty nylon connectors to ensure long-term durability.

Community discussion
Share your experience or ask a question. Comments are reviewed before publication.