
Grosgrain ribbon is widely used among stationery enthusiasts and gift-wrapping professionals for its distinctive ribbed texture and exceptional structural integrity. Unlike slippery satin ribbons that often collapse or lose their shape, grosgrain features a heavy weft that creates parallel ridges. This unique texture provides the necessary friction to hold knots securely and keep loops crisp and upright. Creating a professional-looking bow with this material requires a combination of the right tools, proper tension control, and precise finishing techniques. By mastering these foundational skills, you can elevate any gift box, journal cover, or craft project into a beautifully presented masterpiece.
Choosing the Right Grosgrain Ribbon and Tools
Selecting the appropriate ribbon and tools is the first step toward achieving a polished finish. Grosgrain ribbon comes in various widths, weights, and fiber compositions, each suited for different scales of presentation. For small stationery items, delicate gift tags, or jewelry boxes, a narrow ribbon measuring 6 mm to 9 mm is ideal. Medium-sized gifts, such as books or standard gift boxes, pair best with widths between 15 mm and 25 mm. For large hampers, heavy packages, or statement gift boxes, opt for a wide ribbon of 38 mm to 50 mm to ensure the bow matches the scale of the package.
Before beginning, perform a quick stiffness check on your ribbon. Hold a short length of the ribbon and form a temporary loop; if the loop stands upright without drooping, the ribbon has the necessary structural body to hold its shape. Look for ribbons with woven edges rather than heat-cut edges, as woven borders provide a cleaner look and resist fraying during handling. Polyester-based grosgrain is highly durable and holds its shape well, while cotton-blend grosgrain offers a softer, matte finish but may require more careful handling to prevent creasing.
Products mentioned in this guide
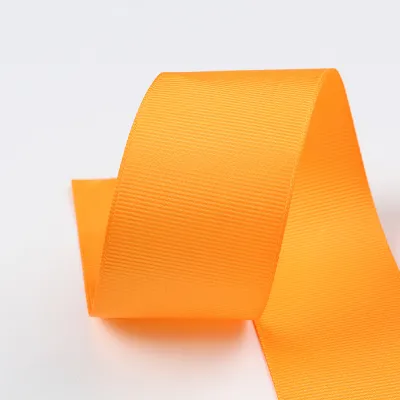
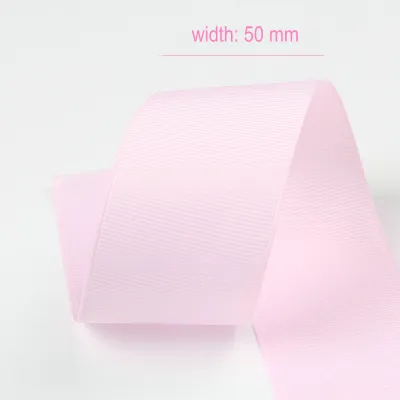
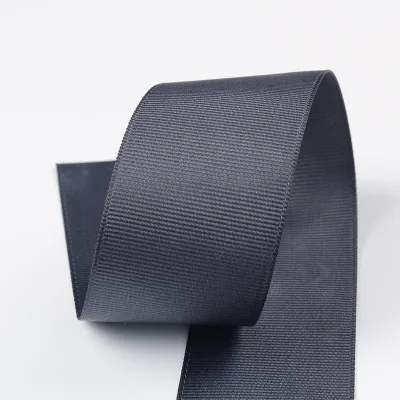
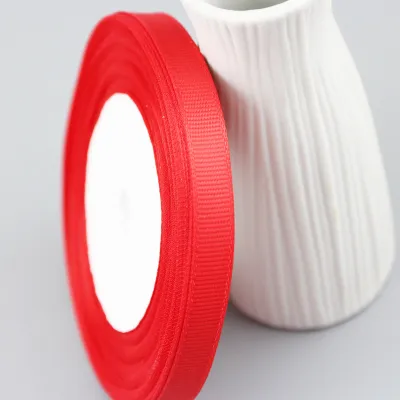
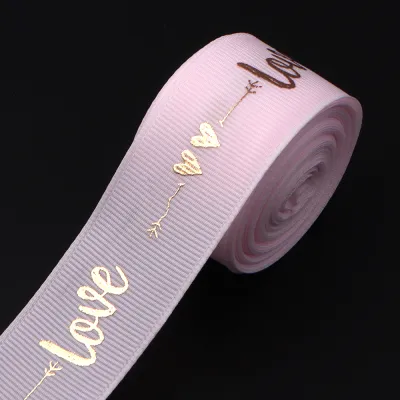
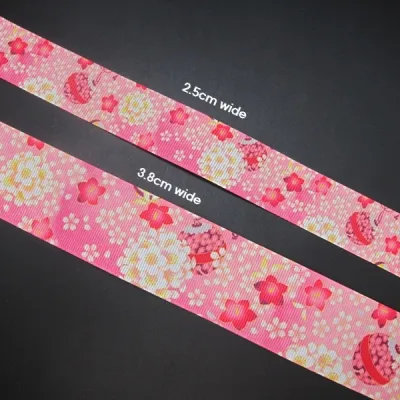
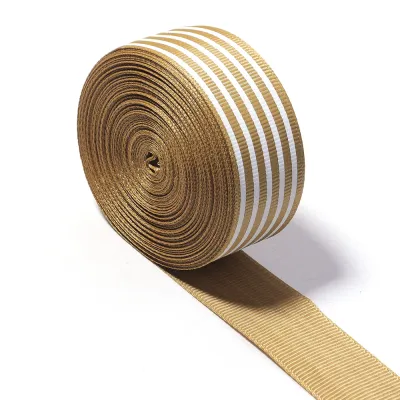
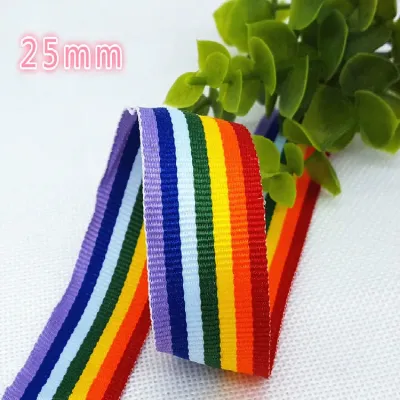
Prices are valid at publication and may change. Please refer to the product page for the latest price.
Having the correct tools on hand makes the assembly process seamless. A pair of dedicated, sharp fabric scissors is essential for achieving clean, completely clean cuts without pulling the threads of the ribbon. You will also need 26-gauge or 28-gauge floral wire or thin pipe cleaners to secure the center of multi-loop bows tightly. For securing the bow to packaging and finishing the center wrap, keep clear double-sided tape, adhesive glue dots, or a low-temperature glue gun nearby. Always handle sharp scissors with care, and test any adhesives on a small scrap of ribbon first to ensure they do not bleed through or discolor the fabric.
Step-by-Step Guide to Tying a Classic Hand-Tied Bow
Tying a symmetrical, multi-loop bow by hand requires consistent tension and careful management of the ribbon’s ribbed surface. To begin, cut a length of grosgrain ribbon, ensuring you leave plenty of excess material for the tails. As a general rule, cutting a piece that is roughly four to five times the width of your finished bow provides ample working length.

Start by creating the first loop with your dominant hand. Pinch the base of this loop firmly between your thumb and forefinger, leaving a tail of your desired length hanging downward. This pinch point will serve as the anchor for the entire bow. Maintain a firm grip on this center point throughout the process; if your grip slips, the ribbon’s texture can shift, resulting in uneven loops.
Next, bring the long working end of the ribbon around to form a second loop opposite the first. To ensure the ribbed texture of the grosgrain lies flat and faces outward on both sides, perform a flat, 180-degree twist at the center pinch point as you fold the ribbon. This twist is the key to professional-looking bows, as it prevents the ribbon from bunching or twisting awkwardly within the loops.
If you desire a fuller, multi-loop bow, repeat this process to form a third and fourth loop, stacking each pinched section directly under your thumb. Keep checking that the loops on both sides remain equal in size. Once you are satisfied with the symmetry, wrap a short piece of fine floral wire tightly around the pinched center. Twist the wire firmly at the back of the bow to lock the loops in place, then trim the excess wire close to the twist. If you prefer a wire-free finish, you can tie a tight knot around the center using a separate, narrow strip of grosgrain ribbon, pulling it firmly before securing it.
Shaping and Fluffing Techniques for a Polished Finish
Once your bow is securely tied or wired, it will likely look somewhat flat and compressed. Professional gift wrappers rely on careful shaping and fluffing to bring the ribbon to life. Begin by inserting your fingers into each loop and gently pulling them outward and upward to create a rounded, voluminous shape. If you have created a multi-loop bow, stagger the loops by pulling the top loops slightly upward and the bottom loops downward, which naturally hides the wire or center knot from view.
Next, address the ribbon tails to give the bow a tailored, high-end appearance. Avoid leaving the tails cut straight across, as this can look unfinished and encourages fraying. Instead, fold each tail in half vertically and cut upward at a 45-degree angle from the folded edge to the outer corner. This creates a classic, symmetrical swallowtail or V-notch. Alternatively, you can make a single clean diagonal cut at a 45-degree angle across the width of the ribbon. Always use sharp fabric scissors to ensure the cut is completely clean.
To conceal the center wire or knot completely, cut a small piece of matching grosgrain ribbon, approximately 5 cm in length. If the ribbon is wide, fold it into thirds lengthwise to create a neat, narrow band. Wrap this band tightly around the center of the bow, covering the wire or tie. Secure the ends of this center wrap at the back of the bow using a clear glue dot or a small strip of double-sided tape. Press firmly for several seconds to ensure a secure bond that will not unravel during transport.
Creating a Bow Using the Fork Method (For Beginners)
For beginners, crafting small, uniform bows for gift tags, greeting cards, or delicate packages can be challenging to do by hand. The fork method is a practical, accessible alternative that utilizes a standard four-tine dining fork as a miniature loom. This technique ensures highly symmetrical loops and consistent sizing every time.
To start, hold a standard dining fork vertically in one hand. Take a length of narrow grosgrain ribbon (ideally 9 mm or thinner) and weave it horizontally through the tines of the fork, or wrap it around the outer tines to establish the width of your loops. Keep the ribbon flat against the tines to prevent twisting.
Next, take a second, shorter piece of ribbon to act as the center tie. Thread one end of this ribbon through the center slot of the fork, directly below the wrapped ribbon. Bring the other end up and over the top of the wrapped ribbon, then thread it back through the center slot at the top of the fork. Pull both ends of this vertical ribbon tight, drawing them together at the back of the fork.
Tie a firm double knot with the vertical ribbon ends at the back of the fork. As you pull the knot tight, it will compress the wrapped horizontal ribbon in the middle, instantly forming a neat bow shape. Carefully slide the finished bow off the tines of the fork. Gently pull the tails downward to align them, and trim the ends at an angle to match the delicate scale of the bow.
Troubleshooting Common Bow-Tying Mistakes
Even with careful preparation, working with the textured surface of grosgrain ribbon can sometimes lead to minor mistakes. Recognizing these common issues and knowing how to correct them will save you time and material.
If your loops look twisted or refuse to lie flat against the gift box, the issue usually stems from the center pinch point. When folding your loops, ensure you are making a flat fold rather than twisting the entire loop. The ribbon should twist only at the very center where it is secured. If a loop is twisted, gently untwist it with your fingers and smooth out the ribbing before tightening the center wire.
A loose center knot is another common problem that causes bows to sag, droop, or fall apart. If your hand-tied bow feels unstable, do not rely solely on a ribbon knot to hold the structure. Reinforce the center with floral wire first, twisting it as tightly as possible with pliers, and then cover the wire with a decorative ribbon wrap. This dual-layer approach provides the necessary structural support to keep the loops upright.
Frayed edges can quickly ruin the appearance of an otherwise polished bow. Because grosgrain is a woven fabric, the cut ends are prone to unraveling. To prevent this, always use sharp scissors. If your ribbon is made of synthetic fibers like polyester, you can seal the edges by carefully passing the cut end near a small flame for a split second to melt the fibers. Always test this technique on a scrap piece of ribbon first to ensure it does not discolor, and perform this step in a well-ventilated area away from flammable materials. For natural fibers like cotton, apply a tiny drop of clear liquid fray check solution to the edges instead.
Frequently Asked Questions (FAQ)
How do I attach a finished grosgrain bow to a gift box without damaging it?
To secure your finished bow without damaging the wrapping paper, apply a clear adhesive glue dot or a strip of high-quality double-sided tape directly to the back of the center knot. Press the bow firmly onto the box. For a more traditional look, wrap a flat band of matching ribbon around the box first, securing it at the bottom with tape, and then tie or wire your finished bow directly to this band on top of the box.
Can I iron grosgrain ribbon if it arrives wrinkled?
Yes, you can iron most polyester or cotton-blend grosgrain ribbons to remove creases. Set your iron to a low-heat or synthetic setting. Place a clean, thin cotton pressing cloth between the iron and the ribbon to protect the textured ridges. Gently glide the iron over the cloth without applying excessive pressure, as pressing too hard can flatten the characteristic ribbed texture of the grosgrain.
How should I store leftover grosgrain ribbon to prevent creases?
To keep your leftover ribbon in pristine condition, store the rolls flat in a shallow drawer or slide them onto a horizontal dowel or ribbon organizer. Avoid folding the ribbon tightly, as this creates stubborn creases that are difficult to iron out. Keep your storage container in a cool, dry place away from direct sunlight and high humidity to prevent the colors from fading or the fibers from weakening over time.

Community discussion
Share your experience or ask a question. Comments are reviewed before publication.