
Making custom goodie bags from wrapping paper and ribbons is a highly customizable, budget-friendly way to elevate any celebration, from birthday parties to festive gatherings. By transforming a simple roll of wrapping paper into a structured bag, you can match your exact theme, control the dimensions to fit your gifts perfectly, and add elegant ribbon handles for a professional finish. This approach is particularly useful when standard store-bought bags do not fit your items or match your aesthetic.
Creating your own bags also allows you to repurpose leftover wrapping paper, reducing waste while adding a personal, handcrafted touch to your gifts. Whether you are preparing party favors for a children’s birthday, assembling corporate gifts, or wrapping delicate wedding favors, mastering this simple folding technique ensures you always have the perfect packaging on hand.
Materials and Tools for Making Paper Goodie Bags
Before starting, gathering the right materials and tools will ensure your goodie bags are both beautiful and structurally sound. The choice of paper and adhesive is particularly important, especially in warm, humid climates where moisture in the air can affect how materials bond and hold their shape over time.
Products mentioned in this guide
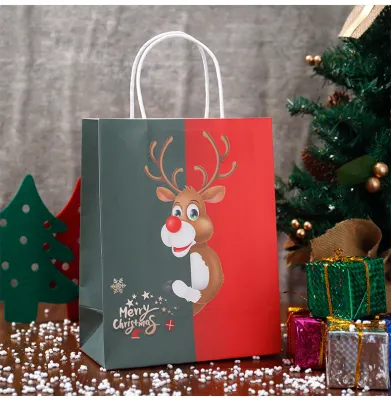
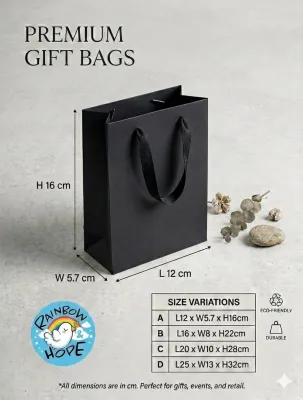


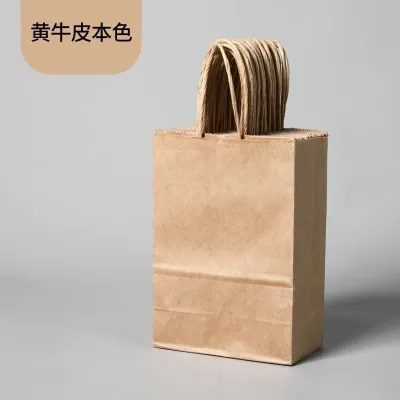
![[SG] [FREE🚚] Clear Thank You Gift Bag Plastic Shopping Bags With Handle Cake Present Goodie Bread Makeup Products Small Business](https://img.lazcdn.com/g/ff/kf/Sd1dccc1300a9479b94224e6fe73d5b25J.jpg_400x400q80.jpg_.webp)
Prices are valid at publication and may change. Please refer to the product page for the latest price.
Base Materials
The foundation of your bag is the wrapping paper. Standard wrapping paper typically ranges from 60 to 80 GSM (grams per square meter). For small, lightweight favors, standard paper works well, but for larger or heavier items, opt for premium wrapping paper or thick kraft paper (90 to 120 GSM) to provide better structural integrity. Avoid extremely thin paper that tears easily when folded, as well as overly stiff, laminated paper that can crack along the seams.
For the handles and decorations, select a ribbon that complements your paper design. Satin ribbons offer a smooth, glossy finish that looks elegant and formal. Grosgrain ribbons have a ribbed texture that provides excellent grip, making them easy to knot securely and less prone to slipping. Organza ribbons add a sheer, delicate touch that is perfect for lightweight or bridal favors.
Your choice of adhesive determines the durability of the bag. Double-sided tape is highly recommended for paper crafts because it provides a clean, instant bond without warping the paper. Liquid craft glue offers an incredibly strong hold but requires drying time and can cause thin paper to wrinkle if applied too heavily. Standard glue sticks are easy to handle but may lose their grip over time, particularly in humid environments.
Essential Tools
To achieve clean lines and professional results, keep the following tools nearby:
- Sharp scissors or a utility knife: Essential for clean, fray-free cuts on both paper and ribbon.
- A metal ruler: Helps you measure dimensions accurately and serves as a straight edge for cutting or folding.
- A bone folder: This plastic or bone tool is invaluable for creasing the paper sharply without tearing it, ensuring the bag stands upright with crisp edges.
- A single-hole punch: Used to create clean, uniform holes for the ribbon handles.
Customization Add-Ons
To personalize your goodie bags further, consider adding custom gift tags, decorative stickers, or ink stamps. A simple cardstock tag tied to the ribbon handle can display the recipient’s name or a thank-you message, turning a simple bag into a memorable keepsake.
How to Cut, Fold, and Assemble the Paper Bag
Assembling a paper goodie bag is a straightforward process of measuring, folding, and securing. By following these steps, you can transform a flat sheet of wrapping paper into a sturdy, self-standing bag.

Step 1: Measuring and Cutting the Paper
To determine the size of your paper sheet, use a simple formula based on your desired bag dimensions. The width of the paper should be equal to twice the desired bag width, plus twice the desired bag depth, plus an extra 3 cm for the seam overlap. The height of the paper should equal the desired bag height, plus the bag depth (for the bottom base), plus an extra 3 to 4 cm for the top fold reinforcement.
For a standard medium-sized favor bag, a sheet of paper measuring 40 cm wide by 30 cm high is an excellent starting point. Lay the paper design-side down on a clean, flat work surface.
Step 2: Creating the Main Cylinder
Fold one of the shorter side edges of the paper inward by 1.5 cm and crease it sharply. Apply a strip of double-sided tape along the outside of this folded flap.
Bring the opposite short edge of the paper over to meet the taped flap, overlapping them to form a continuous paper cylinder. Press firmly along the seam to ensure a secure bond. Position the cylinder so that this seam is centered on what will become the back panel of the bag, or aligned near one of the back corners to keep the front of the bag completely clean.
Step 3: Folding the Top Rim
Before working on the bottom of the bag, fold the top open edge of the cylinder inward by 3 cm. This fold creates a clean, finished rim at the top of the bag and provides a double layer of paper to support the ribbon handles later. Crease this fold firmly all the way around the cylinder.
Step 4: Forming the Bottom Base
To construct the bottom of the bag, fold the bottom open edge of the cylinder upward. The height of this fold determines the depth (or thickness) of your bag. For a standard bag, fold it upward by about 6 to 8 cm and crease it sharply.
Open this folded bottom section slightly. Push the left and right side folds inward toward the center, flattening them to form two neat triangular flaps on either side. The bottom of your bag should now resemble a hexagon with a top horizontal flap and a bottom horizontal flap.
Step 5: Sealing the Bottom
Fold the top horizontal flap downward slightly past the center line of the hexagon. Next, fold the bottom horizontal flap upward so that it overlaps the top flap by about 1.5 cm.
Apply double-sided tape or a thin layer of strong craft glue to the overlapping sections of the flaps. Press down firmly, smoothing out any air bubbles to ensure a tight, secure seal. This overlapping structure distributes the weight of the bag’s contents evenly across the base.
Step 6: Creasing the Side Gussets
To give your bag its classic rectangular shape, gently open the bag from the top. Push the sides of the bag inward along the center line to create side gussets. Use your fingers or a bone folder to crease these side folds sharply from the top rim down to the bottom corners. This step allows the bag to fold flat for easy storage and expand neatly when filled.
Attaching Ribbon Handles and Adding Decorations
Once the basic bag structure is complete, adding ribbon handles and decorative elements will elevate its appearance and make it functional.
Reinforcing the Handle Points
Before punching holes for the handles, it is wise to reinforce the top rim, especially if the bag will hold heavier items like jars, candles, or books. Cut two small strips of cardstock or heavy kraft paper, measuring about 2 cm wide and slightly shorter than the width of the bag’s front and back panels. Slide these cardstock strips inside the folded top rim on both the front and back panels. This simple step prevents the ribbon handles from tearing through the wrapping paper under tension.
Punching Holes and Threading Ribbons
Using your hole punch, make two holes through the folded top rim on the front panel, and two matching holes on the back panel. Space the holes evenly, approximately 5 to 7 cm apart, depending on the width of the bag.
Cut two equal lengths of ribbon, typically between 25 and 30 cm each. Thread one end of a ribbon through the front-left hole from the outside of the bag to the inside. Tie a secure double knot on the inside of the bag, ensuring the knot is larger than the punched hole. Thread the other end of the same ribbon through the front-right hole and tie another double knot. Repeat this process on the back panel with the second piece of ribbon to complete the handles.
Preventing Ribbon Fraying
To keep your ribbon handles looking neat and professional, cut the ends of the ribbon at a sharp 45-degree angle or a V-shape. If you are using synthetic ribbons such as polyester satin or grosgrain, you can seal the cut edges to prevent fraying. Carefully pass the very edge of the cut ribbon near a small flame for a fraction of a second; the heat will melt the synthetic fibers slightly, creating a clean, sealed edge.
Adding Decorative Touches
You can further decorate your goodie bag by tying a contrasting ribbon into a neat bow and attaching it to the base of one of the handles. Alternatively, wrap a wide ribbon horizontally around the entire body of the bag, securing it at the back with double-sided tape, to create a beautiful band effect. If you are hosting a themed event, sliding a custom printed tag onto the ribbon handle before tying the final knot adds a thoughtful, personalized touch.
Adjusting for Different Sizes and Paper Types
The beauty of making your own goodie bags is the ability to customize them for any gift. However, different sizes and paper types require slight adjustments to your technique to ensure success.
Scaling the Dimensions
When making tiny favor bags for jewelry or small treats, use lighter wrapping paper to avoid bulky, awkward folds. For these smaller bags, a bottom fold of 3 to 4 cm is usually sufficient.
For larger gift bags, always opt for thicker, heavy-duty paper. Increase the bottom fold to 10 cm or more to create a wide, stable base, and consider placing a loose piece of thick cardboard cut to the exact dimensions of the bag’s bottom inside the bag to act as a supportive floor.
Handling Different Paper Weights
Delicate papers, such as handmade textured paper or thin metallic foil paper, require gentle handling. Use light pressure with your bone folder to avoid slicing through the paper, and use high-quality double-sided tape to prevent tearing.
Thick, laminated, or heavily textured wrapping papers resist folding and may spring open at the seams. To handle these materials, crease every fold multiple times with a bone folder to train the paper fibers. Use a high-tack adhesive, such as strong double-sided tape or a hot glue gun, to ensure the seams remain securely bonded.
Troubleshooting Common Issues
If your bag’s bottom is uneven or the bag tilts when standing, check your initial paper cut. If the paper is not cut into a perfect rectangle with 90-degree corners, the folds will align unevenly. Always use a grid mat or a square ruler to verify your cuts.
If your seams begin to pull apart, especially in humid conditions, it is likely due to the adhesive. Switch from standard glue sticks to high-tack double-sided tape or a specialized paper craft glue that is formulated to withstand moisture and humidity.
Frequently Asked Questions (FAQ)
Can I use regular printer paper instead of wrapping paper?
Yes, you can use standard printer paper, but it is best suited for very small favor bags due to its size limits (typically A4 or Letter) and relative stiffness. Standard printer paper (usually 80 GSM) does not fold as smoothly as lightweight wrapping paper and lacks decorative patterns. If you choose to use printer paper, keep the contents lightweight, and consider reinforcing the bottom of the bag with a small piece of cardstock to distribute the weight and prevent sagging.
How do I prevent the ribbon handles from tearing through the paper?
To prevent ribbon handles from tearing through the paper, always fold the top edge of the bag inward by at least 2 to 3 cm to create a double-layered rim. For added security, insert a thin strip of cardstock or heavy kraft paper inside this folded rim before punching your holes. This cardstock strip acts as a reinforcement bar, distributing the pulling force of the ribbon handles across the entire width of the bag rather than concentrating it on the punched holes.
Which adhesive should I use for thick wrapping paper?
Thick, textured, or laminated wrapping paper requires a strong adhesive with high initial tack. High-quality double-sided tape is the most reliable option because it bonds instantly and holds the stiff paper fibers in place without warping. For exceptionally heavy paper, a strong liquid craft glue or a hot glue gun can be used, but apply liquid glue sparingly to avoid wrinkling. Avoid standard school glue sticks, as they lack the adhesive strength required to hold heavy paper seams together over time.

Community discussion
Share your experience or ask a question. Comments are reviewed before publication.