
Grosgrain ribbon is a favorite choice for gift wrapping because of its characteristic ribbed texture and sturdy structure. Unlike satin, which can slip and slide during the tying process, grosgrain holds its shape beautifully, allowing you to create crisp, professional-looking loops that will not collapse. This structural integrity makes it the perfect medium for creating elegant bows that elevate any present.
To make a classic grosgrain bow, you fold the ribbon into symmetrical loops, secure the center with a tight knot or wire, and fluff the loops to create volume. This guide walks you through the exact steps to master this technique, ensuring your gifts look polished and beautifully finished.
Materials and Tools Needed for Grosgrain Bows
Selecting the right materials is the first step to achieving a flawless finish. Grosgrain ribbon comes in various widths, and matching the width to your gift box is crucial. For standard shirt boxes or medium-sized gifts, a ribbon width of 25mm to 38mm is ideal. Smaller jewelry boxes look best with a delicate 9mm to 15mm ribbon, while oversized hampers can handle dramatic 50mm widths.
Products mentioned in this guide
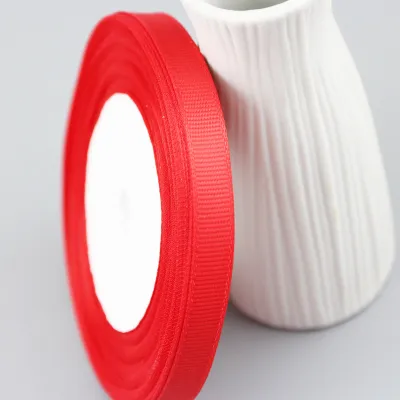
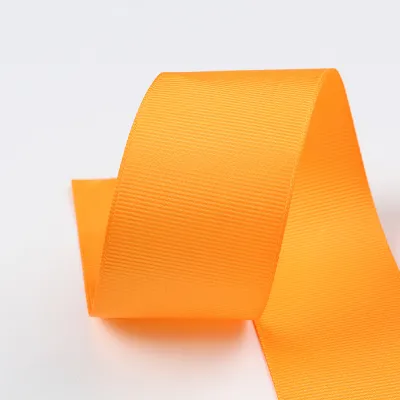
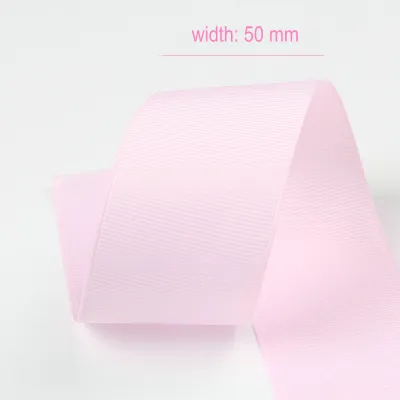
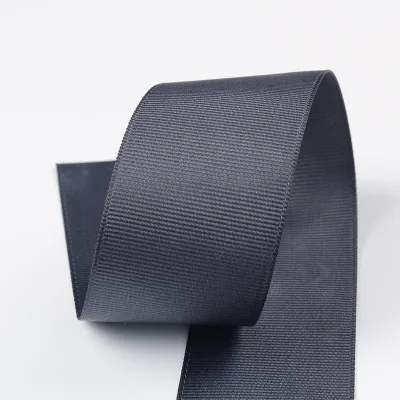
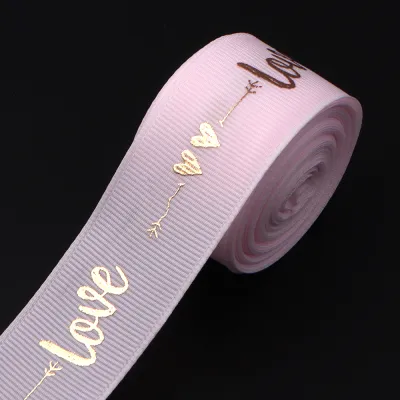
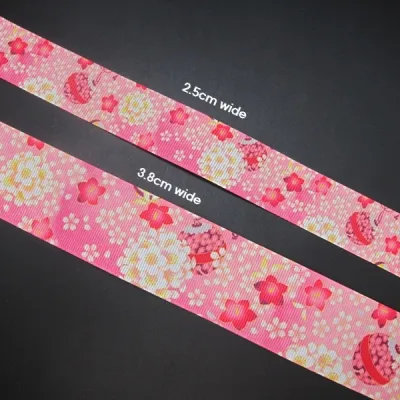
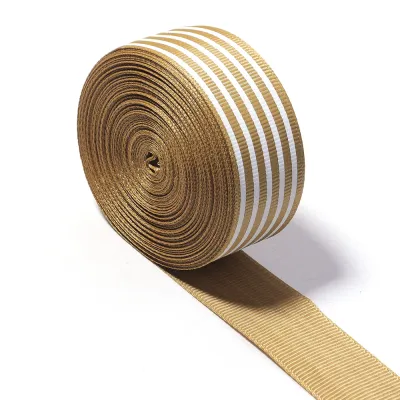
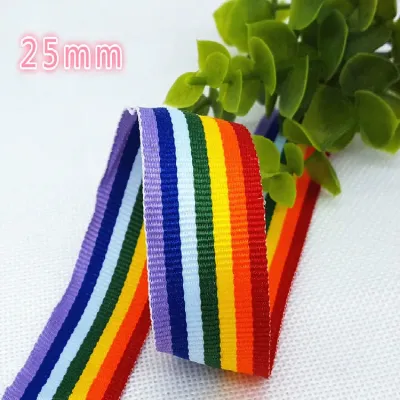
Prices are valid at publication and may change. Please refer to the product page for the latest price.
Your tools will directly impact the quality of your bow. A pair of dedicated, sharp fabric scissors is essential; dull household scissors will chew through the ribbed texture of grosgrain, leaving unsightly, frayed edges.
You will also need double-sided tape or adhesive glue dots to secure the ribbon to the box. For more complex or multi-loop bows, having thin floral wire, twist ties, or small chenille stems on hand will make securing the center pinch point much easier.
Preparing the Ribbon and Workspace
Before cutting your ribbon, you must calculate the required length to avoid waste. A reliable formula for a basic wrap-and-bow combination is to wrap the ribbon around the box once lengthwise and once widthwise, then add about 60 centimeters for the bow loops and tails. If you are making a separate bow to stick on top, you will generally need about 50 to 80 centimeters of ribbon, depending on how large and full you want the loops to be.

To cut the ribbon cleanly, always cut at a sharp 45-degree angle or fold the ribbon in half vertically and cut diagonally upward from the fold to create a classic swallowtail finish. This structural cut naturally distributes tension across the woven threads, reducing the immediate risk of fraying.
Set up your workspace on a clean, flat, and hard surface, such as a dining table or a cutting mat. Grosgrain’s ribbed texture can catch on rough wood or dusty surfaces, so ensuring your work area is spotless will keep the ribbon pristine and flat during the folding process.
Step-by-Step Guide to Tying a Classic Grosgrain Bow
Tying a bow with grosgrain requires a slightly different touch than working with soft satin or organza. Because grosgrain is stiffer, you must actively manage the tension to keep the ribbed pattern facing outward and prevent the loops from twisting awkwardly.
Forming the Base Loops
Begin by holding the ribbon between your thumb and forefinger, leaving a tail of about 15 centimeters on one side. Fold the long end of the ribbon over to create your first loop, pinching the base of the loop firmly between your fingers. The ribbed texture of the grosgrain will naturally resist collapsing, helping the loop maintain a rounded, open shape.
Next, take the remaining long end of the ribbon and fold it in the opposite direction to create a second, matching loop. Ensure that both loops are symmetrical and proportional to the size of your gift box; a good rule of thumb is that the total width of the bow should span about one-third to one-half of the box’s width.
As you fold, keep the ribbon completely flat at the pinch point. Avoid twisting the ribbon at the center, as this can cause the loops to tilt or stand up at odd angles. Instead, let the natural stiffness of the grosgrain work in your favor, keeping the flat sides of the loops parallel to each other.
Securing the Center Knot
Once your loops are perfectly balanced, you need to lock them in place. Cut a separate, smaller piece of grosgrain ribbon—about 10 centimeters long—to use as your center band. Alternatively, if you want an easier assembly, wrap a short piece of thin floral wire tightly around the pinched center point, twisting it securely at the back.
If you are using the ribbon-knot method, wrap the small piece of ribbon over the pinched center, pulling it snug to compress the loops. Tie a tight, single knot at the back of the bow, ensuring you do not crush the main loops in the process. The friction from grosgrain’s ribbed texture will help hold the knot in place while you tighten it.
Use your sharp scissors to trim any excess wire or ribbon from the back of the knot. If you used wire, press the twisted ends flat against the back of the bow so they do not scratch your gift wrapping paper or your hands during handling.
Shaping and Fluffing the Bow
With the center secured, you can now shape the bow to give it a professional, three-dimensional look. Gently insert your fingers into each loop and pull outward, expanding the ribbed fabric to its full volume. Because grosgrain has excellent structural memory, it will hold this fluffed shape easily.
Arrange the tails so they drape elegantly downward from the center knot. If the tails are too long, trim them at a clean 45-degree angle, ensuring both sides are symmetrical. The tails should be slightly longer than the loops to create a balanced, visually appealing silhouette.
Finally, adjust the tension of the center knot if necessary. The bow should sit flat against the surface of the gift box, with the loops standing up proudly and the tails laying smooth against the wrapping paper.
Alternative Bow Styles for Different Gift Sizes
Different gifts call for different presentation styles. The weight, shape, and size of your package should dictate the width of the grosgrain ribbon and the complexity of the bow you choose to create.
The Simple Single-Loop Bow
For small, flat gifts like books, journals, or jewelry boxes, a simple single-loop bow offers a clean, minimalist aesthetic. To create this style, wrap the ribbon around the box in a classic cross pattern, bringing both ends to the top center.
Tie a basic half-knot, then form a single loop with one end and wrap the other end around it to pull through, just like tying a shoelace. Keep the ribbon flat against the edges of the box as you pull the knot tight, ensuring the ribbed texture faces upward.
This streamlined style is perfect for modern, understated gift wrapping. It adds a touch of elegance without overwhelming a small package, and it keeps the profile low, making it ideal if you need to stack or transport the gifts.
The Multi-Loop Pom-Pom Bow
For large gift hampers, deep boxes, or premium presents, a high-volume pom-pom bow creates a dramatic, festive statement. To make this, accordion-fold a long length of grosgrain ribbon back and forth, creating six to eight overlapping layers of equal size.
Once folded, notch the ribbon at the exact center by cutting small V-shapes into both sides, being careful not to cut all the way through. Tie a piece of wire or a thin strip of ribbon tightly around these notches to secure the thick bundle.
Starting from the innermost layer, gently pull each loop out from the center, twisting it slightly as you pull. Alternate pulling loops to the left and right, working your way outward until you have a full, spherical pom-pom shape that completely hides the center tie.
Troubleshooting Common Grosgrain Ribbon Issues
Working with textured ribbon can sometimes present unique challenges, but most issues are easy to resolve with a few simple adjustments. If your loops keep twisting or refusing to sit flat, the issue is likely uneven tension at the center pinch point. To fix this without untying the entire bow, gently slide a pencil or the closed tips of your scissors into the twisted loop and rotate it until the ribbed side faces up, then pull the tail to tighten the knot and lock it in place.
Frayed edges are another common problem, often caused by using dull scissors or cutting the ribbon straight across. Always use dedicated fabric shears and cut at a sharp angle. If you notice minor fraying starting to develop, trim the loose threads immediately with a clean, swift cut to prevent the weave from unraveling further.
If your center knot looks crushed or flat, it can ruin the three-dimensional effect of the bow. You can restore the volume by gently inserting your pinky finger or a small wooden dowel into the center loop of the knot, lifting it upward while holding the main loops down. This coaxes the stiff grosgrain back into a rounded, plump shape.
Attaching and Finishing the Bow on Your Gift
A beautiful bow is only effective if it stays securely attached to your gift. In Singapore’s humid climate, liquid glues can take a long time to dry and may warp the paper, making double-sided tape or instant glue dots the most reliable choice. Place the adhesive directly under the center knot and press down firmly for a few seconds to ensure a strong bond.
If your gift already has a ribbon band wrapped around it, you can tie the bow directly to the band. Thread the tails of the bow or the wire from the center knot under the existing band, pull tight, and tie a secure double knot at the back, trimming any excess.
Before presenting or shipping your gift, perform a quick stability check. Gently wiggle the bow to ensure it does not slide or tilt; if it feels loose, add an extra glue dot under the loops to anchor them flat against the box. This ensures your beautiful presentation remains intact during transport.
Frequently Asked Questions (FAQ)
Can I iron grosgrain ribbon to remove wrinkles before making a bow?
Yes, you can iron grosgrain ribbon, but you must first verify its material composition. Most modern grosgrain ribbons are made from synthetic polyester, which can melt under high heat. Set your iron to a low-temperature synthetic setting and always use a thin cotton pressing cloth between the iron and the ribbon to protect the fibers. For delicate or cotton-blend ribbons, using a handheld garment steamer is a safer, heat-free alternative to relax wrinkles.
How do I prevent the grosgrain ribbon tails from fraying over time?
To keep your ribbon tails looking pristine, you can apply a thin layer of clear fabric sealant along the cut edges. For synthetic polyester grosgrain, a popular method is to carefully pass the cut edge near a lighter flame for a split second to melt and seal the fibers; always perform this in a well-ventilated area away from flammable materials and children. If you prefer a non-chemical, heat-free method, cutting the tails at a sharp 45-degree angle or a deep V-shape naturally reduces fraying by minimizing the exposure of the horizontal weft threads.

Community discussion
Share your experience or ask a question. Comments are reviewed before publication.