
Creating a handmade teacher appreciation card is one of the most meaningful ways to express gratitude. Unlike store-bought alternatives, a DIY card carries personal effort, capturing specific classroom memories and showing a teacher that their dedication has been truly noticed. By selecting the right paper, planning a clean layout, and writing a sincere message, you can create a polished, premium-feeling keepsake right at home without needing advanced crafting skills or specialized machinery.
Gather Your Basic Cardmaking Materials
To ensure your handmade card looks professional and stands the test of time, selecting the correct stationery supplies is essential. The foundation of any good card is the paper weight. Standard printer paper is too flimsy to stand upright and will buckle under the weight of adhesives or heavy ink. Instead, opt for cardstock with a weight between 220 gsm and 300 gsm for the card base. This provides a sturdy, rigid structure that resists bending. For decorative layers, lighter patterned papers or colored sheets of 120 gsm to 160 gsm work beautifully without adding excessive bulk.
Choosing the right adhesive is equally critical to prevent wrinkling, warping, or leaving unsightly sticky residue. Liquid craft glues can easily oversaturate paper, causing it to ripple as it dries. For clean, flat results, double-sided tape runners or high-quality glue sticks formulated specifically for paper crafts are highly recommended. If you want to create a three-dimensional effect, small foam adhesive dots can lift paper elements off the base, adding depth and shadow to your design.
Products mentioned in this guide
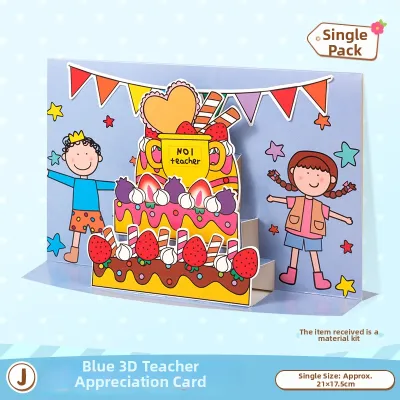
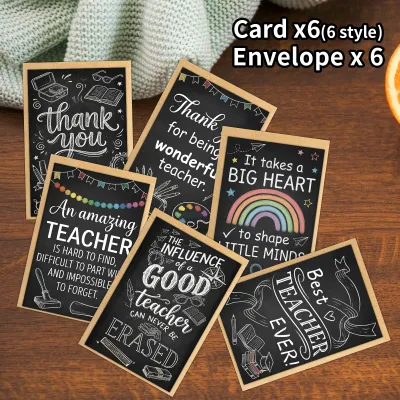
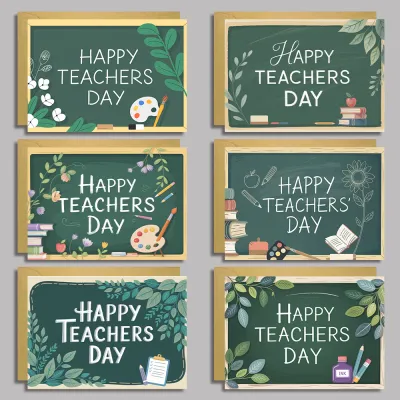
Prices are valid at publication and may change. Please refer to the product page for the latest price.
You do not need specialized cutting machines to achieve clean lines. A standard utility knife, a metal ruler, and a self-healing cutting mat are excellent tools for precise cuts. A bone folder or even the smooth plastic edge of a clean marker can be used alongside a ruler to score the paper before folding, ensuring a crisp crease.
Finally, verify the compatibility of your writing instruments with your chosen cardstock. Different paper surfaces react uniquely to various inks. Highly textured or porous cardstock can cause certain gel pens or fountain pen inks to feather, where the ink spreads along the paper fibers, or bleed through to the other side. Before writing your final message, perform an observable trial on a scrap piece of the same paper to check the drying speed, opacity, and smoothness of your pen.
Choose a Simple and Meaningful Card Design
A successful DIY card relies on a thoughtful layout rather than complex, intricate cuts. Before cutting into your premium cardstock, decide on the structural format of your card. A standard folded card is classic and easy to execute with standard cardstock cut and folded. Alternatively, a gatefold design, where two panels meet in the center, offers an elegant opening experience. If you prefer a minimalist approach, a flat card featuring a layered border of contrasting colored paper provides a modern, sophisticated look.

To make the card truly heartfelt, incorporate subtle visual themes that reflect the teacher’s personality or subject area. For a science teacher, a clean layout featuring minimalist geometric shapes or a small hand-drawn beaker might be fitting. For an English teacher, a vintage book page border or a literary quote can add a personal touch. If the teacher has a known hobby, such as gardening or coffee, incorporating small botanical illustrations or a warm coffee-cup motif makes the gift feel uniquely tailored to them.
When planning your design, remember that less is often more. Keep the visual composition balanced by leaving adequate negative space—empty areas around your design elements. Overcrowding the card with too many stickers, cutouts, and colors can distract from the central message and make the final product look cluttered.
To avoid mistakes, always sketch a rough layout on a piece of scrap paper first. Arrange your planned elements, trace their outlines lightly, and visualize the final composition. This step allows you to adjust the proportions and spacing before making any permanent cuts or applying adhesive to your final cardstock.
Step-by-Step Assembly and Decoration
Once your design is planned and your materials are ready, begin the assembly process by preparing the card base. To achieve a crisp, professional crease without cracking the paper fibers, you must score the cardstock before folding it. Align your ruler along the center line of your cardstock and gently run a scoring tool, bone folder, or the blunt back of a butter knife along the edge to compress the paper fibers. Always fold the paper inward toward the ridge created by the score line, and smooth the fold down firmly with your scoring tool.
Next, prepare your decorative paper layers. If you are layering different colored papers, cut each subsequent layer slightly smaller than the base to create a clean, framed border. Before applying any glue, arrange all your cutouts, borders, and decorative elements on the card base to finalize their placement. This dry run allows you to make micro-adjustments to the alignment and ensure everything fits perfectly.
When you are ready to secure the elements, apply your adhesive evenly. If you are using a liquid adhesive, apply it sparingly from the center of the paper piece outward to the edges, keeping a small margin free of glue to prevent it from squeezing out when pressed. Press the paper down firmly, smoothing it from the center outward to eliminate any trapped air bubbles and ensure a secure bond.
In humid climates, drying times for inks and liquid glues can be significantly longer than expected. Allow adequate drying time at each stage of assembly. Rushing to fold the card or write inside while the exterior glue is still damp can cause the paper to warp or slide out of alignment. Place a heavy, clean book over flat, glued layers for a few minutes to ensure they dry perfectly flat.
Write a Personal and Impactful Message
The heart of any appreciation card is the written message inside. To make your note memorable, structure it with intention. Begin with a warm, respectful greeting, using the teacher’s preferred title. Follow this with a specific expression of gratitude. Instead of relying on generic clichés like “Thank you for being a great teacher,” share a specific memory, a lesson that resonated with you, or a moment when their encouragement made a difference. Conclude with a thoughtful closing wish for their future, followed by your signature.
Personalized observations show the teacher that their daily efforts have a lasting impact. Mentioning a specific classroom activity, a humorous moment, or how they helped you overcome a difficult topic makes the message incredibly meaningful. Teachers often keep handmade cards for years because of these specific, personal reflections.
Before writing directly onto your finished card, test your chosen pen on a scrap piece of the exact same cardstock. This test is crucial to verify how the ink behaves. Check if the ink dries quickly to prevent accidental smudging as your hand moves across the page. Ensure the ink does not bleed through to the back of the card panel, which would ruin the exterior design.
To keep your handwriting neat and straight, use a light pencil guide and a ruler to draw faint horizontal lines across the writing surface. Write your message carefully along these guides. Once you have finished writing, resist the urge to erase the pencil lines immediately. Wait several minutes to ensure the ink is completely dry and set; erasing too early can smear the ink and ruin hours of careful work.
Add Premium Finishing Touches
To elevate your DIY card from a simple home craft to a polished, premium gift, take time for final refinements. Inspect the edges of your card for any uneven cuts, stray paper fibers, or visible adhesive threads. Use a sharp utility knife or a pair of fine-tip scissors to trim away any imperfections, ensuring a clean, sharp silhouette.
Adding simple, tactile embellishments can greatly enhance the overall feel of the card. A strip of high-quality Washi tape along the spine, a custom wax seal on the envelope, or a neatly pressed leaf or flower secured to the front can add texture and visual interest. Keep these additions minimal and cohesive with your overall color palette to maintain a sophisticated aesthetic.
The presentation of your card is just as important as the card itself. Select an envelope that fits your card comfortably. The card should slide in and out easily without catching on any raised decorative elements or bending at the corners. If your card has three-dimensional elements, choose a slightly thicker envelope or a small flat gift box to prevent the design from being crushed.
Finally, protect your hard work during transit. If a student is carrying the card to school in their school bag, the edges can easily become bent or soiled. Place the finished card and envelope inside a rigid plastic sleeve, a clean folder, or tucked safely between the pages of a hardcover textbook to ensure it arrives in pristine condition.
Frequently Asked Questions (FAQ)
What if I make a mistake while writing the message?
If you make a handwriting slip, there is no need to discard the entire card. A clever way to fix a mistake is to write or print your message on a separate, slightly smaller piece of paper, and then layer it over the error as a deliberate design choice. You can also cover minor slips with decorative elements like a small sticker, a strip of Washi tape, or a paper cutout that matches your card’s theme. Avoid using liquid correction fluid, especially on colored or textured cardstock, as it leaves a highly visible, chalky white residue that detracts from the handmade quality.
How far in advance should I start making the card?
It is best to start making your card at least two to three days before you plan to present it. This timeline gives you ample opportunity to gather materials, sketch layouts, and allow adhesives and inks to dry completely without rushing. Additionally, drafting your message on a separate piece of paper and letting it sit for a day allows you to review it with fresh eyes, ensuring there are no spelling or grammatical errors before you commit it to the final cardstock. Rushing the process often leads to misaligned folds, wet glue smudges, or crooked handwriting.
Can young children help with this DIY card project?
Yes, young children can absolutely participate, and their contributions often make the card even more cherished. For younger children, assign safe, age-appropriate tasks such as coloring background panels, selecting and placing stickers, or drawing a picture on the inside cover. They can also dictate their message aloud while an adult writes it down. Keep sharp cutting tools, scoring boards, and strong adhesives strictly under adult supervision. A child’s natural, slightly imperfect handwriting or drawing adds immense sentimental value that teachers deeply appreciate.

Community discussion
Share your experience or ask a question. Comments are reviewed before publication.