
Crafting your own gift packaging adds a deeply personal touch to any occasion, turning a simple present into a memorable keepsake. A DIY paper bunny bag is an exceptionally charming choice for birthdays, baby showers, festive celebrations, and spring-themed events. To make a paper bunny bag, you will need to select a sturdy paper medium, fold a structured rectangular base with side gussets, attach symmetrical hand-cut ears, and secure the seams with a reliable adhesive. This project is highly accessible, requiring only basic household stationery tools and a small amount of patience to achieve a clean, professional-looking result.
By taking the time to fold and decorate your own gift bags, you can customize the size, color, and strength to match the exact item you are gifting. This guide walks you through the entire process, from selecting the right paper weight to folding the structural base and adding whimsical decorative touches.
What You Need to Make a Paper Bunny Bag
Before beginning your crafting session, gathering the correct tools and materials will ensure a smooth process and a high-quality finished product. The most critical component of this project is the paper itself. Standard copy paper (typically 80 gsm) or thin wrapping paper (often 60 to 90 gsm) is highly prone to tearing when subjected to folding, creasing, and the weight of a physical gift. Instead, opt for a medium-to-heavyweight cardstock or thick scrapbook paper, ideally between 160 gsm and 220 gsm. This weight provides the necessary structural integrity to hold crisp creases and support small gifts without buckling or sagging under tension.
Products mentioned in this guide
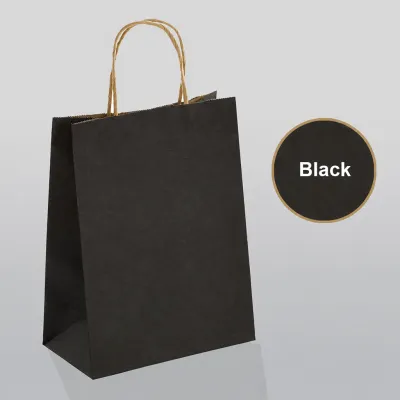
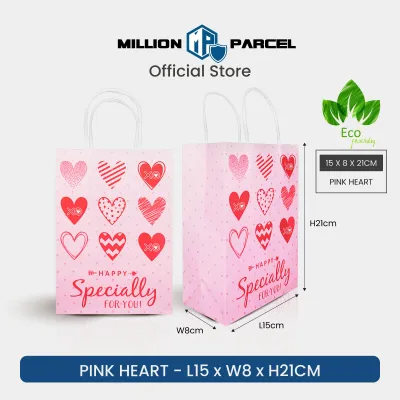
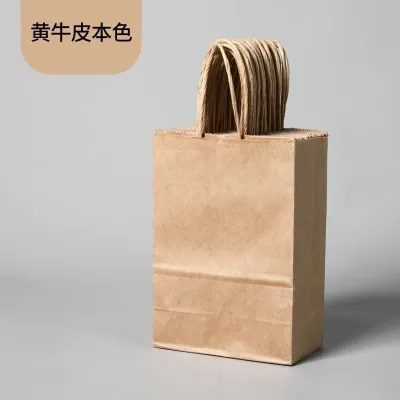
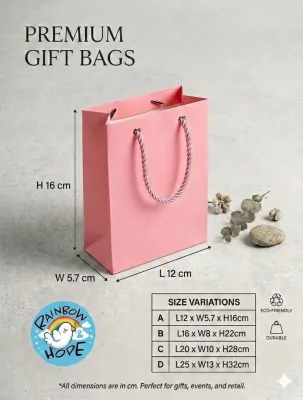
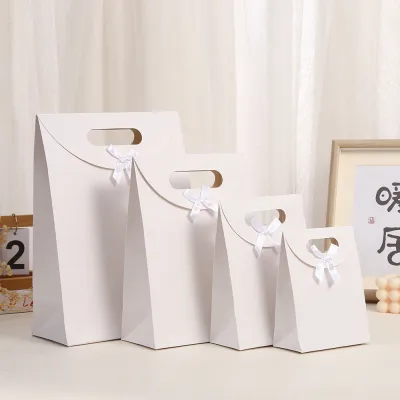
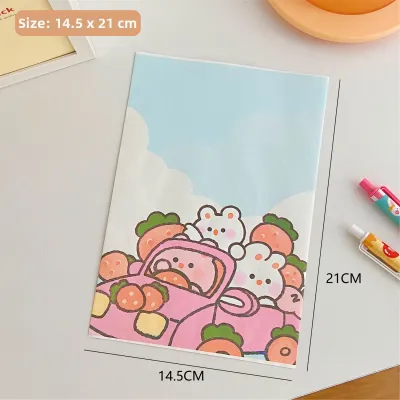
Prices are valid at publication and may change. Please refer to the product page for the latest price.
Your choice of adhesive will also dictate the durability of your bag. High-tack double-sided tape is highly recommended for this project because it provides an instant, strong bond without the risk of warping the paper. If you prefer liquid craft glue, select a quick-drying, low-water-content formula. In humid environments like Singapore, standard water-based school glues can take a long time to dry and may cause the paper fibers to ripple or soften, compromising the clean lines of your bag. You will also need a pair of sharp paper scissors or a precision craft knife paired with a metal ruler for making clean, straight cuts.
Several optional tools can elevate your bag from a simple school craft to a professional-grade gift wrap. A bone folder is an invaluable tool for scoring and folding thick cardstock, preventing the paper fibers from cracking along the seams. A standard graphite pencil (such as an HB or 2B) is necessary for marking measurements lightly before cutting. If you plan to add traditional handles, a single-hole punch and a length of ribbon, cotton twine, or organza ribbon will allow you to construct comfortable carrying loops that complement the bunny-ear design.
Step-by-Step Guide to Folding Your Paper Bunny Bag
Constructing a paper bunny bag relies on the fundamental principles of packaging design, where a flat, two-dimensional sheet is transformed into a three-dimensional prism. The bag’s structure consists of a main rectangular body, two collapsible side gussets that allow the bag to expand, and an overlapping bottom base that distributes the weight of the contents. Understanding this simple geometry makes it much easier to visualize how the folds come together during the assembly process.

To ensure a flawless finish, prepare a clean, flat, and completely dry workspace. Clear away any dust, stray ink, or moisture, as these can easily stain or weaken your paper before you even begin folding. Working on a self-healing cutting mat is highly recommended, as it protects your tabletop and provides built-in grid lines for quick alignment checks. Always remember to measure twice and mark your lines lightly with a pencil; light marks can be easily erased later, whereas incorrect folds or cuts cannot be undone.
Phase 1: Creating the Bag Base and Body
To begin constructing the body of your bag, prepare a rectangular sheet of cardstock. For a standard-sized small gift bag, a sheet measuring 36 cm in width and 21 cm in height works perfectly. Lay the paper flat on your workspace in landscape orientation, with the decorative or colored side facing downward.
Using your ruler and pencil, make small, light marks along the top and bottom edges of the paper to guide your vertical folds. From the left edge, measure and mark vertical lines at 2 cm, 14 cm, 19 cm, and 31 cm. Using your metal ruler and a scoring tool—such as a bone folder or the blunt end of a paperclip—draw lines connecting these marks. These scored lines divide your paper into a 2 cm side adhesive tab, a 12 cm front panel, a 5 cm side gusset, another 12 cm back panel, and a final 5 cm side gusset.
Next, measure 5 cm up from the bottom edge of the paper and score a horizontal line across the entire width of the sheet. This 5 cm section will form the bottom flaps of your bag. Before assembling, fold the paper along all the vertical scored lines, pressing firmly to create sharp, clean creases. Unfold the paper slightly, then fold the 5 cm bottom horizontal line upward and crease it well.
To allow the bottom flaps to fold over one another, you must make a few simple cuts. Use your scissors to cut along the vertical fold lines only within the bottom 5 cm section, stopping exactly where they meet the horizontal score line. This will create four separate bottom flaps. Cut away the small 2 cm tab section in this bottom flap area entirely, as it is not needed for sealing.
To assemble the main body, apply a strip of double-sided tape or a thin layer of craft glue along the outside of the 2 cm side tab. Wrap the paper into a rectangular sleeve, bringing the opposite 5 cm side edge over the adhesive tab, aligning the edges perfectly, and pressing firmly to secure the seam. Stand the open rectangular sleeve upright. Fold the two smaller side flaps inward first, then apply adhesive to the front and back flaps before folding them over the sides. Reach inside the open top of the bag with a ruler or your hand and press down firmly on the bottom flaps to ensure a tight, secure bond. You should now have a sturdy, freestanding, open-top rectangular bag.
Phase 2: Shaping the Bunny Ears and Handles
With the main structural body complete, you can now create the signature bunny ears. To ensure both ears are perfectly symmetrical, fold a scrap piece of matching or contrasting cardstock in half. Draw one half of a long, rounded bunny ear shape along the fold line, then cut through both layers of paper. When you unfold the paper, you will have a perfectly balanced ear template. Use this template to trace and cut two identical ears from your main cardstock.
To attach the ears, apply a small amount of adhesive to the bottom 2 cm of each ear. Position them on the inside of the bag’s front and back top rims, centering them carefully. If you prefer a more playful look, you can glue them to the outer face of the bag or tilt them slightly outward. Press the bonded areas firmly for several seconds to ensure the glue or tape holds the ears upright.
If you intend to use the bag for carrying items rather than just display, relying solely on the paper ears as handles can risk tearing. To add functional handles, use a hole punch to make two clean holes on the front panel and two on the back panel, roughly 1.5 cm below the top rim. Thread a piece of ribbon or cotton twine through the holes from the outside to the inside, and tie a secure double knot on the interior of the bag. This configuration ensures that the weight of the gift is distributed through the reinforced holes and ribbon, leaving the decorative bunny ears completely protected from pulling forces.
Decorating and Personalizing Your Bunny Bag
Personalizing your paper bunny bag is where you can let your creativity shine, tailoring the design to suit the recipient. To add a classic facial design, use fine-liner pens or gel pens to draw closed, sleeping eyes, a tiny pink triangle nose, and delicate whiskers on the front panel. If you are using dark-colored cardstock, metallic gold or silver paint pens will stand out beautifully against the deep background.
For a tactile, three-dimensional element, attach a fluffy white cotton ball or a small handmade yarn pom-pom to the lower back panel of the bag to serve as a bunny tail. You can also use colorful washi tape to create a decorative border around the top rim of the bag, simulating a festive collar. If you enjoy stamping, applying subtle floral or geometric patterns to the main body of the cardstock before folding can add an elegant, hand-printed aesthetic to the finished bag.
When decorating, it is important to balance the weight of your embellishments. Heavy plastic gems, thick wooden cutouts, or excessive layers of wet glue can weigh down one side of the bag, causing it to tip over or lose its shape. Keep your decorations relatively flat and lightweight to preserve the bag’s structural balance. Finally, cut a small tag from your leftover cardstock, write a personalized message, and tie it to the base of one of the ears or thread it through the ribbon handle for a polished presentation.
Tips for a Sturdy and Professional Finish
Achieving a professional-looking DIY bag relies on a few key crafting techniques that prevent common mistakes. When working with thick cardstock, never attempt to fold the paper without scoring it first. Folding unscored cardstock forces the outer paper fibers to stretch and crack, resulting in jagged, messy lines. Always use a bone folder, a dry ballpoint pen, or the back of a spoon pressed against a metal ruler to compress the paper fibers along your planned fold lines before making the physical fold.
Adhesive management is another critical factor. If you are using liquid craft glue, allow the seams to dry completely under a light weight—such as a small book—before placing any items inside the bag. This prevents the seams from sliding apart under the tension of the folds. When utilizing double-sided tape, ensure you press down along the entire length of the tape with your thumb or a bone folder to activate the pressure-sensitive adhesive, creating a permanent bond.
Safety should always be a priority during any crafting project. When using sharp scissors, utility knives, or heavy-duty hole punches, always cut away from your body and keep your fingers clear of the cutting path. If children are participating in this craft, ensure they use age-appropriate safety scissors and handle all cutting or punching steps under close adult supervision.
To maximize the load-bearing capacity of your bag, consider reinforcing the bottom base. Cut a small, rigid piece of cardboard (such as a piece from an old shipping box) to the exact dimensions of the bag’s bottom interior (12 cm by 5 cm for the example measurements). Slide this cardboard insert flat into the bottom of the bag. This simple addition distributes the weight of the gift evenly across the entire base, preventing the paper from sagging and ensuring the bottom seams do not burst open during transport.
Frequently Asked Questions (FAQ)
What type of paper is best for a DIY gift bag?
The best paper for a DIY gift bag is medium-to-heavyweight cardstock or thick scrapbook paper, preferably between 160 gsm and 220 gsm. Standard, thin wrapping paper and lightweight copy paper lack the structural integrity required to hold crisp folds and will easily tear or collapse under the weight of a gift.
Can I use this bunny bag for heavy gifts?
DIY paper bags are best suited for lightweight to medium items, such as candies, small toys, rolled socks, or lightweight baked goods. If you need to pack a slightly heavier item, be sure to reinforce the bottom of the bag with a thick piece of cardboard and use ribbon handles threaded through punched holes rather than relying on the paper ears.
How do I close the top of the bunny bag?
To close the top of the bag, you can fold the upper rim down slightly and secure it with a decorative sticker, a strip of colorful washi tape, or a small wooden clothespin. Alternatively, if you have installed ribbon handles, you can pull the ribbons together and tie them into a decorative bow to keep the contents secure.

Community discussion
Share your experience or ask a question. Comments are reviewed before publication.