
Setting up a dedicated, interactive learning space at home is one of the most effective ways to support early literacy. By combining a flexible stick-on board with tactile magnetic letters, you create a dynamic environment where children can physically manipulate sounds, build words, and visualize phonetic patterns. This hands-on approach bridges the gap between abstract sounds and written symbols, making daily phonics practice both engaging and structured. In Singapore homes, where space is often at a premium, a wall-mounted stick-on board offers an excellent, space-saving alternative to bulky, freestanding easels.
Preparing and Installing Your Stick-On Board
Before peeling off the backing of your stick-on board, you must evaluate the target wall surface. Smooth, non-porous surfaces like painted drywall, smooth laminate, or glass offer the best adhesion. If your wall has a heavy orange-peel texture, concrete grain, or brick finish, the adhesive backing will struggle to make full contact, leading to peeling or falling.
Cleanliness is critical for a long-lasting bond. Wipe the wall surface with a dry or slightly damp microfiber cloth to remove dust, oils, and lint. If you use water or a mild cleaning agent, allow the wall to dry completely for at least 24 hours before attempting installation. In Singapore’s humid climate, ensuring the wall is completely dry and free of moisture before application is particularly important, as trapped humidity can weaken the adhesive bond over time.
Products mentioned in this guide
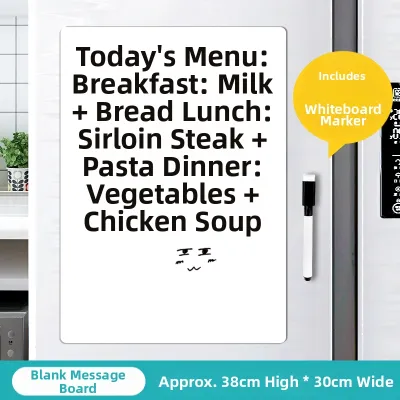
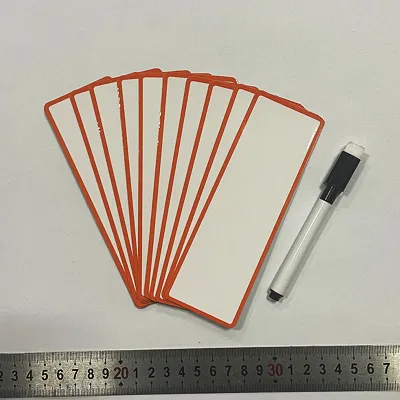
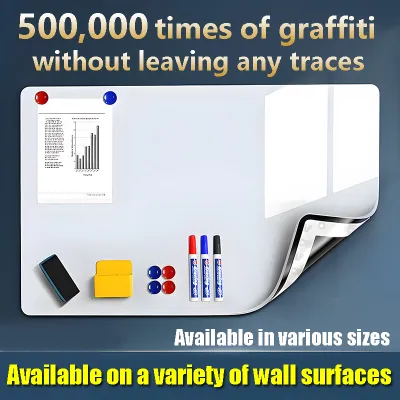
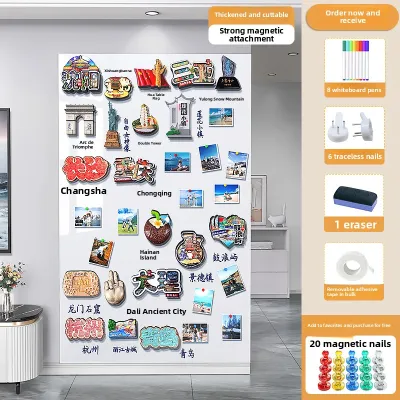
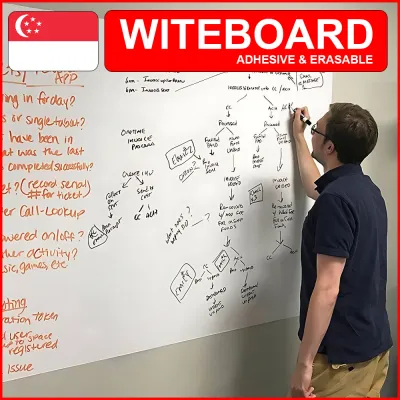
Prices are valid at publication and may change. Please refer to the product page for the latest price.
Pay close attention to paint curing times. If you have recently repainted the room, wait at least three to four weeks before applying a stick-on board. Fresh paint continues to release gases long after it feels dry to the touch, which can degrade the adhesive and cause the board to bubble or fall off.
To install the board, begin by peeling back a small section of the protective liner, typically about 10 to 15 centimeters from the top edge. Align the exposed adhesive strip with your pencil guidelines on the wall, using a spirit level to ensure it hangs straight.
Slowly peel away the remaining backing paper downward while pressing the board onto the wall. Use a plastic squeegee, a clean dry cloth, or the flat of your hand to smooth the surface from the center outward to the edges. This motion pushes out trapped air bubbles and ensures a uniform bond.
Identify clear stop conditions during the installation process. If you notice the edges curling immediately, or if the adhesive fails to grip the wall upon initial contact, stop the application. Do not force a failing adhesive, as it may fall later, potentially damaging the board or nearby items. If the wall surface is unsuitable, consider mounting the stick-on board onto a flat piece of plywood or a lightweight foam board first, then hanging that frame using removable mounting strips.
Organizing Magnetic Letters for Daily Lessons
The physical dimensions of your stick-on board dictate the size and quantity of magnetic letters you can comfortably use. For a standard medium-sized board, letters that are approximately 3 to 5 centimeters tall provide an ideal balance. They are large enough for small hands to grasp easily, yet small enough to allow the construction of full sentences or multiple word families simultaneously.

Ensure you have an adequate quantity of high-frequency letters. A standard alphabet set of 26 letters is rarely sufficient for phonics lessons, as you will quickly run out of common letters like “a”, “e”, “o”, “t”, and “n”. Look for sets that include multiple lowercase letters, as lowercase forms are what children encounter most frequently in early reading materials.
Organizing your letters by phonetic categories saves valuable lesson time and reduces cognitive overload for your child. Group your vowels together, ideally using a set where vowels are color-coded differently from consonants. This visual distinction helps children quickly identify the core of every syllable.
Create dedicated sections on the board or in your storage for common digraphs and blends once your child progresses past basic single-letter sounds. Keeping these units grouped together reinforces the concept that two letters can combine to make a single phoneme.
Select an accessible, structured storage container to keep the letters organized between sessions. A clear plastic utility box with adjustable dividers works exceptionally well. Label each compartment with the corresponding letter or sound so your child can assist with sorting and clean-up, which further reinforces letter recognition.
Step-by-Step Phonics Activities on the Board
Begin your phonics journey with simple sound-isolation exercises to build phonemic awareness. Place three or four distinct magnetic letters on the board, such as “m”, “s”, “t”, and “a”. Say a target sound aloud, such as “/m/”, and invite your child to identify and pull down the corresponding physical letter. This physical movement connects the auditory phoneme to the visual grapheme.
Once letter-sound correspondence is stable, transition to building and blending consonant-vowel-consonant (CVC) words. Place a vowel like “a” in the center of the board, and place consonants like “b”, “c”, “t”, and “p” nearby. Guide your child to slide the letter “c” to the left of “a”, and “t” to the right, forming the word “cat”.
Teach blending by physically sliding the letters closer together as you pronounce the sounds. Instruct your child to run their finger under the letters from left to right, slowly stretching the sounds before saying the word rapidly as “cat”. This tactile sliding motion on the smooth stick-on board helps children understand how individual sounds merge into spoken words.
Introduce word family variations to demonstrate how changing a single letter alters the entire word. Keep the “at” ending stationary on the board and have your child swap the initial consonant: change “cat” to “mat”, then “pat”, and “sat”. This systematic substitution highlights the role of the onset and the rime.
As your child’s confidence grows, introduce simple sight words and high-frequency words that do not strictly follow standard phonetic rules. Dedicate a small, separate section of your stick-on board for these words, explaining that some parts of these words must be learned by heart. Use the magnetic letters to build these words, highlighting the irregular spelling parts with a different color or a small marker dot underneath.
Address spelling corrections gently and constructively directly on the board. If your child spells “ship” as “sip”, do not simply declare it incorrect. Point to the word and ask them to say the initial sound they hear in “ship”. Then, guide them to find the “h” to place next to the “s”, showing how the two letters work together as a team to make the “/sh/” sound.
Maintaining the Board and Caring for Magnetic Letters
To preserve the writing and magnetic surface of your stick-on board, clean it regularly using approved, non-abrasive methods. Avoid harsh chemical solvents, abrasive scrubbing pads, or alcohol-based sprays unless specifically recommended by the manufacturer, as these can strip away the dry-erase coating or degrade the ferrous layer. A soft microfiber cloth slightly dampened with clean water is usually sufficient for daily maintenance.
If you use dry-erase markers on the board alongside your magnetic letters, erase the ink promptly after each lesson. Leaving marker ink on the surface for weeks can lead to ghosting, where faint stains remain visible. For stubborn ink residue, use a specialized dry-erase board cleaner formulated for delicate film surfaces.
Periodically inspect the edges of your stick-on board for any signs of peeling or lifting. If you notice an edge starting to curl, gently press it back down with a clean cloth, applying firm pressure for several seconds. If the adhesive has collected dust or lint at the edge, carefully trim away the compromised border with a utility knife to prevent the peeling from spreading across the entire board.
Caring for your magnetic letters is equally important to maintain their grip and safety. Store the letters in a cool, dry place away from direct sunlight, high humidity, or localized heat sources. Given the high humidity levels in Singapore, keeping the letters dry prevents moisture from degrading the magnetic backing or causing mold to develop in the storage container.
Keep your magnetic letters away from strong external magnetic fields, such as large speakers or high-powered magnets, which can demagnetize or reverse the polarity of the weaker magnets on the letters. If the letters become dirty from frequent handling, wipe them down individually with a damp cloth and allow them to air dry completely before storing them in their container.
Frequently Asked Questions (FAQ)
Why are my magnetic letters sliding down the stick-on board?
Magnetic letters typically slide down a stick-on board due to an imbalance between the weight of the letter and the strength of the magnetic attraction. Stick-on boards often use a thin, flexible ferrous film rather than a solid steel sheet, which provides a slightly weaker magnetic pull. To resolve this, verify that the back of each letter has a clean, flat magnet that makes direct contact with the board. If your letters use small, recessed button magnets, they may not sit flush against the thin film; switching to letters with flat, full-surface magnetic backings or choosing lighter plastic letters will usually prevent sliding.
Can I install a stick-on board on textured walls or glass?
You can easily install a stick-on board on smooth glass surfaces, as glass provides an excellent, non-porous substrate for pressure-sensitive adhesives. However, installing one on textured walls—such as stucco, plaster, or heavily textured wallpaper—is not recommended. The uneven surface prevents the adhesive from making continuous contact, which allows air to seep underneath and eventually causes the board to peel off. If you must use a textured wall, mount the stick-on board onto a smooth, lightweight backing board first, then hang that rigid panel using appropriate wall anchors or heavy-duty removable mounting strips.

Community discussion
Share your experience or ask a question. Comments are reviewed before publication.