
Replacing a broken zipper slider is a highly cost-effective way to restore a favorite jacket, backpack, or cushion cover without discarding the entire item. To find the correct zipper head replacement, you must match three critical specifications of your existing zipper: the teeth material, the size number, and the stopper style. Getting even one of these details wrong will prevent the new slider from gliding smoothly or closing the teeth.
Quick Checklist for Zipper Head Replacement
Before purchasing any replacement parts from a local haberdashery or online marketplace, compile these four essential specifications of your current zipper assembly:
- Teeth Material: Determine if your zipper uses metal, molded plastic resin, or coiled nylon.
- Size Number: Locate the number stamped on the back of the old slider, or measure the width of the closed teeth in millimeters.
- Stopper Style: Identify whether the zipper is closed-end (like on trousers or bags) or separating (like on a jacket).
- Lock Mechanism: Choose between an auto-lock slider for garments or a non-locking slider for bags and luggage.
Having these details ready ensures you select a compatible slider that restores full functionality to your item.
Products mentioned in this guide
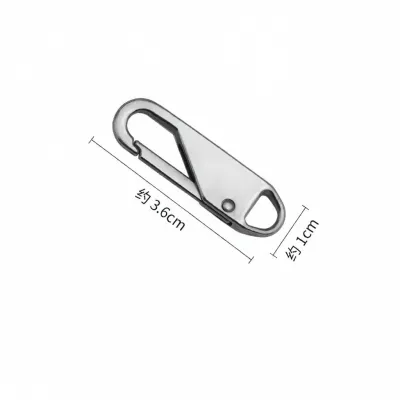
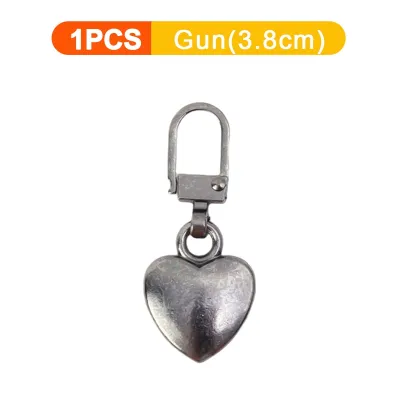
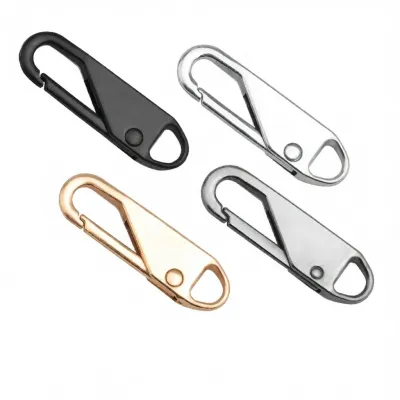
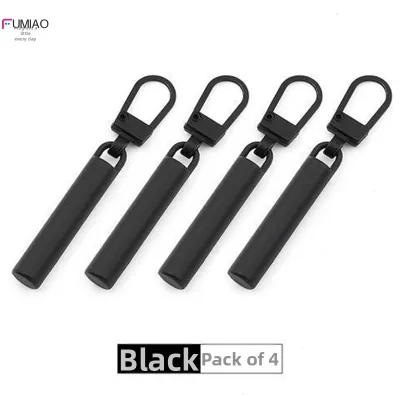
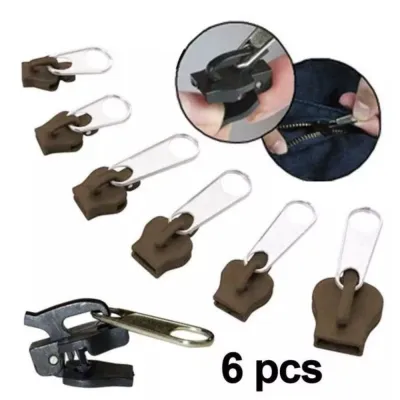
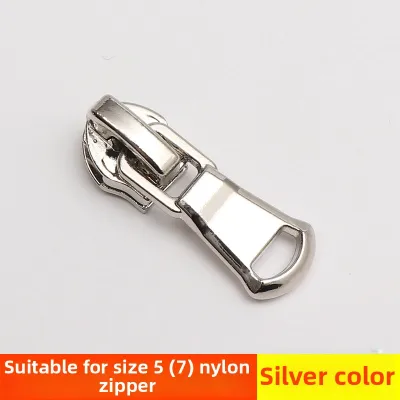
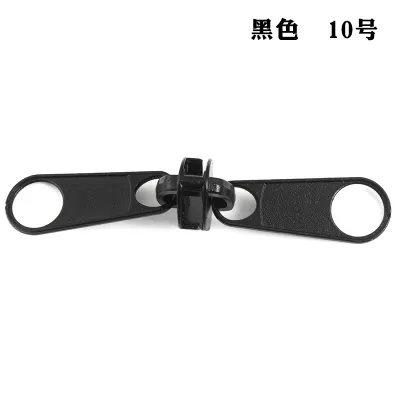
Prices are valid at publication and may change. Please refer to the product page for the latest price.
Step 1: Identify the Zipper Teeth Material
The track of a zipper slider is engineered to match the exact geometry of the teeth it joins. Because different materials have completely different shapes, a slider designed for one material will not function on another.

Metal zippers feature individual, distinct metal teeth clamped securely along the edge of the fabric tape. These teeth are typically made of brass, aluminum, or nickel, requiring a slider with a specific internal channel that accommodates their rigid, blocky profile. In humid climates, these metal components can occasionally oxidize, making smooth compatibility even more critical during replacement.
Resin zippers, often referred to as plastic or molded zippers, consist of chunky, individually molded plastic teeth that interlock. These teeth are wider and more rounded than metal teeth, meaning the corresponding slider must have a wider, deeper opening to prevent jamming.
Nylon coil zippers utilize a continuous plastic spiral loop stitched directly to the fabric tape. The teeth are not individual pieces but rather a continuous coil, which requires a highly rounded, smooth slider track to guide the flexible nylon loops into place.
Attempting to mix these types—such as forcing a metal slider onto a nylon coil zipper—will inevitably fail. The incompatible track shape will either fail to bring the teeth together, permanently deform the nylon loops, or scrape and damage the molded resin teeth.
Step 2: Determine the Zipper Size Number
Zipper sizes are standardized by numbers that correspond directly to the width of the closed zipper teeth in millimeters. For example, a number 5 zipper has teeth that measure approximately 5 millimeters across when zipped shut.
The easiest way to find this number is to inspect the back or underside of your original zipper slider. Manufacturers often stamp the size number (such as 3, 5, 8, or 10) directly into the metal casing. You may also see letters alongside the number, which indicate specific manufacturer mold variations.
If the stamp has worn away or the original slider is missing entirely, you can determine the size by measuring the closed teeth. Use a precise ruler or a caliper to measure the width of the interlocking teeth at a point where they are fully joined. Do not measure the fabric tape or the outer edges of the slider itself, as these dimensions vary by design and do not represent the standardized size.
If physical measurements remain ambiguous, check the care label or the manufacturer’s product specifications for the garment or bag. High-quality outdoor gear and bags often list the zipper brand and size in their technical documentation, helping you verify the exact replacement part needed.
Step 3: Check the Zipper Stopper Style
The bottom configuration of your zipper determines how the slider is installed and how it behaves when fully opened. You must match this configuration to ensure the replacement slider can be threaded onto the tracks correctly.
Closed-end zippers are designed so that the two sides of the tape do not separate completely at the bottom. They feature a solid metal or plastic bottom stop that holds the tracks together, commonly found on trousers, pockets, boots, and bags. The slider for a closed-end zipper only needs to open and close the teeth from one direction.
Separating zippers, also known as open-end zippers, allow the two sides of the tape to detach completely, as seen on jackets, coats, and hoodies. These zippers feature a pin on one side of the tape and a box on the other. The replacement slider must have a base wide enough to allow the insertion pin to slide completely through the slider body and lock into the retainer box.
Look closely at the hardware at the very bottom of the zipper tape to identify these visual cues. If you see a single bar bridging both tracks, it is a closed-end style; if you see a distinct pin and box mechanism, it is a separating style. Using the wrong slider style can prevent a separating zipper from opening fully or make it impossible to re-engage the tracks.
Step 4: Inspect the Slider Lock Mechanism
Zipper sliders come with different internal locking mechanisms designed for specific uses. Choosing the wrong lock type can lead to frustrating performance issues, such as a jacket zipper constantly sliding open on its own.
Auto-lock sliders contain a tiny internal pin or leaf spring that engages with the zipper teeth whenever the pull tab is flat. This prevents the slider from moving unless you actively pull the tab. This mechanism is essential for garments, sportswear, and trousers where movement could otherwise force the zipper open.
Pin-lock sliders rely on a physical pin on the underside of the pull tab itself. When you push the pull tab flat against the teeth, the pin inserts between them to lock the slider in place. This style is common in vintage garments and specific industrial applications.
Non-lock sliders glide freely along the tracks without any internal resistance, regardless of the pull tab’s position. These are ideal for luggage, backpacks, and storage covers, where you want to be able to open the zipper quickly by pulling the fabric sides apart.
Always match the lock type to the original application. Installing a non-lock slider on a fitted jacket will result in the zipper constantly pulling open under normal body movement, while an auto-lock slider on a large duffel bag might make quick access unnecessarily difficult.
What to Do If Your Replacement Zipper Head Does Not Fit
Even with careful measurement, you may occasionally encounter issues when installing a new zipper slider. If the replacement head jams, feels loose, or fails to close the teeth, follow a systematic diagnostic path to resolve the issue.
First, verify the orientation of the slider during installation. The rounded, wider end of the slider must always face the direction of travel when closing the zipper, while the narrower end points toward the open or closed bottom. Installing a slider backward will prevent the teeth from interlocking.
If the slider glides but leaves the teeth open behind it, the slider body may be slightly too wide for the teeth, or you may have misidentified the teeth material. Re-evaluate whether you have used a metal slider on a nylon coil track, as the subtle differences in track height can prevent proper interlocking.
Inspect the zipper tape thoroughly for any damaged, missing, or bent teeth. A single misaligned tooth can block a correctly sized slider from passing, making the replacement seem incompatible when the issue actually lies with the tape itself.
If the slider remains stuck or continues to split the zipper after verifying all measurements, do not force it. Applying excessive pressure can tear the fabric tape or break the new slider. At this stage, it is best to consult a professional tailor or consider replacing the entire zipper assembly to avoid ruining the garment.
Frequently Asked Questions (FAQ)
Can I use a universal zipper head for any zipper?
Universal zipper replacement kits are convenient, but they are not a single-size-fits-all solution. These kits typically contain an assortment of different slider sizes and styles rather than a single slider that adapts to every zipper. You must still identify your specific teeth material and size number to select the correct slider from the kit. Using an incorrect match from a universal set can lead to poor alignment and eventual damage to the zipper tape.
How do I remove the old zipper head without cutting the tape?
To remove a broken slider safely, use a pair of small needle-nose pliers to gently pry open or cut the metal top stops at the very top of the zipper tape. Once these physical barriers are removed, you can slide the old head directly off the top of the track. Avoid cutting the fabric tape or forcing the slider past intact stops, as this can fray the edges and make it impossible to secure the new top stops properly.

Community discussion
Share your experience or ask a question. Comments are reviewed before publication.