
Finding the correct replacement zipper slider head requires matching two critical specifications: the zipper type and the precise size. A slider is not a one-size-fits-all component. To identify what fits your existing zipper, you must determine whether your zipper is coil, metal, molded plastic, or invisible, and then measure the exact width of the closed teeth in millimeters. This guide details how to decode these factors so you can confidently restore your garments, bags, or outdoor gear without purchasing incompatible parts.
Understanding Zipper Types and Their Specific Sliders
Zippers are categorized by the material and shape of their interlocking teeth, which directly dictate the internal geometry of the zipper slider head. The slider must match this geometry precisely to guide the teeth into alignment. If you attempt to use a slider designed for one material on another, the zipper will jam, slip, or fail to close entirely.
There are four primary zipper types you will encounter in everyday items:
Products mentioned in this guide
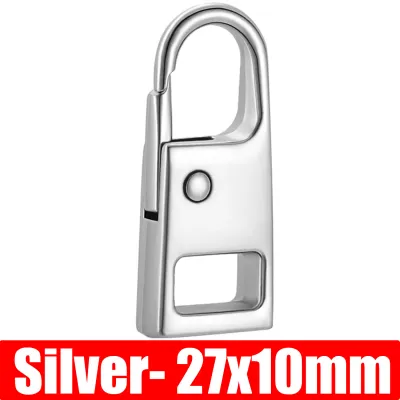
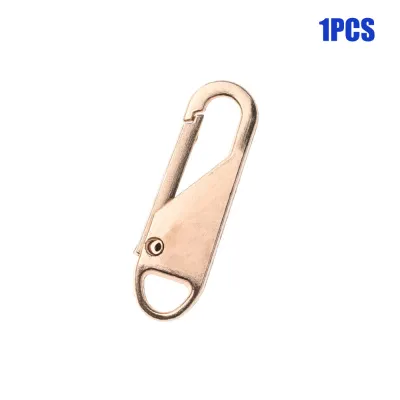
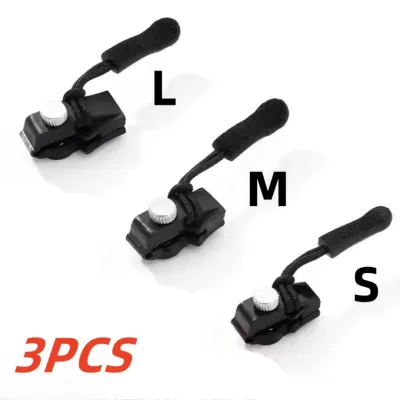
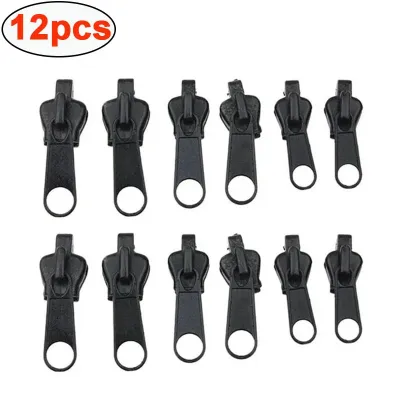
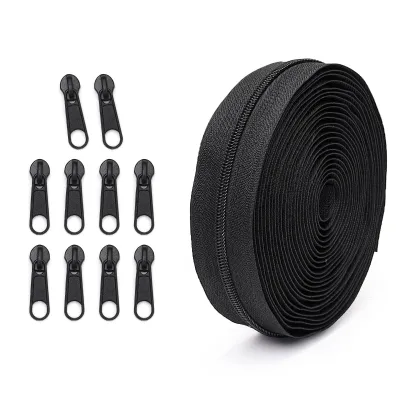
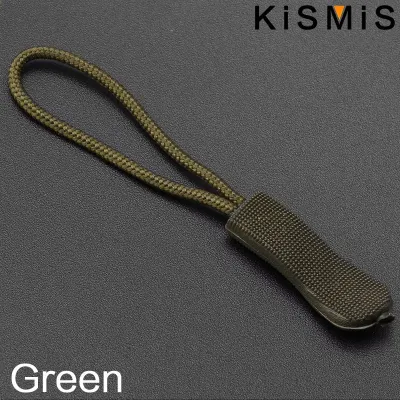
Prices are valid at publication and may change. Please refer to the product page for the latest price.
- Coil Zippers (Nylon/Polyester): These feature a continuous spiral of synthetic monofilament sewn onto the zipper tape. The teeth are flexible and rounded, requiring a slider with a wide, smooth internal channel to accommodate the continuous loop.
- Metal Zippers: These consist of individual metal teeth clamped onto the fabric tape at regular intervals. The slider for a metal zipper has flat, precise internal guides designed to grab and align these rigid, individual teeth.
- Molded Plastic Zippers: These feature individually molded, chunky plastic teeth melted directly onto the tape. The corresponding slider has a deep, square-shaped channel to clear the thick profile of the plastic blocks.
- Invisible Zippers: A specialized subset of coil zippers where the coils are mounted on the reverse side of the tape, making them hidden from the front of the garment. The slider for an invisible zipper is uniquely narrow and has deep grooves that flip the coils outward as it passes.
Because of these distinct structural shapes, a slider engineered for a metal zipper will not function on a coil or molded plastic zipper, and vice versa. Always identify the teeth style first before looking at sizes.
Decoding Zipper Sizes: What the Numbers Actually Mean
Once you know the zipper type, you must determine its size. Zipper sizes are represented by a standardized numbering system—such as #3, #5, #8, or #10—which generally corresponds to the width of the closed interlocking teeth measured in millimeters. For instance, a #5 zipper has closed teeth that measure approximately 5 mm across, while a #10 zipper measures roughly 10 mm.

These sizes are typically designated for specific applications based on weight and durability requirements:
- #3 Zipper: Best suited for lightweight garments, delicate dresses, skirts, cushion covers, and inner pockets where a discreet closure is preferred.
- #5 Zipper: The industry standard for everyday items. You will find this size on casual jackets, jeans, medium-weight backpacks, tote bags, and standard home textiles.
- #8 and #10 Zippers: Heavy-duty options designed to withstand high tension and harsh environments. These are common on heavy winter coats (often purchased in Singapore for overseas travel), luggage, tents, boat covers, and outdoor gear.
While these numbers offer an excellent reference point, physical dimensions can vary slightly between manufacturers. A #5 slider from one brand might measure 5.4 mm internally, while another might be 5.8 mm. Because of these minor variations, treat the size number as a nominal guide and always check the physical dimensions of your zipper tape and slider channel when sourcing replacements. The overall width of the slider body scales proportionally with the size number, which affects how it passes through the zipper tape and stops.
Step-by-Step Guide to Identifying Your Existing Zipper
To avoid purchasing an incompatible replacement, perform a systematic inspection of your existing hardware. Follow these steps to determine the exact specifications of your zipper.
Checking the Old Slider for Manufacturer Marks
Before taking any physical measurements, inspect the original slider head closely. Turn the slider over and examine the flat reverse side or the back of the pull tab. Reputable manufacturers frequently stamp the size number directly onto the metal casing. You might see a single digit like “3”, “5”, or “10”, which immediately tells you the size class. You may also find brand markings such as “YKK”, “SBS”, or “IDEAL”. If the slider is heavily worn, painted over, or from a generic manufacturer, these markings may be faint or entirely absent, meaning you will need to proceed with manual measurements.
Measuring the Closed Teeth Width
If there are no legible markings on the slider, you can determine the size by measuring the zipper teeth. Zip the item closed so the teeth are fully interlocked. Using a digital caliper or a precise millimeter ruler, measure the distance across the interlocking teeth from one outer edge to the other. Do not include the fabric tape in this measurement; measure only the physical teeth. Take measurements at two or three different points along the zipper track to account for any wear, stretching, or manufacturing variances. Round your measurement to the nearest whole millimeter to find your nominal size number. For example, a measurement of 4.8 mm to 5.2 mm indicates a standard #5 zipper.
Identifying the Teeth Material and Shape
Next, confirm the exact material and shape of the zipper teeth through visual and tactile inspection. Run your finger along the closed zipper track. If it feels like a continuous, smooth, flexible plastic ridge, you have a coil zipper. If you feel distinct, hard, individual metal blocks with sharp edges, it is a metal zipper. If the track consists of chunky, blocky, individual plastic teeth that resemble puzzle pieces, it is a molded plastic zipper. Note these findings carefully, as you must purchase a slider designed specifically for that material profile to ensure smooth gliding.
Choosing the Right Slider Locking Mechanism
Once you have established the correct size and type of your zipper slider head, you must select the appropriate locking mechanism. The internal lock type determines how the slider behaves under tension and prevents the zipper from opening on its own during use.
There are four primary locking mechanisms available:
- Non-Lock Sliders: These sliders slide freely along the track whenever any lateral force is applied to the zipper tape. They are ideal for bags, backpacks, cushions, and luggage, where you want to easily pull the fabric apart to open the compartment without needing to pull the slider tab directly.
- Auto-Lock Sliders: These feature a small internal pin that drops into the teeth channel when the pull tab is released, locking the slider instantly in place. They are essential for trousers, skirts, dresses, and activewear to prevent accidental openings.
- Semi-Auto Lock Sliders: These only lock when the pull tab is pushed completely flat against the slider body. When the tab is raised, the lock disengages, allowing smooth movement. They are commonly used on jackets and casual apparel.
- Pin Lock Sliders: These utilize tiny pins on the underside of the pull tab itself that press directly into the zipper teeth when the tab is folded down. They are often found on vintage jackets and heavy-duty outerwear.
While the locking mechanism does not change how the slider fits onto the physical teeth, choosing the wrong lock type can severely impact usability.
Avoiding Common Compatibility and Sizing Mistakes
Replacing a zipper slider head is a straightforward repair, but small oversights can lead to failed installations or damaged garments. One of the most common errors is assuming all sliders of the same size number are identical. A generic #5 slider may have slightly different internal tolerances or channel depths compared to a branded #5 slider. If you are mixing brands, always verify the physical dimensions and test the slider on a small section of the track before completing the repair.
Never force a slider onto the zipper track if you encounter significant resistance. Forcing an incompatible or incorrectly sized slider can permanently bend metal teeth, crack molded plastic blocks, or unravel the delicate stitching of a coil zipper. If the slider does not slide on smoothly with moderate hand pressure, double-check your measurements and type identification.
Additionally, remember that replacing a slider usually requires removing the top stops at the end of the zipper tape to slide the old head off and the new one on. If the zipper tape itself is frayed, torn, or missing teeth near the top or bottom, installing a new slider will not resolve the issue. In such cases, the structural integrity of the zipper is compromised, and a complete zipper replacement is necessary.
Frequently Asked Questions (FAQ)
Can I mix slider and zipper brands?
While industry standards exist, internal tolerances and teeth profiles can vary by brand. Mixing brands can work if the nominal size number and zipper type match perfectly, but it is highly recommended to verify the closed teeth width in millimeters first. Always check the seller’s return policies in case the replacement slider fits too tightly or too loosely on your specific zipper track.
Why does my new slider keep splitting the zipper?
If a newly installed slider fails to interlock the teeth properly and causes the track to split, it is typically due to three common issues: the slider size is incorrect (too wide for the teeth), the slider is designed for a different zipper type (such as using a metal zipper slider on a coil zipper), or the internal cavity of the slider is worn or defective. Re-measure your closed teeth width and double-check the teeth material to ensure you have the correct match.

Community discussion
Share your experience or ask a question. Comments are reviewed before publication.