
Plain plastic gift bags are highly durable, water-resistant, and budget-friendly, but their utilitarian appearance often lacks the festive warmth of traditional paper wrapping. Transforming these basic carriers into elegant, personalized gift packages is entirely possible with a few strategic styling techniques. By combining structured tissue paper arrangements with securely tied ribbons and thoughtful embellishments, you can elevate a simple plastic bag into a sophisticated presentation that rivals high-end boutique packaging. The key lies in understanding how to work with the smooth, flexible nature of plastic, ensuring your decorations stay firmly in place while adding volume and color.
Gathering Your Materials and Tools
Selecting the right materials is the first step to achieving a professional finish. When choosing tissue paper for a plastic bag, look for a weight of around 14 to 17 gsm (grams per square meter). This thickness provides enough stiffness to hold its shape above the bag’s rim without tearing easily. If your plastic bag is semi-transparent or clear, select vibrant or highly opaque tissue paper to obscure the gift inside; if the bag is solid white or colored, choose a contrasting shade of tissue paper to create an eye-catching border along the top edge.
Ribbon selection requires careful consideration of texture because smooth plastic surfaces offer very little friction. While satin ribbon looks exceptionally luxurious, it tends to slip down plastic handles easily unless tied with a secure knotting technique. Grosgrain ribbon, with its ribbed texture, provides excellent grip and holds its shape beautifully when tied into structured bows. Organza ribbon offers a lightweight, sheer alternative that adds elegance without weighing down thin plastic handles. For a rustic or minimalist look, cotton twill or paper raffia can also be used, as their natural fibers cling well to plastic.
Products mentioned in this guide
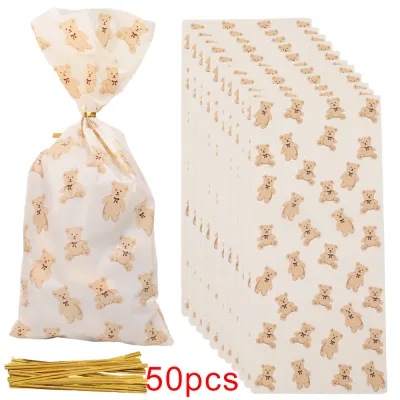
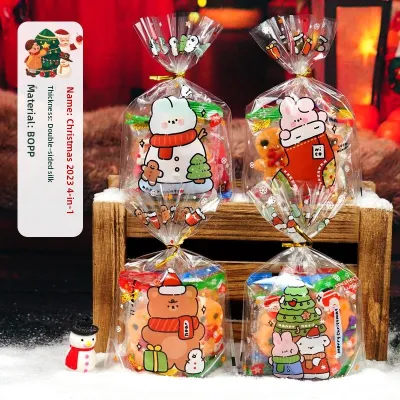
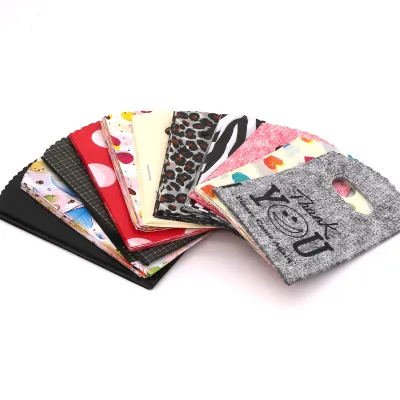

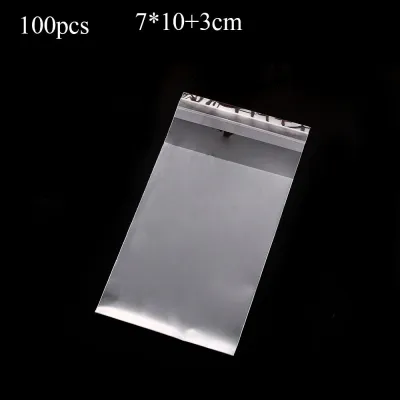
Prices are valid at publication and may change. Please refer to the product page for the latest price.
Having the correct tools on hand prevents damage to both the bag and the decorative elements. A pair of sharp fabric scissors is essential for clean, fray-free ribbon cuts. Double-sided tape is invaluable for anchoring slippery ribbons and securing tissue paper folds discreetly. If you plan to reinforce the handles of a thin plastic bag, keep a standard hole punch and some heavy cardstock on hand to create sturdy backing pieces that distribute weight evenly.
Preparing the Tissue Paper Interior
The way you arrange tissue paper inside a plastic gift bag determines its overall structure and visual impact. Instead of simply stuffing the paper inside, which can result in a crumpled and messy look, use deliberate folding techniques to create volume and clean lines. The classic “pinch-and-fluff” method is highly effective for adding height. Lay a sheet of tissue paper flat on a clean surface, pinch it firmly in the exact center, lift it up, and use your other hand to gently smooth the corners downward. This creates a neat, cone-like shape with flared edges that can be placed directly into the bag.

For a more structured, modern aesthetic, try the fan-folding or pleating technique. Lay two sheets of contrasting colored tissue paper on top of each other, slightly offset by about two centimeters. Fold the sheets back and forth in accordion-style pleats, then pinch the bottom of the folded stack and let the top fan out. When placed inside the plastic bag, these pleats create crisp, geometric lines that contrast beautifully with the soft curves of the bag.
Layering multiple colors is an excellent way to coordinate your packaging with a specific theme or holiday. To achieve a balanced look, place a darker or more vibrant shade on the outside layer and a lighter, neutral shade on the inside. This framing effect draws the eye upward to the opening of the bag.
When placing the tissue paper inside, adjust the height so that the tips of the paper extend approximately five to eight centimeters above the rim of the bag. If the paper sits too low, it will be hidden from view; if it extends too high, it may flop over and look untidy. Ensure the bottom of the tissue paper wraps completely around the gift to keep it centered and secure within the bag.
Step-by-Step Ribbon Techniques for the Handles
Ribbons add movement, color, and a sense of luxury to plain plastic packaging. Because plastic handles are smooth and flexible, standard tying methods can cause the ribbon to slide, bunch, or pull the handles out of shape. Applying specific knotting and wrapping techniques ensures your decorations remain secure and visually balanced.
Creating a Classic Bow on the Handles
A symmetrical, well-proportioned bow instantly elevates the look of any gift bag. To begin, cut a length of ribbon approximately 50 to 60 centimeters long, depending on the width of your bag. To prevent the ribbon from sliding down the smooth plastic handles, do not simply tie it around one side. Instead, thread the ribbon through the center of both handles, bringing the ends together at the front of the bag. This anchors the ribbon against the tension of both handles, keeping it centered.
Tie a secure half-knot at the base of the handles, pulling it snug but not so tight that it warps or pinches the plastic. To form the bow, create two equal loops with the ribbon ends. Cross the left loop over the right loop, tuck it under, and pull it through the central opening. Adjust the loops and tails until they are symmetrical and proportional to the size of the bag.
To finish the bow with a professional touch, trim the tails at a clean 45-degree angle. Alternatively, you can fold the ribbon tail in half vertically and cut upward at an angle from the folded edge to the outer edge, creating a classic swallowtail shape. If you are using synthetic ribbon like satin or grosgrain, you can carefully pass the cut edges near a small flame for a fraction of a second to seal the fibers and prevent fraying.
Wrapping and Tying a Handle Knot
For a modern, minimalist presentation, wrapping the handles themselves offers a sleek alternative to a traditional bow. This technique is particularly useful for plastic bags with rigid or thick loop handles. Measure a length of ribbon that is roughly three times the length of the handle you wish to cover. Secure one end of the ribbon to the inner base of the handle using a small piece of high-tack double-sided tape.
Begin wrapping the ribbon tightly around the handle, overlapping each turn by about half the ribbon’s width to ensure the plastic underneath is completely concealed. Maintain consistent tension as you wrap to prevent the ribbon from bunching or slipping. Once you reach the opposite end of the handle, secure the ribbon with another small piece of double-sided tape on the inside of the bag.
To finish the look, tie a simple, elegant knot at the base of the wrapped handle. Cut a separate, shorter piece of ribbon, loop it around the base of the handle, and tie a single square knot. Leave the tails hanging straight down along the side of the bag. This clean, tailored look works exceptionally well with wide grosgrain or cotton ribbons, providing a sophisticated contrast to the smooth plastic exterior.
Adding Final Decorative Touches
Once your tissue paper and ribbons are securely in place, you can add personalized embellishments to complete the presentation. Gift tags are a classic addition that can be attached in several creative ways. Instead of taping a tag flat against the plastic, thread a piece of fine twine or embroidery floss through the tag and tie it directly into the knot of your main ribbon. Alternatively, use a mini wooden clothespin to clip the tag to the rim of the bag or to one of the ribbon tails, adding a charming, three-dimensional element.
Applying stickers, stamps, or decals directly to the plain plastic exterior can add visual interest, but it requires some preparation. Standard paper stickers may peel off smooth plastic over time, especially in humid climates. Opt for vinyl decals or high-tack adhesive labels, which bond more effectively to plastic surfaces. If you want to use ink stamps, ensure you use a permanent, solvent-based ink designed for non-porous surfaces; standard water-based craft inks will smear and rub off on plastic.
Incorporating natural elements is an excellent way to add texture and a seasonal touch to your gift wrapping. Tuck a small sprig of dried lavender, a stem of eucalyptus, or a small dried flower into the knot of your ribbon. These natural textures contrast beautifully with the synthetic smoothness of the plastic bag. To ensure they stay in place, secure the stems with a tiny dab of double-sided tape or tie them tightly with the ribbon itself.
Troubleshooting Common Wrapping Mistakes
Decorating plastic bags can sometimes present unique challenges due to the material’s flexibility and lack of grip. If you find your ribbons sagging or sliding down the handles, the most effective remedy is to create a hidden anchor. Apply a small strip of double-sided tape to the underside of the handle where the ribbon rests. Press the ribbon firmly onto the tape; this will keep it perfectly positioned without affecting the exterior look of the bag.
If your tissue paper looks flat, crumpled, or unevenly distributed, avoid the temptation to pull it out and start over, as this can crease the paper further. Instead, reach inside the bag and gently lift the tissue paper from the very bottom, pushing upward to restore its volume. If the paper continues to sink, cut a piece of stiff cardstock to match the dimensions of the bag’s bottom and place it inside. This cardboard insert provides a flat, stable base that supports both the gift and the tissue paper, preventing them from collapsing inward.
Plastic bags can easily stretch, warp, or tear if the gift inside is too heavy or if the ribbons are pulled too tightly. To prevent this, always lift the bag by its actual handles rather than the decorative ribbons to test its strength. If the plastic around the handles begins to stretch or show stress marks, reinforce the area by cutting a strip of heavy cardstock, punching holes to match the handle openings, and taping it to the inside rim of the bag. This simple reinforcement distributes the weight of the gift evenly, ensuring your beautifully decorated bag remains intact during transit.
Frequently Asked Questions (FAQ)
Can I use hot glue to attach decorations to a plastic gift bag?
Using a standard high-temperature hot glue gun directly on thin plastic gift bags is not recommended, as the intense heat can instantly melt, warp, or burn holes through the plastic material. If you must use hot glue, opt for a low-temperature glue gun and apply the glue to the decoration first, letting it cool for a few seconds before pressing it gently onto the plastic. For a safer and more reliable bond, use double-sided tape, glue dots, or a specialized clear craft adhesive designed for plastics.
How do I keep tissue paper from falling inside the bag?
To prevent tissue paper from slipping down into the bag, ensure the bottom edges of the paper are securely anchored. You can tuck the lower folds of the tissue paper directly under the gift itself, using the weight of the item to hold the paper in place. If the gift is very light or small, apply a small piece of double-sided tape to the interior bottom of the bag and press the center fold of the tissue paper onto it to keep it upright and perfectly positioned.

Community discussion
Share your experience or ask a question. Comments are reviewed before publication.