
Elevating plain packaging is a highly effective, cost-efficient way to show appreciation to your guests. Whether you are preparing for a wedding, a corporate gathering, or an intimate birthday party, transforming standard party favor bags into custom-designed keepsakes sets a thoughtful tone before guests even open their gifts. By combining leftover wrapping paper scraps, elegant ribbons, and basic stationery tools, you can craft professional-looking packaging that perfectly matches your event’s theme.
Selecting the Right Bags, Papers, and Adhesives
Selecting the right base materials is the foundation of successful gift packaging. Plain paper bags come in various weights and finishes, from rustic brown kraft paper to sturdy white cardstock. Leftover wrapping paper scraps provide an excellent source of patterns and colors, allowing you to recycle beautiful designs that might otherwise go to waste. When choosing ribbons, consider a mix of textures such as satin, grosgrain, organza, or rustic twine to add tactile contrast to the smooth paper surfaces.
The choice of adhesive is critical to prevent your decorated bags from warping or falling apart. Porous materials like standard kraft paper absorb moisture quickly, meaning wet liquid craft glues can easily saturate the fibers, leading to unsightly wrinkles and warping. For these surfaces, dry adhesives such as high-quality double-sided tape, glue rollers, or acid-free glue sticks are highly recommended. Conversely, coated, glossy, or laminated papers have non-porous surfaces that resist standard glue sticks; these require high-tack double-sided tape or specialized craft glue dots to ensure a permanent bond.
Products mentioned in this guide
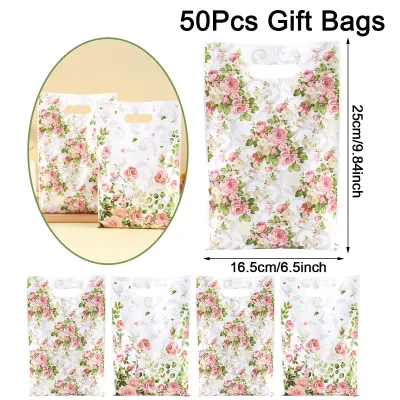
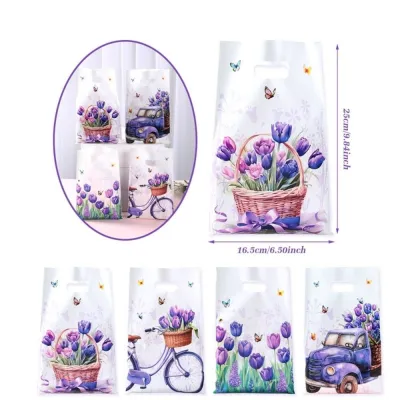
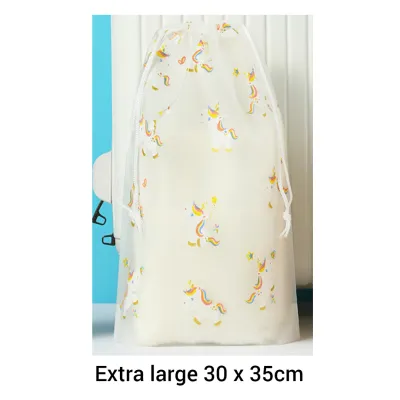
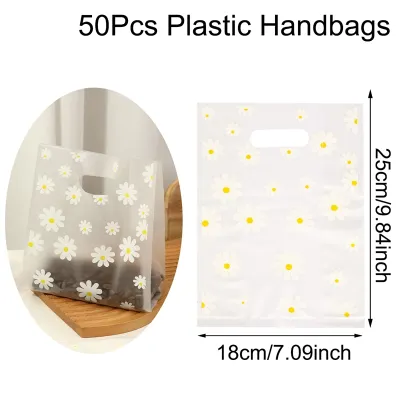
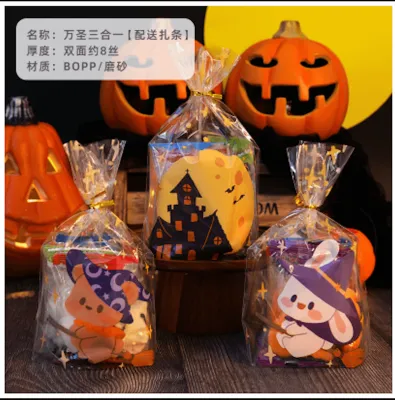
Prices are valid at publication and may change. Please refer to the product page for the latest price.
Proportion is another key element that determines the visual success of your design. A small favor bag measuring 10 by 15 centimeters will quickly look cluttered if adorned with a wide 25-millimeter ribbon or a large-scale floral pattern. For smaller containers, opt for narrow ribbons (between 3 and 10 millimeters) and delicate, small-scale paper patterns like micro-dots or fine stripes. Larger bags can easily support bolder, large-scale graphic prints and wider, more dramatic ribbon wraps without losing their balance.
Preparing the Base Bags for Embellishments
Before applying any decorative elements, take the time to prepare your base bags to ensure a clean canvas. Lay each bag flat on a clean, dry self-healing cutting mat and gently smooth out any creases or folds that may have occurred during shipping or storage. If you plan to fill the bags with heavier items—such as small jars of local preserves, heavy baked goods, or dense stationery sets—reinforce the bottom. Cut a piece of rigid cardstock slightly smaller than the bag’s bottom gusset, slide it inside, and press it flat against the bottom to distribute the weight evenly and prevent sagging.

Adhesive compatibility should always be verified before you commit to decorating your entire batch of bags. Perform a quick patch test by applying a small amount of your chosen glue or tape to a hidden area, such as the inside of the top fold or the bottom flap. Let it sit for 15 minutes to observe how the paper reacts; check for any signs of bleeding, color changing, wrinkling, or failure to adhere. This simple step prevents you from ruining dozens of bags with an incompatible adhesive.
Safety and comfort are paramount during any crafting session. Always use sharp scissors or a designated craft knife on a stable cutting mat to ensure clean cuts and prevent slipping. If you are using solvent-based liquid adhesives that emit strong fumes, work in a well-ventilated room with windows open or a fan running. Keep your workspace organized, keeping sharp tools out of reach of children if they are assisting with simpler tasks like folding or placing tape.
Crafting Wrapping Paper Accents and Appliqués
Transforming simple wrapping paper scraps into custom appliqués allows you to add color, texture, and dimension to plain bags. This process turns discarded paper into bespoke design elements that elevate the entire presentation.
Cutting and Layering Paper Shapes for Depth
Craft punches and stencils are incredibly useful tools for creating consistent, themed shapes such as stars, hearts, botanical leaves, or initials. If you do not have craft punches, you can draw custom shapes onto a piece of cardstock to use as a template, tracing them onto the back of your wrapping paper before cutting them out with sharp detail scissors. To keep your craft punches performing smoothly, occasionally punch through a sheet of aluminium foil to sharpen the blades, or wax paper to lubricate them.
To create a sense of depth and make your designs pop, experiment with layering different patterns and textures. Cut out the same shape in three progressive sizes using coordinating wrapping papers. Instead of gluing them flat against one another, apply a small square of double-sided foam tape between each layer. This elevates the elements, casting soft shadows on the bag’s surface and giving the embellishment a sophisticated, three-dimensional appearance. Alternatively, you can fold small paper tabs behind a flat cutout to make it stand slightly off the bag surface.
Building Custom Paper Pockets and Tags
Adding a functional paper pocket to the front of a favor bag is an excellent way to hold additional items like wooden utensils, napkins, or personalized name cards. To construct a pocket, cut a rectangular piece of wrapping paper that is slightly wider and taller than your desired pocket size. Fold the left, right, and bottom edges backward by 5 millimeters to create clean, folded tabs, then apply double-sided tape along these tabs and press the pocket firmly onto the front of the bag. Leave the top edge unglued to allow items to slide in easily.
Gift tags provide a dedicated space for personal messages while serving as a beautiful visual anchor for your ribbons. To craft a durable tag, glue your chosen wrapping paper onto a piece of rigid cardstock (ideally between 200 and 300 gsm) to give it weight and structure. Cut the laminated cardstock into a classic tag shape—such as a rectangle with clipped top corners—and use a standard hole punch to create an opening at the top. To prevent the ribbon from tearing the paper during transit, reinforce the punched hole with a small adhesive paper reinforcer or a metal eyelet.
Applying Ribbon Closures and Structural Details
Ribbons serve both a functional and aesthetic purpose, securing the contents of your party favor bags while adding a touch of luxury. The way you tie and secure your ribbons can completely alter the style of the finished packaging.
Tying Secure and Decorative Bows
A beautifully tied bow is a classic finishing touch that instantly elevates any favor bag. To tie a classic bow that stays symmetrical, loop the ribbon around the top of the bag, cross the tails, loop one side, wrap the remaining tail around the base of the loop, and pull it through the center gap. For a more dramatic, festive look, try a double-loop bow by holding two strands of ribbon together as you tie, or by creating two loops on each side before securing the center knot.
The physical characteristics of your ribbon material will dictate how your bows behave. Wire-edged ribbon contains thin wires along the margins, making it exceptionally easy to sculpt into voluminous, structured bows that will not flatten or lose their shape when packed. Satin, grosgrain, and cotton ribbons offer a softer, more fluid drape that looks elegant but can be prone to slipping. To prevent soft satin bows from untying during transport, apply a tiny dot of clear craft glue directly to the center of the knot once it is tied, or secure it with a tight double knot. Always trim the ribbon tails at a sharp 45-degree angle or cut a clean “V” shape to prevent the fabric from fraying.
Adding Woven Wraps and Custom Ribbon Handles
You can easily upgrade basic paper bags by replacing their standard paper twist handles with luxurious ribbon handles. Carefully snip off the existing paper handles from the inside of the bag. Use a single-hole punch to create two clean holes on the front panel and two matching holes on the back panel, ensuring they are aligned horizontally. Thread a length of grosgrain or satin ribbon from the inside of the bag to the outside, then back through the adjacent hole, and tie thick double knots on the inside of the bag to secure the ribbon ends.
Woven ribbon wraps can also be applied to the body of the bag to create a tailored, band-like effect. Measure a length of wide ribbon that can wrap completely around the upper third of the bag with a small overlap at the back. Apply a strip of double-sided tape along the back of the ribbon, wrap it tightly around the bag, and press the ends together neatly at the back fold. This creates a clean, seamless band that acts as a beautiful background for your paper appliqués or custom gift tags.
Coordinating Colors and Patterns for Your Party Theme
Achieving a professional look relies heavily on coordinating your colors and patterns to create a cohesive visual story. When mixing patterns, a safe and elegant rule of thumb is to pair a busy, large-scale pattern with a solid, textured element to avoid visual clutter. For example, if you are using a vibrant, multi-colored tropical floral wrapping paper scrap, pair it with a solid-colored ribbon that matches one of the subtle accent colors in the paper, such as a soft sage green or a neutral cream.
These decorating techniques are highly adaptable and can be tailored to suit any event theme or seasonal celebration. For baby showers or gender reveal parties, combine soft pastel papers with delicate lace or sheer organza ribbons to create a gentle, whimsical aesthetic. For year-end holiday gatherings or festive celebrations in Singapore, pair deep forest green or crimson wrapping paper scraps with metallic gold accents and rich velvet ribbons for a luxurious, warm feel. If you prefer a modern, minimalist look, use simple brown kraft bags adorned with monochrome geometric paper cutouts and tied with rustic jute twine or black cotton ribbon.
Inspecting the Finished Bags for Durability and Polish
Once your party favor bags are fully decorated, conduct a quick inspection to ensure they are durable enough to survive transport and handling. Use this practical checklist before packing them with treats:
- Are all liquid adhesives completely dry and free of tacky residue?
- Are the edges of all paper pockets and appliqués pressed flat without any lifting?
- Are the ribbon handles securely anchored with knots that are too large to slip through the punched holes?
- Do the bows feel secure, and are the ribbon tails trimmed cleanly without fraying?
Proper storage is essential to keep your finished bags looking pristine before the event. If your bags feature flat decorations, you can stack them gently on top of one another in a clean plastic storage container. If you have added three-dimensional elements, such as foam tape layers or structured wire-edged bows, store the bags upright or place sheets of acid-free tissue paper between them. In Singapore’s humid tropical climate, keeping your completed paper crafts in a cool, dry room away from direct sunlight—and adding a few silica gel packets to the storage container—will prevent the paper from softening or the glue from losing its bond.
Frequently Asked Questions (FAQ)
How do I keep wrapping paper from wrinkling when I glue it to the bag?
Wrapping paper wrinkles when it absorbs excess moisture from wet liquid glues, causing the paper fibers to expand unevenly. To prevent this, switch to low-moisture adhesives such as double-sided tape, permanent glue rollers, or dry glue sticks. When applying the paper accent, place it down carefully and use a bone folder, a clean squeegee, or the edge of a plastic card to smooth the paper from the center outward. This technique pushes out trapped air bubbles and ensures flat, even contact without stretching or warping the paper.
Can I use these decorating techniques on plastic or cellophane favor bags?
Yes, you can adapt these techniques for plastic or cellophane bags, but you must adjust your materials to accommodate the non-porous surface. Standard paper glues and glue sticks will not adhere to plastic; instead, use high-tack double-sided tape, clear glue dots, or permanent tape runners. Additionally, because thin plastic can easily tear when subjected to weight or tension, avoid punching holes directly into the plastic for ribbon handles. Instead, fold a sturdy strip of cardstock or thick wrapping paper over the top edge of the bag, secure it with double-sided tape, and punch your holes through this reinforced paper collar to distribute the weight safely.

Community discussion
Share your experience or ask a question. Comments are reviewed before publication.