
Transforming a plain paper gift bag into a stunning, custom-tailored package is an excellent way to elevate any gift-giving occasion. Whether you are preparing for a festive holiday, a wedding, or a corporate event, personalizing your packaging adds a thoughtful touch that shows the recipient you care about every detail. Plain kraft or white paper bags serve as the perfect blank canvas, waiting to be enhanced with textures, colors, and unique accents.
The key to achieving a professional, high-end look lies in selecting the right materials and mastering a few simple assembly techniques. By understanding how different paper weights interact with various ribbons and adhesives, you can create durable, beautiful designs that hold up during transport. This guide will walk you through the essential tools, step-by-step ribbon applications, and creative embellishment ideas to help you craft polished, custom gift bags.
Gathering the Right Tools and Materials
Before beginning your project, it is crucial to match the weight and finish of your paper gift bags with compatible ribbons and adhesives. Paper bags generally range from lightweight kraft paper (around 80 to 100 GSM) to heavy-duty cardstock (120 to 150+ GSM). Heavyweight bags can support thick, luxurious ribbons and heavier embellishments, whereas lightweight bags require delicate materials to prevent the paper from sagging or tearing.
Products mentioned in this guide
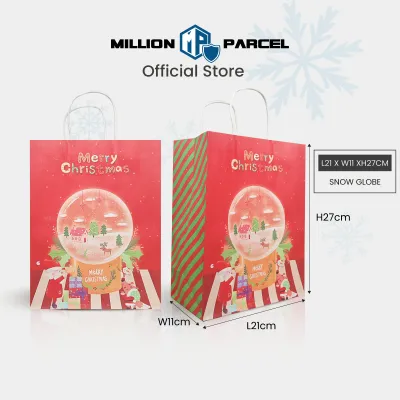
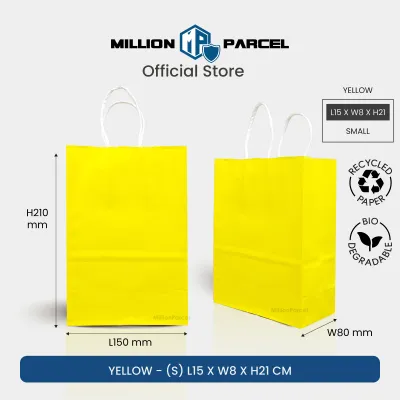
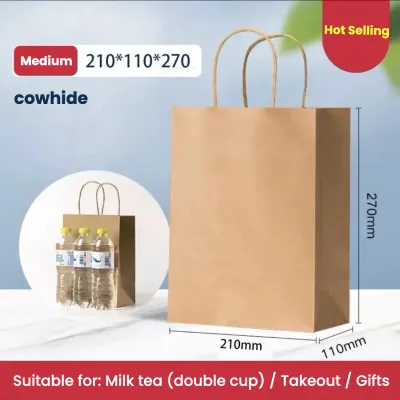
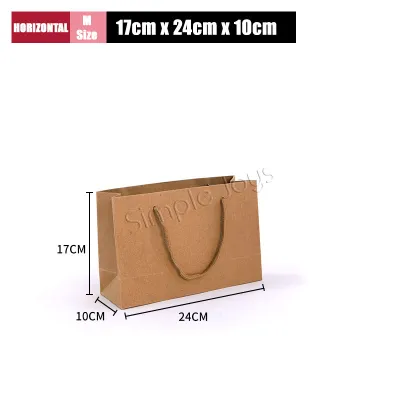
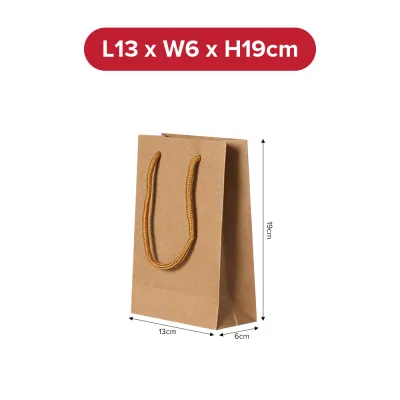
![[Hommly SG Instock] Square Colour Paper Bag Cake carrier Gift bag Kraft Paper Bags Gift Bags Xmas Christmas Dessert bag](https://img.lazcdn.com/g/p/bfdab579c8fcc8f10d10d12e3cf31178.jpg_400x400q80.jpg_.webp)
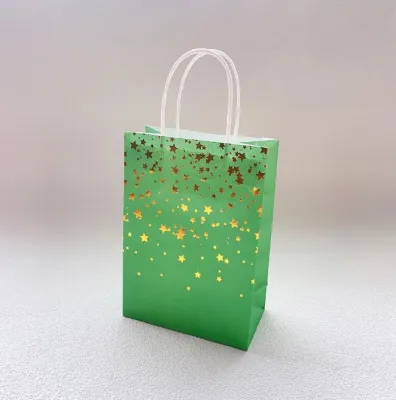
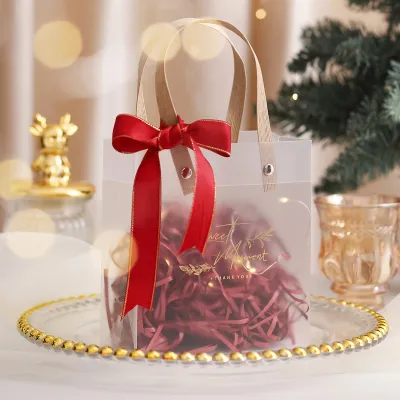
Prices are valid at publication and may change. Please refer to the product page for the latest price.
When selecting ribbons, consider both texture and structural integrity. Satin ribbons offer a smooth, glossy finish that catches the light beautifully, but they can be slippery to tie and secure. Grosgrain ribbons feature a ribbed texture that provides excellent grip, making them ideal for holding crisp, structured shapes. Organza is sheer and lightweight, perfect for adding a soft, airy layer without adding bulk, while natural cotton twine or jute cord offers a rustic, organic appeal.
Choosing the correct adhesive is the most critical step in ensuring your decorations stay in place without damaging the paper. Liquid craft glues contain water, which can easily saturate porous paper fibers, leading to unsightly warping, wrinkling, or dark bleed-through spots. For a clean, professional finish, dry adhesives such as double-sided tape, glue dots, or low-temperature hot glue are highly recommended. Always perform a quick spot test on the bottom or inside flap of your bag to verify how the adhesive interacts with the paper’s surface.
To achieve precise placement and prevent accidental creasing, prepare a clean, flat, and dust-free workspace. In humid climates, such as Singapore’s tropical environment, high relative humidity can soften paper fibers and prolong the drying time of liquid adhesives. Working in a cool, air-conditioned indoor space helps maintain the structural stiffness of the paper and ensures that adhesive tapes and glue dots cure and bond effectively.
Step-by-Step Ribbon Application Techniques
Applying ribbons with precision requires careful measurement and proper handling to avoid common pitfalls like fraying or uneven alignment. To determine the correct length of ribbon needed for a wrap-around design, wrap the ribbon around the bag’s body, add an extra 5 cm for overlap, and mark the cutting point. For ribbon handles, measure the length of the existing handles and multiply by two to ensure you have enough material for secure anchoring and decorative knots.

Always use dedicated, sharp fabric shears to cut your ribbons. Standard household or paper scissors often dull quickly and will chew through delicate ribbon fibers, leaving messy, frayed edges. Cut your ribbon at a sharp 45-degree angle to create a clean, modern look, or fold the ribbon end in half vertically and cut diagonally upward from the fold to create a classic, symmetrical chevron tail.
When securing decorative ribbon wraps around the body of the bag, tension control is vital. Paper bags naturally expand and flex when a gift is placed inside. If you pull the ribbon too tight during application, the bag will buckle, crease, or warp once it is filled. To prevent this, leave a tiny amount of slack—approximately 2 mm—when wrapping the ribbon horizontally or vertically around the bag, allowing the paper to expand naturally.
Tying and Attaching Classic Bows
The Two-Loop Method: Instead of trying to tie a perfect bow directly onto the bag’s handles—which often results in a wrinkled bag and an asymmetrical knot—it is far easier to construct the bow separately. Create two equal loops with your ribbon, cross them over each other, and feed one loop through the center gap. Pull gently to tighten, then adjust the loops and tails until they are perfectly balanced and symmetrical.
Securing the Bow: Once your bow is formed, apply a single high-tack glue dot or a small piece of double-sided foam tape directly to the back of the central knot. Press the bow firmly onto the desired spot on the paper bag, holding it in place for five seconds to establish a strong bond. Using foam tape adds a subtle three-dimensional lift, making the bow stand out from the bag’s surface.
Fluffing and Shaping: Slide your fingers inside the loops of the bow and gently pull outward to restore volume and shape. If you are using wire-edged ribbon, you can bend and curve the loops to create a dramatic, wind-swept look that holds its shape perfectly during transport. For satin or grosgrain ribbons, ensure the tails drape downward naturally by gently pulling them into place.
Layering and Weaving Multiple Ribbons
Combining Textures: Layering ribbons of different widths and textures is an easy way to add visual depth and sophistication to a plain bag. Try pairing a wide, structured base ribbon, such as a 38mm natural grosgrain, with a narrower, contrasting accent ribbon, like a 15mm metallic gold satin. The contrast between the ribbed matte base and the shiny metallic top layer creates an instant premium feel.
Applying the Layers: Lay your wider base ribbon flat on your clean workspace. Run a continuous line of ultra-thin double-sided tape directly down the center of the ribbon. Carefully align the narrower accent ribbon on top, pressing down firmly from one end to the other to ensure a smooth, bubble-free bond. This dry assembly method prevents bulky glue spots and keeps the layered ribbon flexible.
Weaving Techniques: For paper bags that feature pre-punched handle holes, you can weave a single length of ribbon in and out of the holes to create a beautiful, stitched border along the top collar of the bag. Secure the ends on the inside of the bag with a neat knot or a strip of high-tack tape, ensuring the woven ribbon lies flat against the paper surface.
Incorporating Embellishments for a Personalized Touch
Once your ribbons are in place, adding secondary embellishments can elevate your gift bag from simple to spectacular. The key to successful embellishing is maintaining visual balance. A well-designed bag typically follows the rule of thirds, placing the primary focal point—such as a large bow or a cluster of decorations—either near the top handles or in the lower-right third of the bag’s face. Avoid centering heavy items, which can make the design look static and heavy.
Lightweight, natural elements are highly popular for adding a tactile, organic touch to plain paper bags. Consider incorporating small sprigs of dried botanicals, such as lavender, eucalyptus, or baby’s breath, which pair beautifully with rustic kraft paper. To attach these, bind the stems together with a small piece of floral tape, tuck them under the central knot of your ribbon bow, and secure them with a tiny drop of low-temperature hot glue or a glue dot. You can also thread lightweight wooden charms, clay shapes, or custom gift tags onto the ribbon tails before tying your final knot.
Stamps, stickers, and decorative tapes offer endless opportunities to add custom patterns and messages to plain paper surfaces. Because plain kraft paper is highly porous, it absorbs ink beautifully, making it an ideal surface for rubber stamping. Use a high-quality pigment ink pad to stamp holiday greetings, floral patterns, or monogram initials onto the bag before you begin attaching ribbons. If you prefer a modern, geometric look, apply strips of colorful washi tape along the bottom border of the bag. Always run a clean finger firmly over the tape to ensure complete adhesion, as some low-tack decorative tapes can lift over time, especially in humid conditions.
Avoiding and Fixing Common Decorating Mistakes
Even with careful planning, mistakes can happen during the decorating process. Knowing how to prevent and correct these issues will save you time and materials. One of the most common errors is adhesive bleed-through, which occurs when liquid glue saturates thin paper, leaving dark, permanent stains. To prevent this, always prioritize dry adhesives like double-sided tape. If you must use liquid glue, apply a micro-dot using a toothpick, let it air-dry for 30 seconds until it becomes tacky, and then press the materials together.
If you accidentally misalign a ribbon or embellishment, do not pull it off quickly, as this will tear the delicate top layer of the paper bag. Instead, use a craft spatula or a hair dryer set to low heat to gently warm the adhesive backing. The heat will soften the glue, allowing you to slowly peel the ribbon away without damaging the paper fibers. Once removed, you can rub away any remaining adhesive residue with a clean finger before reapplying the decoration correctly.
Frayed ribbon edges can quickly make a beautiful gift bag look messy and unraveled. For synthetic ribbons made of polyester or nylon, you can easily seal the edges using heat. Carefully pass the cut edge of the ribbon near—but not directly into—the flame of a utility lighter for a fraction of a second. The heat will melt the synthetic fibers, creating a tiny, sealed bead that prevents future fraying. Safety Note: Always perform this step in a well-ventilated area away from paper products, and ensure children are supervised if they are assisting with the project. For natural fiber ribbons like cotton, linen, or silk, apply a tiny drop of clear fabric fray-check liquid to the cut edges instead.
Frequently Asked Questions (FAQ)
How do I stop ribbon from slipping on glossy or coated paper bags?
Glossy or UV-coated paper bags have a slick, non-porous surface that resists standard adhesives, causing ribbons and bows to slide off easily. To ensure a permanent hold, use high-tack double-sided acrylic tape or heavy-duty glue dots, which are specifically formulated to bond with non-porous materials.
If the paper bag is thick enough, you can also use a piece of fine-grit sandpaper to lightly scuff the small area where the ribbon or bow will be attached. This removes the glossy topcoat and creates a textured surface for the adhesive to grip. Alternatively, wipe the application area with a small amount of rubbing alcohol to remove any manufacturing oils or dust before applying your adhesive tape.
What is the best way to store decorated paper bags for future use?
To keep your decorated paper bags looking pristine for future occasions, store them completely flat in a cool, dry place. Place a sheet of acid-free tissue paper between each bag to prevent ribbons, bows, or delicate embellishments from snagging on one another or transferring adhesive residue.
Because high relative humidity can soften paper fibers and weaken adhesive bonds over time, store your prepared bags inside a sealed plastic storage container or a shallow drawer. Avoid stacking heavy items on top of the container to prevent crushing three-dimensional bows, delicate dried florals, or fragile paper handles.

Community discussion
Share your experience or ask a question. Comments are reviewed before publication.