
Transforming plain paper bags into custom gift packaging is an easy, budget-friendly way to elevate your gift-giving. By using simple stationery supplies like stamps, acrylic paints, ribbons, and stencils, you can turn a basic kraft or white paper bag into a personalized work of art. With plain bags costing under S$1 each at local stationery shops, this is a highly cost-effective alternative to expensive commercial gift wrap. This approach not only saves money but also adds a thoughtful, handmade touch that shows the recipient how much you care. Mastering a few basic decoration techniques allows you to create beautiful, sturdy packaging tailored to any occasion.
Gather Your Materials and Tools
Plain paper bags typically come in three main varieties: brown kraft paper, bleached white paper, and pre-colored paper. Brown kraft paper offers a rustic, organic look and is highly absorbent, making it excellent for stamping and ink-based designs. White paper bags provide a clean, high-contrast canvas that makes bright colors and intricate drawings pop. Pre-colored bags save time if you want a specific background hue, but you must ensure your decorative mediums are opaque enough to show up against the colored background.
Standard liquid school glue contains high water content, which can easily warp or wrinkle porous paper bags. Instead, opt for high-quality glue sticks for lightweight paper cutouts, or double-sided tape for clean, mess-free adhesion of ribbons and borders. For heavier three-dimensional embellishments, a low-temperature glue gun or a specialized craft adhesive applied with a small brush works best, as these options secure items quickly without oversaturating the paper fibers.
Products mentioned in this guide
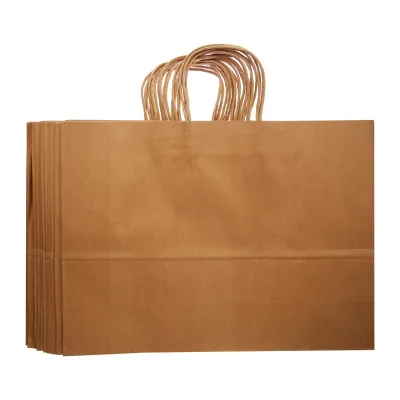
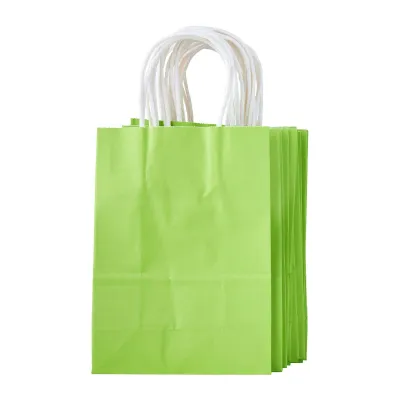
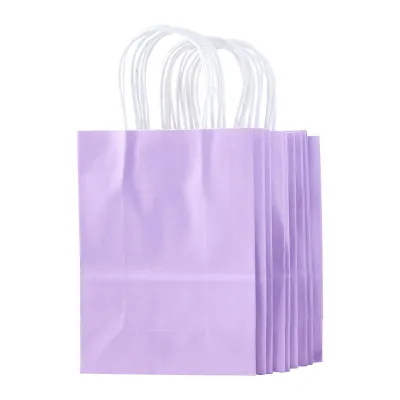
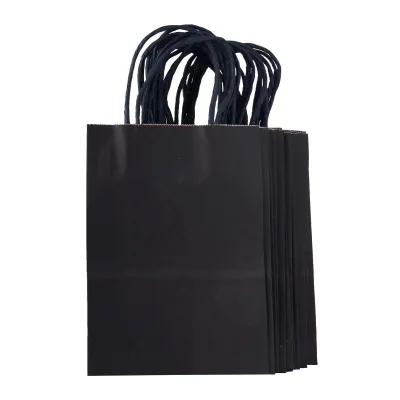
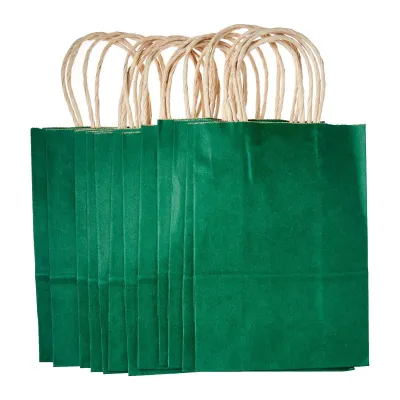
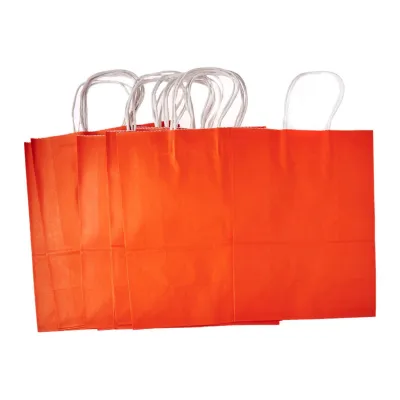
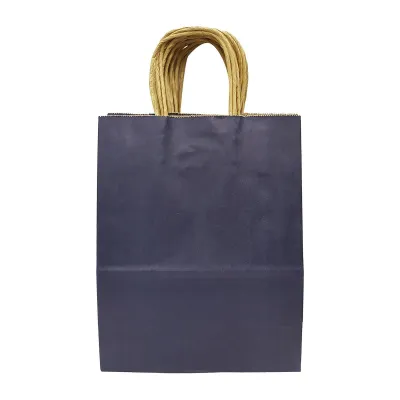
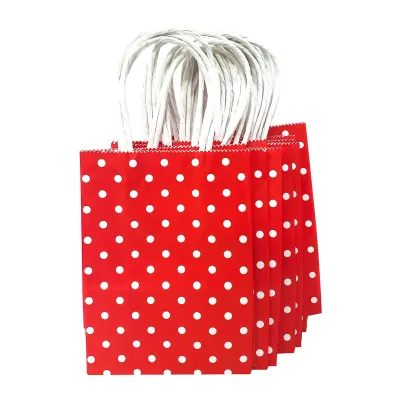
Prices are valid at publication and may change. Please refer to the product page for the latest price.
Water-based pigment ink pads are ideal for stamping because they dry relatively quickly and resist bleeding. Acrylic paints work well for hand-painting because they sit on top of the paper rather than soaking through completely, though they should still be applied in thin layers. For drawing and lettering, water-based brush pens, gel pens, and acrylic paint markers are excellent choices. Gather additional accents such as cotton twine, satin ribbons, dried botanicals, or custom gift tags to complete your toolkit.
Step-by-Step Techniques for Decorating Paper Bags
Before applying any paint, ink, or glue, prepare your workspace and the bag itself. Lay the paper bag completely flat on a clean, hard surface, smoothing out any minor creases with the palm of your hand. If the bag has pre-installed handles, fold them gently away from the main face of the bag to prevent them from creating uneven bumps underneath your working area. Placing a flat piece of scrap cardboard or thick cardstock inside the bag is a highly effective way to create a firm drawing surface and prevent any ink or paint from bleeding through to the back side of the bag.

Method 1: Stamping and Stenciling for Clean Patterns
Stamping and stenciling are excellent methods for creating clean, repeatable patterns across the surface of your paper bags. If you are using stencils, position the stencil on the flattened bag and secure all edges firmly with low-tack masking tape or painter’s tape. This prevents the stencil from shifting mid-process, which is the primary cause of blurry lines and smudged designs.
When applying ink or paint through a stencil, avoid using a soaking wet brush or sponge. Instead, dip a dense foam sponge or a stencil brush lightly into your paint or ink pad, then dab the excess onto a scrap piece of paper until the applicator is relatively dry. Apply the medium to the stencil using a gentle, vertical tapping motion rather than a sweeping brush stroke. This “stippling” technique prevents the paint from seeping underneath the edges of the stencil, ensuring sharp, crisp lines.
If you are using rubber or silicone stamps, press the stamp evenly onto your ink pad, ensuring the entire raised design is coated without flooding the recessed areas. Press the stamp firmly onto the paper bag in a single, downward motion without rocking it from side to side, as rocking can cause double-stamping or halo effects. Lift the stamp straight up.
Because Singapore’s humid climate can slow down the drying process of certain inks and acrylic paints, allow the decorated bag to sit undisturbed in a well-ventilated area for at least fifteen to thirty minutes. Avoid touching the design or folding the bag until the surface is completely dry to the touch. If you are in a hurry, a quick pass with a craft heat tool or a hair dryer on a cool, low setting can help set the ink safely.
Method 2: Hand-Painting and Custom Lettering
For a highly personalized touch, hand-painting and custom lettering allow you to write the recipient’s name or paint custom illustrations directly onto the bag. Always begin by sketching your design lightly with a hard pencil (such as an H or 2H pencil). Avoid pressing too hard, as heavy pencil marks can indent the soft paper fibers of the bag, making them difficult to erase or cover later.
When choosing your writing and painting instruments, check the paper weight of your bag. Standard kraft bags are often made from paper weighing between 70 to 100 grams per square meter (gsm). For paper of this thickness, water-based brush pens, gel pens, and acrylic paint markers are highly recommended because they offer rich color payoff without the excessive bleeding associated with alcohol-based permanent markers. If you prefer using paint, acrylic paint is highly suitable because its thick consistency sits on the surface of the paper, whereas watercolors contain too much water and will cause the paper bag to warp and buckle.
If you make a minor mistake while lettering or painting, do not panic. Because paper is highly porous, erasing ink is generally not possible, but you can easily correct or cover errors. Let the mistake dry completely, then apply a small dab of opaque white acrylic paint or a matching kraft-colored paint over the error to create a fresh canvas. Alternatively, you can cover the mistake by gluing a decorative paper shape, a stamped gift tag, or a beautiful dried leaf directly over the area, turning the error into an intentional design element.
Method 3: Adding Embellishments and Textures
Adding three-dimensional embellishments is an excellent way to elevate your paper bag from simple to sophisticated. When attaching items like wooden buttons, dried flower sprigs, or thick fabric ribbons, select an adhesive that can support the weight without warping the paper. Double-sided craft tape is ideal for flat ribbons and paper borders, while a small dot of low-temperature hot glue or a strong, quick-drying craft glue is ideal for heavier, textured items. Apply the adhesive sparingly to prevent it from oozing out from under the embellishment.
To add ribbon handles or attach hanging gift tags, you will need to punch holes into the bag. Use a standard single-hole punch to create clean, precise holes. To prevent the paper from tearing under the weight of the gift, reinforce the punched holes by applying self-adhesive paper reinforcement rings (often used for binder paper) to the inside of the bag, or install metal eyelets using an eyelet setting tool. Thread your ribbon, twine, or yarn through the holes and tie a secure knot on the inside of the bag.
When planning your embellishments, always balance the visual and physical weight of the decorations. Heavy items should be placed closer to the bottom or center of the bag to maintain its stability. If you place large, heavy decorations near the top rim, the bag may become top-heavy and tip over easily when placed on a table. Ensure that any attached elements do not interfere with the bag’s ability to stand upright on its flat bottom gusset.
Finishing Touches and Bag Reinforcement
Before placing your gift inside, take a few moments to ensure the bag is structurally sound. If your gift is slightly heavy—such as a jar of homemade jam or a small book—reinforce the bottom of the bag. Cut a piece of thick cardboard or chipboard to match the exact dimensions of the bag’s bottom gusset, and slide it flat into the bottom of the bag. This simple addition distributes the weight of the gift evenly, preventing the paper bottom from sagging or tearing.
To secure the top of the bag and create a polished, professional presentation, fold the top two inches of the bag downward toward the back. You can punch two holes through this folded flap, thread a beautiful satin ribbon through, and tie it into a neat bow. Alternatively, secure the folded edge with a custom sticker, a strip of decorative washi tape, or a small wooden peg holding a personalized gift tag.
Inside the bag, use tissue paper or decorative paper filler to protect the gift and enhance the unboxing experience. To achieve a professional look with tissue paper, lay a sheet flat, pinch it firmly in the center, give it a quick shake to let the corners drape naturally, and place it point-first into the bag. This allows the fluffy, voluminous edges of the tissue paper to bloom beautifully out of the top of the decorated bag, concealing the gift inside while adding a splash of coordinating color.
Common Mistakes to Avoid
One of the most common mistakes when decorating paper bags is using excessive liquid paint or wet school glue. Because paper bags are made of porous wood pulp, too much moisture breaks down the fibers, leading to unsightly warping, pilling, or complete tearing. Always apply paints and glues in thin, controlled layers, allowing them to dry fully before adding more.
Another frequent error is rushing the process and skipping necessary drying times. Moving a bag or folding it while the ink or paint is still damp will inevitably lead to smudged designs and unwanted ink transfer. Patience is key; let each layer dry completely, especially in humid environments where moisture evaporates slowly.
Lastly, avoid overloading the bag with heavy, bulky embellishments. While three-dimensional elements add wonderful texture, adding too many heavy items can compromise the structural integrity of the paper handles or cause the bag to tip over. Keep your decorations balanced, lightweight, and securely adhered to ensure your gift arrives safely and looks beautiful.
Frequently Asked Questions (FAQ)
Can I use regular printer paper to make my own gift bags?
Standard printer paper, which typically weighs around 80 gsm, is generally too thin and fragile to construct a durable gift bag from scratch. It lacks the structural integrity to hold anything beyond extremely light, small items like a single sticker sheet, a letter, or a small keychain. If you attempt to carry heavier items, the bottom seams and handles of a printer-paper bag are highly likely to tear. For reliable gift-giving, it is highly recommended to purchase dedicated paper bags made from heavier kraft paper (usually 100 gsm or higher) or to upcycle sturdy shopping bags.
How do I prevent markers from bleeding through the paper bag?
To prevent markers from bleeding through the paper bag, always choose the right writing instruments and test them beforehand. Avoid alcohol-based permanent markers, as their ink is designed to penetrate deeply into paper fibers and will almost certainly bleed through to the other side. Instead, opt for water-based pigment markers, gel pens, or acrylic paint pens, which dry quickly on the surface of the paper. As a safety measure, always place a scrap piece of thick cardboard or cardstock inside the bag while you draw to absorb any accidental ink bleed and protect the back of the bag.

Community discussion
Share your experience or ask a question. Comments are reviewed before publication.