
Transforming a plain paper goodie bag into an elegant, custom-designed gift package is an excellent way to elevate your presentation for any special occasion. Whether you are preparing for a wedding, a corporate gathering, or a birthday party, using wrapping paper and ribbons allows you to bypass expensive pre-printed options and design a look that perfectly matches your theme. This step-by-step tutorial will guide you through selecting the right materials, preparing the bag, applying the paper smoothly, and finishing with professional ribbon accents. By mastering these simple techniques, you can turn basic kraft paper bags into stunning, personalized gift containers that show your recipients extra care and attention.
Materials and Tools You Will Need
To achieve a polished finish, gathering the correct tools and materials is essential before you begin. Start with plain paper goodie bags, which are widely available in various sizes at local stationery shops. You can easily find plain kraft bags in bulk for under S$1 per piece at local stationery suppliers. Kraft paper bags with flat bottoms work best because they provide a sturdy, structured base that stands upright on its own. When choosing wrapping paper, pay close attention to the paper weight and finish. A standard wrapping paper weight of 80 to 100 gsm (grams per square meter) is ideal; it is thick enough to prevent the plain bag underneath from showing through, yet flexible enough to fold cleanly around corners without cracking or tearing. Avoid extremely thick cardstock, which resists folding, as well as ultra-thin tissue paper, which easily tears when adhesive is applied.
For adhesives, double-sided tape is the preferred choice for securing the wrapping paper to the bag. It creates a flat, seamless bond without the moisture that causes paper to warp or wrinkle. Keep a high-quality glue stick or a bottle of craft glue on hand for smaller embellishments or textured papers, but use them sparingly. Your cutting tools should include a pair of sharp scissors for ribbon and general trimming, along with a utility knife or paper cutter paired with a metal ruler for perfectly straight, clean cuts. A cutting mat is also highly recommended to protect your table or desk from scratches. Finally, select your ribbons; satin and grosgrain ribbons offer a luxurious feel and hold their shape well, while curling ribbon is excellent for casual, festive designs.
Products mentioned in this guide
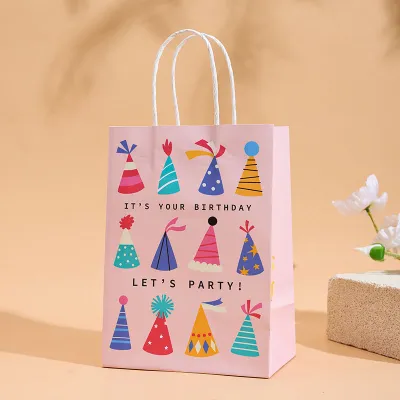
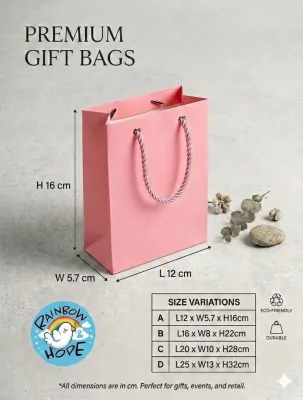
![[SG Seller] Non Woven Coloring Bag Goodie Bag Packaging for Kids Birthday Goodie Bags Children Day Gift](https://img.lazcdn.com/g/p/a1fc0d059fbb7bcde15b8f962482deb8.jpg_400x400q80.jpg_.webp)
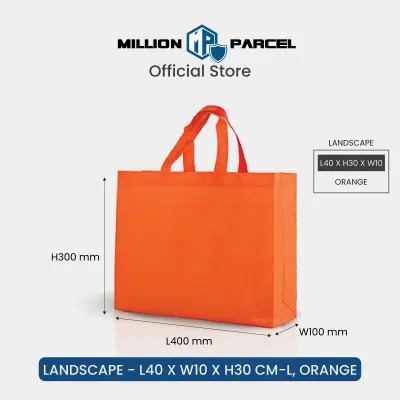
Prices are valid at publication and may change. Please refer to the product page for the latest price.
When using sharp scissors or utility knives, work on a flat, stable cutting mat to protect your work surface and prevent slips. Always cut away from your body and keep your fingers clear of the blade’s path.
Preparing the Plain Goodie Bag
Proper preparation of the plain goodie bag is the secret to a smooth, professional-looking final product. Begin by laying the bag completely flat on your clean work surface. Gently press down on the bottom fold to ensure the bag is fully collapsed and free of temporary wrinkles. If your plain bag comes with pre-installed paper or rope handles that do not match your design, you will need to address them now. For paper handles, you can carefully cut them off flush with the top rim of the bag using your scissors. If you prefer to keep them for structural support but want them hidden, fold them neatly inside the bag and secure them with a small piece of tape so they do not interfere with the wrapping process.

Next, take precise measurements of your bag using a metal ruler. You need to measure three key dimensions: the height of the bag, the width of the front panel, and the depth of the side gusset. To calculate the exact size of the wrapping paper sheet you need to cut, use a simple formula. The width of the paper should equal the front width of the bag, plus the depth of both side gussets, plus an extra 3 centimeters to allow for a clean overlap at the back seam. The height of the paper should equal the total height of the bag, plus an additional 4 centimeters. This extra height will be folded over the top rim of the bag later, creating a clean, reinforced border that hides the raw edge of the paper.
Applying Wrapping Paper to the Goodie Bag
Once your measurements are calculated, lay your wrapping paper face down on the cutting mat. Use your metal ruler and a pencil to mark the dimensions on the back of the paper, then cut the sheet cleanly using your utility knife or paper cutter. To begin the wrapping process, apply strips of double-sided tape along the top, bottom, and side edges of the bag’s front panel. Carefully align the cut wrapping paper with the bottom edge of the bag, ensuring it is centered horizontally. Press the paper firmly onto the front panel, smoothing it out with your hands from the center toward the outer edges to prevent any air bubbles from becoming trapped.
After the front panel is secure, fold the paper around the sides of the bag to cover the gussets. To maintain the bag’s ability to fold and expand, you must crease the paper along the bag’s natural fold lines. Gently press the paper into the side gussets, using your fingernail or a bone folder to create sharp, clean creases. Once the sides are folded, apply double-sided tape to the back panel of the bag. Wrap the remaining paper around to the back, pulling it taut but not so tight that it distorts the bag’s shape, and press it down to secure the seam. If there is any excess paper overlapping at the back, trim it neatly before taping.
To finish the top opening of the bag, you will use the extra 4 centimeters of paper you calculated earlier. Apply a strip of double-sided tape along the inside rim of the bag. Fold the excess wrapping paper over the top edge and press it down into the interior of the bag. This step is crucial because it creates a smooth, professional rim that prevents the paper from peeling away when items are placed inside or removed from the bag. It also reinforces the top of the bag, making it much stronger and less likely to tear under the weight of your gifts.
Tying and Attaching Ribbon Accents
Ribbons serve as both a functional closure and a beautiful decorative element for your customized goodie bag. If you removed the original handles, you can easily create new ones or add a decorative bow by punching holes near the top rim. Use a standard single-hole punch to make two evenly spaced holes on the front panel and two matching holes on the back panel, about 2 centimeters below the folded top edge. Thread a length of satin or grosgrain ribbon through the holes from the inside out. You can tie knots on the inside of the bag to secure the ribbon as a handle, or thread a single long ribbon through both panels and tie them together at the top in a beautiful bow to keep the bag closed.
To tie a classic, professional bow, start by crossing the two ribbon ends and pulling one under the other to create a tight base knot. Form a loop with one hand, wrap the other ribbon end around the base of the loop, and push it through the center space to create the second loop. Pull both loops firmly, adjusting their size so they are symmetrical and proportional to the size of the bag. If you want a more elaborate look, you can create a layered bow by tying a separate, multi-looped bow and adhering it to the front of the bag using a small dab of craft glue or a glue dot.
For an alternative design, you can use ribbon to create decorative bands or borders around the exterior of the bag. Wrap a wide piece of grosgrain ribbon horizontally around the lower third of the bag, securing the ends at the back with double-sided tape. You can then layer a thinner, contrasting satin ribbon directly over the center of the wide band for a sophisticated, multi-textured effect. When trimming the ends of your ribbons, always cut them at a sharp 45-degree angle or make a classic V-cut. This not only looks highly polished but also prevents the woven fibers of the ribbon from fraying over time.
Troubleshooting Common Wrapping Mistakes
Even with careful planning, minor issues can occur during the wrapping process. If you notice wrinkles or air bubbles forming under the wrapping paper, do not panic. If you used double-sided tape, you can sometimes gently peel the paper back and re-smooth it. If the paper is firmly stuck, use a plastic card, such as an old gift card, to firmly scrape and smooth the bubbles toward the nearest edge. To avoid this issue entirely, always apply the paper gradually, smoothing it down inch by inch as you remove the adhesive backing.
Tearing is another common problem, especially around the punched handle holes or the sharp bottom corners of the bag. If a tear occurs, you can patch it discreetly. Apply a small piece of clear adhesive tape to the back of the tear to hold the fibers together, then cover the area on the outside with a decorative element, such as a gift tag, a small ribbon bow, or a paper cutout that matches your theme. To prevent tears in future projects, always reinforce high-stress areas with clear tape on the inside of the bag before you punch holes or fold sharp corners.
If you are working with thick, stiff wrapping paper that resists folding and keeps popping open, you need to pre-crease the paper. Before applying any adhesive, wrap the paper around the bag and gently pinch the edges to mark the fold lines. Remove the paper, lay it flat on your cutting mat, and use a metal ruler and a bone folder to press deep, permanent creases into the paper along those marks. This breaks the fibers of the paper slightly, making it much more cooperative when you adhere it to the bag. Finally, if you get sticky adhesive residue on the outside of your paper, use a rubber cement eraser or gently rub the spot with a clean, dry finger to roll the adhesive away without damaging the paper’s finish.
Creative Variations for Different Occasions
One of the greatest benefits of decorating your own goodie bags is the ability to customize them for any event. For formal occasions like weddings or anniversaries, opt for high-quality textured papers, such as linen-finish or embossed metallic papers, paired with wide, double-faced satin ribbons in neutral tones like champagne, ivory, or slate gray. For corporate events, you can match the wrapping paper and ribbon colors to your company’s branding, creating a cohesive and professional look that stands out at trade shows or client meetings.
You can also incorporate mixed-media elements to add depth and interest to your designs. Try slipping a small sprig of dried flowers, such as lavender or baby’s breath, under the ribbon knot before tying your bow. Personalized, hand-written gift tags attached with rustic twine can add a warm, artisanal feel to a simple kraft paper bag. For a whimsical touch, use decorative edge scissors, such as pinking shears, to cut the top edge of the wrapping paper before folding it over. This creates a beautiful scalloped or zigzag border along the inside rim of the bag, adding an unexpected detail that delights your recipients.
Frequently Asked Questions (FAQ)
Can I use double-sided tape instead of liquid glue?
Yes, double-sided tape is highly recommended for this project. It provides an instant, dry bond that prevents the wrapping paper from warping, wrinkling, or bubbling, which often happens when liquid glue saturates thin paper. Liquid glue or glue sticks should be reserved for heavier, textured papers or small embellishments where tape cannot easily reach, and they must be applied sparingly.
How do I prevent the wrapping paper from tearing at the handles?
To prevent tearing, reinforce the handle area before punching holes or threading ribbon. Apply a strip of clear packing tape or a heavy-duty paper reinforcement label to the inside of the bag where the holes will be located. When cutting the paper around existing handle slots, make small, precise diagonal slits at the corners and fold the tabs inward rather than pulling or tearing the paper.

Community discussion
Share your experience or ask a question. Comments are reviewed before publication.