
Transforming a plain paper gift bag into a custom, high-end presentation is an excellent way to reuse wrapping paper scraps and leftover ribbons. By combining basic papercraft techniques with structured ribbon accents, you can elevate standard kraft or solid-color bags into personalized gift packaging. This guide covers the essential materials, step-by-step application methods, and design principles needed to achieve a clean, professional finish without warping or tearing your base materials.
Whether you are preparing for a festive holiday, a birthday, or a special corporate event, mastering these simple embellishment techniques allows you to create memorable, sustainable packaging that reflects the care put into the gift itself. With a few basic tools and a methodical approach, you can easily turn budget-friendly bags into stunning, bespoke gift wraps.
Essential Materials and Tools for Decorating Gift Bags
To achieve a polished look, you must first select a base bag that can support your planned decorations. Standard kraft paper bags, typically ranging from 100 to 150 gsm, are highly recommended because their uncoated, slightly textured surface bonds exceptionally well with most adhesives. If you are using glossy or laminated bags, keep in mind that standard water-based craft glues will slide off or fail to cure properly. For these slick surfaces, you will need to rely on high-tack double-sided tapes or specialized glue dots.
Products mentioned in this guide
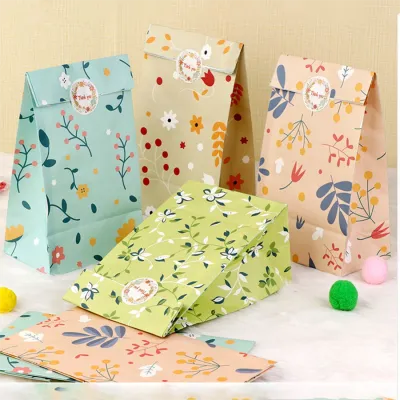
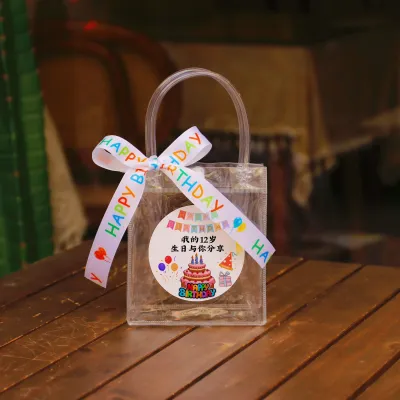
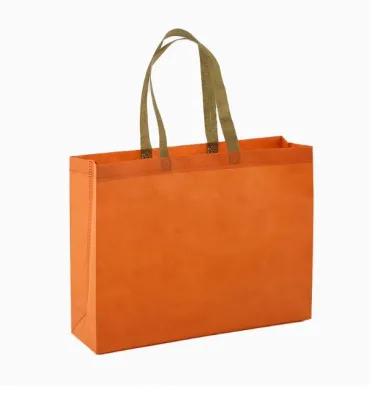
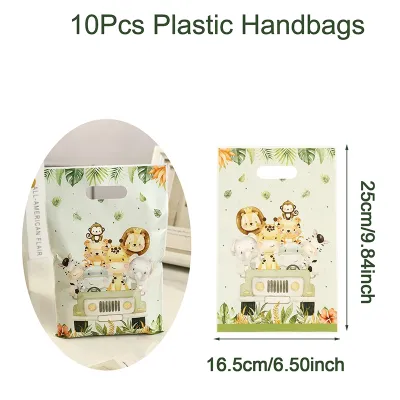
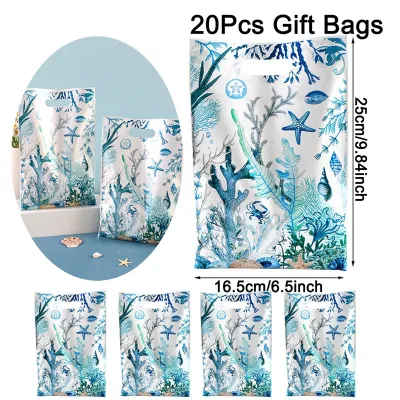
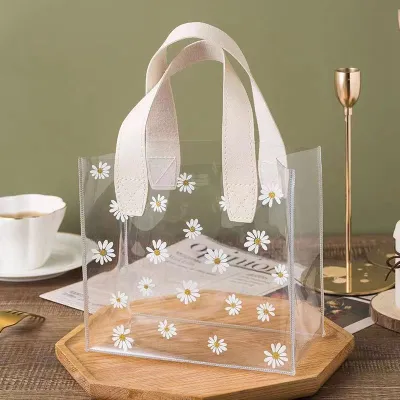
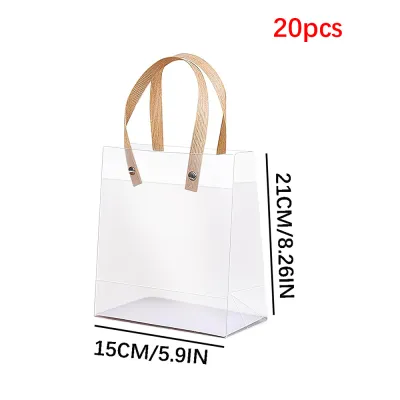
Prices are valid at publication and may change. Please refer to the product page for the latest price.
Choosing the right adhesive is critical to prevent paper warping and adhesive bleed-through. Double-sided tissue tape or high-tack red-line tape is ideal for securing large panels of wrapping paper because it provides an instant, dry bond with zero moisture. Glue dots are perfect for localized ribbon attachment and securing small embellishments without mess. If you prefer liquid craft glue, select a low-water, quick-drying formula, and apply it with a silicone brush to ensure a micro-thin layer.
Clean edges are the hallmark of professional gift wrapping, making precise cutting tools indispensable. A rotary paper trimmer is the best tool for cutting straight, square panels of wrapping paper to fit the faces of your bags. For intricate patterns, fussy-cutting motifs, or trimming ribbon ends, keep a pair of fine-tip detail scissors and a dedicated pair of fabric shears on hand. A metal ruler and a self-healing cutting mat will protect your workspace and ensure your measurements remain exact.
Finally, evaluate your decorative materials for structural compatibility. Satin ribbons offer a classic, glossy finish but can be slippery to knot, while grosgrain ribbons feature a ribbed texture that holds knots and shapes securely. Wired ribbons are excellent for creating voluminous, structured bows that will not sag during transit. When sorting through your wrapping paper scraps, match the paper weight to the bag; lightweight papers are easy to fold around edges, whereas heavyweight foil or embossed papers add premium texture but require stronger, high-tack adhesives to stay flat.
Step-by-Step Guide to Applying Wrapping Paper Accents
Applying paper accents to a gift bag requires patience and precision to avoid unsightly wrinkles, bubbles, or misaligned edges. Begin by laying your plain gift bag flat on a clean, hard surface, ensuring the handles are folded away from the work area. Measure the flat face of the bag with your metal ruler, and subtract approximately 5mm to 10mm from each side to create a balanced border. Mark these dimensions lightly with a pencil on the reverse side of your wrapping paper scrap, then cut the panel cleanly using your paper trimmer.

Once your paper panel is cut to size, flip it over to apply the adhesive. If you are using double-sided tape, run strips along all four outer edges, placing the tape as close to the cut border as possible without letting it overhang. Add an extra diagonal strip or a grid pattern across the center of the panel to prevent the paper from bubbling or sagging over time. If you are using a low-moisture liquid craft glue, apply small dots across the paper and spread them into an ultra-thin, even film using a scrap piece of cardstock, paying close attention to the corners.
To apply the paper to the bag, hold the panel by its top corners and align it carefully with the top edge of the bag’s face. Slowly lower the paper onto the bag, letting the center make contact first before lowering the sides. Immediately take a clean, dry microfiber cloth or a plastic bone folder and smooth the paper from the center outward to the edges. This motion pushes out any trapped air and ensures a flat, secure bond without stretching or tearing the paper.
For added visual interest, you can incorporate dimensional layering or decoupage effects. Cut out individual motifs from your wrapping paper scraps, such as floral clusters, holiday ornaments, or geometric shapes. Instead of gluing them flat, apply small foam adhesive squares to the back of these cutouts before pressing them onto your base paper panel. This simple technique lifts the motifs off the surface, creating subtle shadows and a premium, hand-crafted depth.
Before moving on to ribbon embellishments or handling the bag, allow the adhesive to set completely. If you used liquid glue, place a sheet of clean parchment paper over the decorated bag face and weigh it down with a heavy, flat book for 20 to 30 minutes. This pressure keeps the paper fibers flat as the moisture evaporates, preventing the warping that often occurs as liquid adhesives dry.
Techniques for Tying and Attaching Ribbons
Ribbons add structural elegance and a sense of luxury to plain gift bags, whether they are used to replace basic handles or as decorative bands. If your base bag has cheap paper twist handles, you can easily upgrade them. Carefully snip off the existing handles close to the bag’s collar. Punch two clean holes on each side of the bag using a heavy-duty hole punch, reinforcing the interior of the collar with a thin strip of cardstock glued inside. Thread a length of wide grosgrain or satin ribbon through the holes from the outside in, and tie a secure double knot on the inside of the bag, pulling it tight to ensure it cannot slip back through the hole.
Creating and attaching pre-tied bows is often much easier and neater than trying to tie a bow directly onto a moving bag handle. To make a classic bow, loop your ribbon carefully, keeping the tails symmetrical, and secure the center knot. Trim the tails at a sharp 45-degree angle to prevent fraying. To attach the bow to your bag, apply a high-tack glue dot or a small dab of craft glue directly to the back of the bow’s center knot, then press it firmly onto the base of the bag handle or the center of your paper panel.
Another elegant technique is wrapping the body of the bag with a decorative ribbon band. Cut a length of ribbon long enough to wrap completely around the bag with a 15mm overlap. Apply double-sided tape to the back of the ribbon ends. Wrap the ribbon snugly around the bag, ensuring it sits parallel to the bottom edge, and secure the overlapping ends at the back or bottom of the bag for a seamless finish. If you are using synthetic ribbon, seal the cut ends with a tiny amount of clear fabric glue to prevent fraying over time.
Always adjust your ribbon dimensions to match the scale of your gift bag. For small bags, stick to narrow ribbons between 10mm and 15mm wide to avoid overwhelming the design. Medium to large bags can easily accommodate wider ribbons of 25mm to 50mm. As a general rule of proportion, your finished bow or ribbon accent should occupy no more than one-third of the bag’s total surface area, keeping the overall presentation balanced and sophisticated.
Combining Paper and Ribbon for Polished Designs
The key to a professional-looking gift bag lies in the cohesive integration of your paper and ribbon elements. Start by coordinating your colors and patterns to avoid a cluttered aesthetic. If your wrapping paper scrap features a busy, multi-colored pattern, pair it with a solid-colored ribbon that matches one of the secondary accent colors in the paper. Conversely, if you are using a simple, monochromatic paper accent, you can introduce texture or contrast with a patterned ribbon, such as a subtle stripe or a metallic-edged trim.
Plan your placement strategies before peeling off any adhesive backings. A highly effective layout is the “banded overlay,” where you apply a wide vertical or horizontal strip of wrapping paper across the bag, and then layer a narrower ribbon directly down the center of that paper strip. Another popular design is the “color-blocked base,” where wrapping paper covers only the bottom half of the gift bag, and a horizontal ribbon band is used to cleanly conceal the raw seam where the paper meets the plain bag.
Remember to balance your decorated areas with negative space. Leaving a portion of the original plain bag visible acts as a natural frame, highlighting your custom paper and ribbon work. If you cover every square inch of the bag, the design can quickly look chaotic and lose its handcrafted charm. Aim to keep at least 30% of the base bag visible to maintain an elegant, intentional appearance.
When securing overlapping materials, keep in mind that standard paper adhesives often fail to grip fabric ribbons securely. When layering ribbon over wrapping paper, always use a high-tack double-sided tape or a specialized fabric glue. Press down firmly along the entire length of the ribbon to ensure it bonds completely with the paper underneath, preventing any peeling, snagging, or shifting when the gift is carried.
Troubleshooting Common Decorating Mistakes
Even with careful planning, minor issues can arise during the decorating process, but most are easily corrected. If you notice your wrapping paper beginning to wrinkle or bubble after application, it usually indicates that your liquid glue had too much water content or was applied too thickly. While it is difficult to flatten severe wrinkles once dry, you can sometimes minimize minor bubbling by placing a clean cloth over the area and gently warming it with a hair dryer on low heat, then smoothing it down firmly with a bone folder or the edge of a plastic card.
Frayed ribbon edges can quickly make a beautiful bag look messy. Always use exceptionally sharp scissors dedicated to fabric when cutting your ribbons. If synthetic ribbon ends begin to fray, you can seal them by carefully passing the cut edge near a small flame for a fraction of a second to melt the fibers, or by applying a tiny drop of clear fabric glue along the edge. If a ribbon band comes loose from the bag, do not try to re-glue it over the old adhesive; peel away the failed tape, clean the area of any loose fibers, and apply a fresh strip of high-tack double-sided tape.
Heavy embellishments, such as thick layered cardstock or large decorative tags, can sometimes cause lightweight paper bags to sag or tear under their own weight. If you notice the bag collar or face warping, you can reinforce the interior wall of the bag by gluing a piece of stiff corrugated cardboard, cut to the exact dimensions of the bag’s side, inside the bag. This adds structural integrity and keeps the face flat.
If your decorations simply refuse to adhere to the bag, check the bag’s surface finish. Highly glossy, varnished, or plastic-coated bags resist standard adhesives. If you must use a glossy bag, try lightly scuffing the target area with fine-grit sandpaper to create some texture, or switch to a high-tack, solvent-free mounting tape. If the material continues to fail, it is best to stop and switch to a sturdier, uncoated kraft paper bag that naturally accepts adhesives.
Frequently Asked Questions (FAQ)
Can I use regular school glue instead of craft glue or tape?
Standard school glue has a very high water content, which easily saturates paper fibers. When applied to thin wrapping paper or lightweight gift bags, this moisture causes the paper to expand, warp, and wrinkle severely as it dries. For a flat, professional finish, it is highly recommended to use low-moisture alternatives. Double-sided tape, glue sticks, or specialized craft glue dots provide an instant, dry bond that keeps your paper accents perfectly smooth and free of water damage.
How do I prevent ribbon handles from tearing through the paper bag?
To prevent ribbon handles from tearing through delicate paper bags, you must reinforce the attachment points. Before threading your ribbon, glue a small, stiff piece of cardstock or heavy kraft paper to the inside collar of the bag where the holes will be punched. Once the holes are punched through both layers, thread your ribbon and tie a secure double knot. For heavy gifts, you can also slide a small metal or plastic washer onto the ribbon on the inside of the bag before tying the knot, which distributes the weight across a larger surface area.
What is the best way to store decorated gift bags for future use?
Decorated gift bags should be stored flat in a cool, dry environment away from direct sunlight, which can fade wrapping paper patterns and degrade adhesives over time. Avoid storing them in high-humidity areas like basements, as moisture can weaken glue bonds and cause paper accents to peel. To protect delicate ribbon bows from getting crushed, place a small piece of crumpled tissue paper inside the loops of the bow, and store the bags vertically in a rigid storage box or hanging organizer rather than stacking heavy items on top of them.

Community discussion
Share your experience or ask a question. Comments are reviewed before publication.