
Plain paper gift bags are one of the most versatile and cost-effective canvases for party planning. Instead of purchasing pre-printed plastic bags that often end up in the bin, customising plain bags allows you to align the packaging perfectly with your party’s theme while engaging in a fun, creative process. Whether you are preparing for a birthday milestone, a school graduation party, or a seasonal festive gathering, transforming simple kraft or white paper bags into bespoke favors makes every child feel uniquely valued. By using accessible stationery items like stickers, stamps, ribbons, and markers, you can elevate simple packaging into a memorable part of the celebration.
Designing your own bags also gives you complete control over the materials, ensuring they are sturdy enough to hold your curated treats and safe for little hands to carry. In Singapore’s warm climate, outdoor parties at parks or condominium function rooms are highly popular, making robust, personalized paper bags a practical alternative to flimsy plastic wraps. With a few basic tools and a touch of imagination, you can craft delightful, themed gift bags that children will be excited to take home.
Planning Your Kids' Party Gift Bags
Before cutting paper or uncapping markers, a small amount of preparation ensures your crafting session remains stress-free and efficient. The first step is to align your bag design with the overall party theme. Whether the event centers on an adventure motif like outer space or a whimsical fairy garden, the gift bags should act as a visual extension of the decor. If the party has a broader theme, such as a pool party or a backyard campout, you can choose color palettes that match—such as vibrant blues and yellows or earthy greens and browns—to tie the aesthetic together.
Products mentioned in this guide

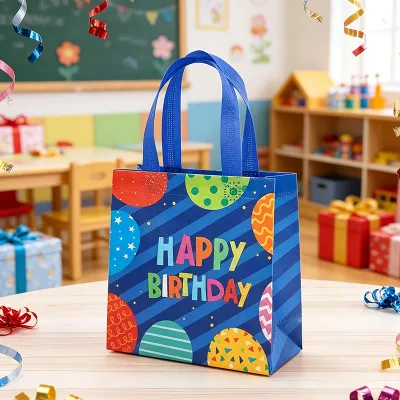
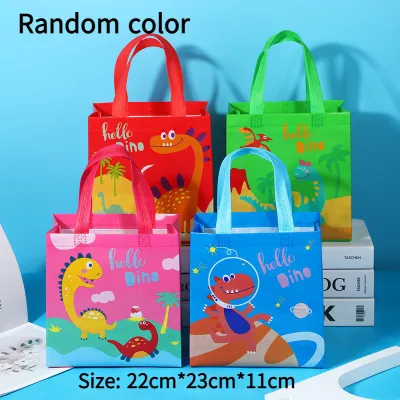
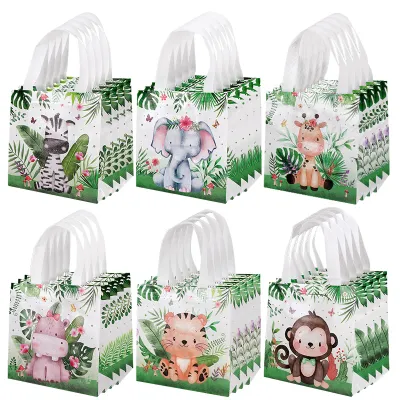
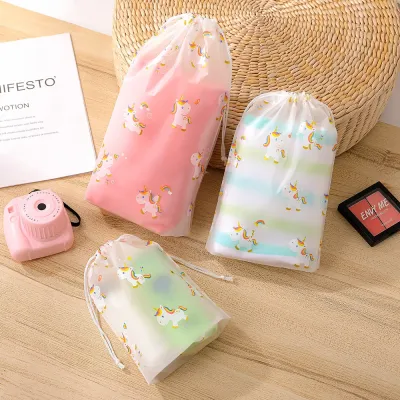
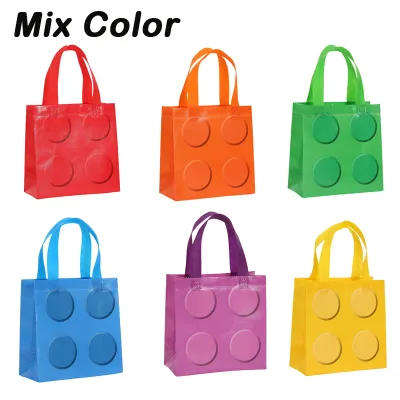
Prices are valid at publication and may change. Please refer to the product page for the latest price.
Next, calculate the exact number of bags you will need, and always prepare a few extra. As a rule of thumb, crafting an additional 10% to 15% of your total guest count accounts for last-minute RSVPs, unexpected siblings who accompany guests, or any mistakes made during the decorating process. Having a few spare decorated bags on hand prevents stressful, late-night crafting sessions on the eve of the party.
Finally, select the appropriate base bag material based on the size and weight of the party favors. Plain kraft paper bags are highly popular due to their rustic look, excellent durability, and biodegradable nature. They are ideal for holding heavier items like storybooks, wooden toys, or small board games. Plain white paper bags offer a clean, bright background that makes colourful markers, stamps, and stickers pop with maximum vibrancy. If you are planning a premium event or want to offer a sustainable keepsake, reusable canvas or cotton tote bags are an excellent alternative that children can reuse for library books or swimming gear long after the party ends.
Essential Stationery and Craft Materials
To achieve professional-looking results, assembling a high-quality toolkit of stationery and craft supplies is essential. Having the right adhesives, decorative elements, and tools on hand prevents interruptions and ensures your designs remain securely attached.

Adhesives for Sturdy Construction Securing your decorations requires adhesives that suit different materials. Double-sided tape is the cleanest option for flat paper elements, such as cardstock cutouts or borders, as it does not warp the paper or require drying time. For general paper-to-paper bonding, a standard glue stick is highly effective and easy for children to use if they are helping you craft. For heavier embellishments like wooden shapes, thick ribbons, or felt pieces, a non-toxic liquid craft glue is necessary. When purchasing liquid glues, always check the product label to ensure they are acid-free, solvent-free, and explicitly labeled as non-toxic and safe for children.
Decorative Elements for Visual Flair The decorative elements you choose will define the theme and character of the bags. Washi tape is an incredibly versatile stationery item, available in endless patterns, solid colors, and metallic finishes; it can be used to create borders, stripes, or geometric frames. Sticker sheets—featuring stars, animals, or letters—allow for rapid, uniform decoration. Rubber stamps paired with high-quality ink pads offer an elegant, repeatable way to add illustrations. For the best results on paper bags, opt for water-based dye ink pads, which dry quickly and resist smudging, or pigment ink pads if you want a more opaque, vibrant print on dark kraft paper.
Essential Tools for Precise Crafting A few basic tools will make the crafting process significantly smoother. High-quality scissors are a must; keeping a pair of safety scissors nearby is wise if children are assisting, while pinking shears or decorative edge scissors can create beautiful zigzag or scalloped borders on paper elements. A handheld single-hole punch is invaluable for threading ribbons or attaching name tags. For writing and drawing, gather a selection of markers. Dual-tip markers with a fine point on one end and a brush tip on the other offer maximum flexibility, while metallic paint markers (such as silver, gold, and bronze) add a touch of shimmer that stands out beautifully on both white and brown kraft paper.
Step-by-Step Decorating Techniques for Popular Themes
To help you get started, here are three step-by-step tutorials for popular, kid-friendly themes. These methods utilize basic stationery items and can be easily adapted to suit different color schemes or age groups.
Space Explorers (Stickers, Stamps, and Metallic Markers)
A cosmic theme is highly engaging for young children and can be achieved with simple drawing and stamping techniques that mimic the vastness of outer space.
Step 1: Create a Starry Background Begin with a plain black or dark blue paper bag, or use a classic brown kraft bag as a rustic backdrop. Take a small, dry makeup sponge or a foam brush and lightly dab it into white, light blue, or silver non-toxic acrylic paint. Gently tap the sponge across the surface of the bag to create soft, cloudy nebula effects. Once the paint is dry to the touch, use a fine-tip silver or gold metallic marker to draw tiny asterisks and dots across the bag, representing distant stars and constellations.
Step 2: Apply Space-Themed Elements Next, add the focal points of your design. You can use pre-cut sticker sheets featuring rockets, planets, astronauts, and alien spaceships. Arrange them across the bag, placing larger stickers like planets near the bottom and a rocket ship angled upwards near the top to suggest motion. If you prefer a hand-crafted look, use rubber stamps shaped like planets or stars. Press the stamp firmly onto a silver or white pigment ink pad, then press it onto the bag, holding it flat for two seconds before lifting straight up to prevent smudging.
Step 3: Add Shooting Star Handles To complete the space theme, use a handheld hole punch to make two small holes near the top collar of the bag, just below the handles. Thread several strands of metallic silver and blue curling ribbon through the holes. Tie a secure knot on the inside of the bag, leaving the long ends hanging down the front. Use the edge of a pair of scissors to gently curl the ribbons, creating a shimmering effect that looks like the fiery tail of a shooting star.
Jungle Safari (Tissue Paper, Animal Cutouts, and Twine)
A jungle or safari theme relies on rich textures, organic materials, and layered dimensions to simulate a lush, wild environment.
Step 1: Create the Foliage Canopy Choose a plain brown kraft paper bag to represent the earthy forest floor. Take two sheets of tissue paper—one in forest green and one in bright lime yellow. Layer them slightly offset, then fold them loosely and tuck them into the empty bag so that the crinkled edges extend out of the top opening by several inches. This technique creates an instant canopy of jungle leaves that frames the bag beautifully and hides the treats inside.
Step 2: Layer Cardstock Leaf Cutouts To add physical depth to the exterior of the bag, draw simple leaf shapes (such as broad monstera leaves, long palm fronds, or delicate ferns) onto green cardstock of varying shades. Cut these shapes out carefully. Apply double-sided tape to the stems and centers of the paper leaves, leaving the outer edges free. Adhere them to the lower half of the bag, overlapping them slightly. Because the edges are not taped down, they will flare outward slightly, creating a realistic, three-dimensional jungle foliage effect.
Step 3: Attach the Animal Tag For the final touch, use a circular or rectangular cardstock tag. Stamp a wild animal silhouette—such as a lion, giraffe, or elephant—onto the center of the tag using black or dark brown ink. Punch a hole at the top of the tag. Cut a length of natural, biodegradable jute twine, thread it through the tag, and tie it securely around the base of one of the bag’s handles. The rustic texture of the jute twine perfectly complements the organic safari aesthetic.
Magical Fairies or Superheroes (Ribbons, Glitter Glue, and Custom Tags)
Whether your child loves whimsical fairy glades or action-packed superhero adventures, this high-impact technique uses sparkling embellishments and bold borders to create a premium-looking bag.
Step 1: Punch a Decorative Border Start with a vibrant pastel paper bag (such as lavender, mint, or soft pink) for a fairy theme, or a bold primary color bag (such as royal blue, bright red, or deep yellow) for a superhero theme. Using a specialized border punch or a scalloped hole punch, trim the top edge of the bag to create a beautiful, repeating wavy pattern. This simple step instantly elevates the bag from a basic utility item to a custom-designed piece of stationery.
Step 2: Apply Glitter Glue Outlines Next, sketch a simple thematic shape onto the center of the bag using a light pencil mark—such as a fairy wand, a pair of delicate wings, a superhero shield, or a bold lightning bolt. Carefully trace over your pencil lines with high-quality, non-toxic glitter glue. For a fairy bag, silver or iridescent pink glitter glue works beautifully; for a superhero bag, opt for bold gold, red, or blue glitter. Once applied, lay the bag completely flat on a horizontal surface. Let it dry undisturbed for at least four to six hours, as thick layers of glitter glue can run if the bag is stood upright too quickly.
Step 3: Attach a Premium Ribbon Bow To complete the design, select a wide satin or airy tulle ribbon that matches your color scheme. Tie a large, fluffy bow with neat, angled tails. Using a hot glue gun (operated safely by an adult) or a strong double-sided foam adhesive dot, attach the bow directly to the base of the bag’s front handle. The contrast between the sparkling glitter glue, the textured paper border, and the smooth, luxurious ribbon creates an eye-catching, premium finish that kids will adore.
Adding Personalized Touches and Name Tags
Personalization is the key to making young guests feel truly special when they arrive at a party. It also serves a highly practical purpose: preventing mix-ups when children set their bags down to play games or eat cake.
To create elegant, custom name tags, start with blank luggage-style tags cut from thick, high-quality cardstock (around 250 to 300 gsm). Using a brush pen or a calligraphy marker, write each child’s name in clear, legible script on the front of the tag. If you are not confident in your handwriting, alphabet sticker sets or clean letter stamps are an excellent alternative. You can choose shiny metallic foil letters or colorful block stickers to spell out the names, ensuring they are bold and easy for young children to recognize.
Once the name is complete, you can decorate the surrounding space on the tag with tiny thematic stamps or a border of patterned washi tape. To attach the tags to the bags, thread a piece of colorful baker’s twine or satin ribbon through the tag’s eyelet and knot it securely around the bag handle. Alternatively, for a playful and modern look, use mini wooden clothespins to clip the name tag directly to the top fold of the paper bag. This allows the child to easily unclip their tag and keep it as a bookmark or a bedroom decoration.
Safety Tips and Common Mistakes to Avoid
When crafting for children’s events, safety and durability must always be your top priorities. By keeping a few practical guidelines in mind, you can ensure your decorated bags are both beautiful and safe.
First, consider the age of your young guests. For parties attended by toddlers or children under the age of three, strictly avoid using small, easily detachable embellishments such as loose plastic sequins, tiny buttons, plastic gems, or small googly eyes. These items can easily be pried off by curious fingers and pose a severe choking hazard. Instead, rely on flat decorations like high-quality stickers, paper cutouts secured with strong tape, rubber stamps, and non-toxic markers to create visual interest.
Second, manage your drying times carefully. Wet adhesives, acrylic paints, and glitter glues require significant time to cure completely, especially in Singapore’s humid climate. Stacking decorated bags before they are fully dry will cause them to stick together, ruining your hard work and tearing the paper when you try to separate them. Always lay the decorated bags flat in a well-ventilated room, and verify that they are completely dry to the touch before stacking, storing, or filling them with party favors.
Finally, respect the structural limits of paper bags. Standard paper gift bags have a weight capacity that should not be exceeded. If you are planning to gift heavier items—such as ceramic mugs, heavy metal toy cars, or thick books—avoid thin paper bags with delicate paper handles. Instead, opt for thick kraft paper bags with twisted paper handles. To prevent the bottom of the bag from sagging or tearing open under pressure, cut a rectangular piece of thick cardboard to fit the exact dimensions of the bag’s base, and slide it inside to act as a reinforcing floor. This simple step distributes the weight evenly and ensures the bag remains intact throughout the journey home.
Frequently Asked Questions (FAQ)
What is the best type of plain bag for heavy party favors?
For heavy party favors such as books, wooden toys, or small water bottles, thick kraft paper bags (typically 120 gsm or higher) with twisted paper handles are the best choice. These bags offer superior tensile strength and tear resistance compared to standard thin paper bags. Alternatively, reusable canvas or cotton tote bags are exceptionally durable, eco-friendly, and can easily support heavier loads without any risk of the bottom tearing or the handles snapping.
How far in advance should I decorate the gift bags?
It is highly recommended to decorate your gift bags 1 to 2 weeks before the party date. This timeline gives you ample time to work in relaxed batches rather than rushing at the last minute. It also ensures that all wet adhesives, paints, and glitter glues have several days to dry and cure completely. Once decorated and verified dry, store the bags flat in a cool, dry cupboard away from direct sunlight to prevent the paper from warping and the colors from fading.

Community discussion
Share your experience or ask a question. Comments are reviewed before publication.