
Crafting a memorable birthday party bag is an art that turns a simple thank-you gift into an exciting highlight of the celebration. When you take the time to decorate plain favor bags with ribbons, stickers, and curated embellishments, you show your guests a level of care that pre-made plastic packaging simply cannot match. Whether you are hosting an intimate gathering in a cozy apartment or planning a grand themed celebration at a local venue, custom-decorated bags serve as both beautiful party decor and delightful keepsakes. By mastering a few straightforward paper-crafting and ribbon-tying techniques, you can easily transform inexpensive, plain packaging into professional-grade favor bags that perfectly match your event’s theme.
Essential Materials and Tools for Bag Decoration
To begin decorating your birthday party bag, you must first gather the right foundational packaging and crafting supplies. The choice of bag material dictates how well your decorations will adhere and how much weight the bag can support. Uncoated kraft paper bags are highly popular for their rustic charm and excellent grip with standard adhesives, while heavy matte cardstock bags offer a premium feel and structural stability. Cellophane bags are ideal for displaying edible treats but require specialized non-porous adhesives.
Next, select your ribbons based on texture, width, and intended function. Satin ribbons feature a high-gloss, smooth finish that creates elegant, flowing bows, though their slippery texture requires tight knotting. Grosgrain ribbons, characterized by their ribbed horizontal texture, offer excellent grip and structural rigidity, making them the perfect choice for durable, load-bearing handles. For a playful, high-volume look, thin polypropylene curling ribbons can be easily spiraled to add movement and festive height to your packaging.
Products mentioned in this guide
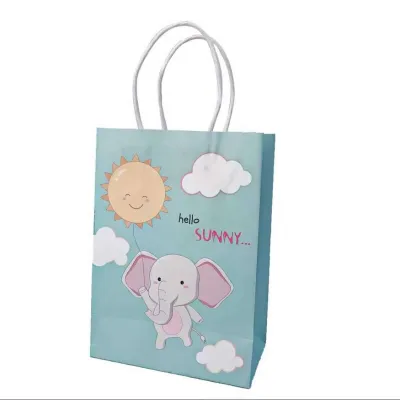
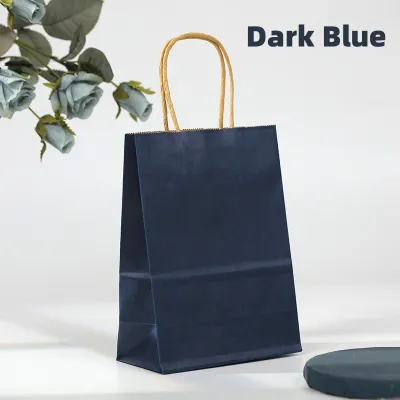
![[SG Stock] 10 Pcs Kraft Paper Bags with Handles Party Bags Birthday Bags Goodie Bags Colour Paper Bags Gift Bags](https://img.lazcdn.com/g/p/125c8522e89dfb6d8f20af7b66e96f8b.jpg_400x400q80.jpg_.webp)
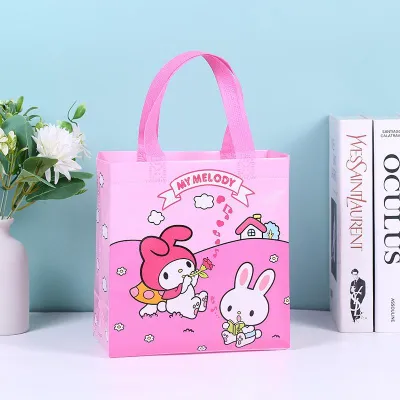
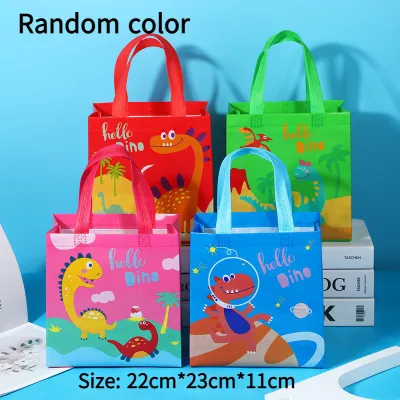
![[SG] Big Size Birthday Paper Bag Kids Birthday goodie bag High Quality Kraft Paperbag birthday party childrens day present](https://img.lazcdn.com/g/p/8199f691728dcfb094ba050068a33b81.jpg_400x400q80.jpg_.webp)
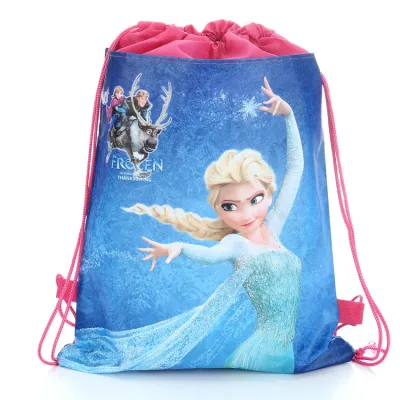
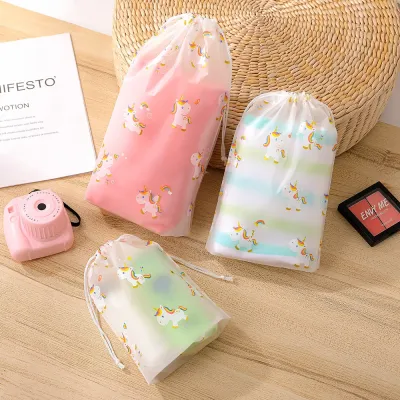
Prices are valid at publication and may change. Please refer to the product page for the latest price.
Your choice of adhesive is critical to prevent decorations from peeling off mid-party. Double-sided tape with a high-tack acrylic adhesive provides a clean, flat, instant bond for ribbon borders. Pressure-sensitive glue dots are indispensable for securing thick dimensional embellishments, pre-tied bows, and gift tags without the mess or drying time of liquid glue. For porous paper bags, a high-quality PVA craft glue or a runner tape works exceptionally well. Finally, ensure you have a pair of sharp micro-tip craft scissors to prevent ribbon fraying, a decorative hole punch to create clean handle openings, and a plastic bone folder to score and crease paper with crisp, professional lines. Always perform a quick test by applying a small dab of your chosen adhesive to an inconspicuous area of your bag material to verify compatibility and drying behavior before assembling the entire batch.
Preparing the Bags for a Clean Finish
Proper preparation is the secret to achieving a polished, store-bought look. Before applying any decorative elements, lay your empty birthday party bag completely flat on a clean, hard crafting surface, such as a self-healing cutting mat. If you are working with folded paper or cardstock bags, use a plastic bone folder to gently press along the existing side creases and bottom seams. This flattens the working surface, ensuring that your ribbon borders and stickers can be applied symmetrically without bubbling or warping when the bag is eventually opened and filled.

For glossy laminated paper or clear cellophane bags, the manufacturing process often leaves behind microscopic oils, dust, or static charge that can compromise adhesive performance. Take a dry, lint-free microfiber cloth and gently wipe down the exterior surfaces of each bag. This simple step removes invisible barriers, allowing your double-sided tape and glue dots to establish a maximum physical bond with the material.
Environmental factors play a massive role in stationery and paper crafts, particularly in tropical climates like Singapore. High relative humidity can severely affect how liquid adhesives cure. Standard school glues and water-based craft glues absorb moisture from the air, which dramatically extends their drying times and can warp paper fibers, leaving unsightly wrinkles on your bags. In humid environments, it is highly recommended to bypass liquid glues entirely in favor of dry, high-tack double-sided tapes, glue dots, or low-temperature hot glue guns, which cure instantly and remain unaffected by ambient moisture.
Before peeling the backing off any tape or applying glue, always practice “dry-fitting.” Lay your cut ribbons, themed stickers, and embellishments onto the flattened bag to visualize the final layout. Use a ruler to mark light pencil guide points for alignment, ensuring your designs are perfectly centered and level. This prevents the frustration of having to peel off misplaced decorations, which can tear paper fibers or leave sticky residue behind.
Step-by-Step Ribbon Techniques for Your Birthday Party Bag
Integrating ribbon into your bag designs adds texture, color, and structural utility. By mastering a few basic techniques, you can create functional handles, perfect bows, and clean borders that elevate the overall presentation.
Tying Bows and Creating Ribbon Handles
Transforming a standard bag into a premium gift bag often starts with replacing plain paper handles with luxurious ribbon. To create custom ribbon handles, start by marking two symmetrical points near the top collar of your flattened kraft or cardstock bag, approximately 3 to 5 cm from the outer edges. Use a single-hole punch to create clean, round openings. If the bag material is lightweight, reinforce the interior of the bag around the punched holes with a small square of clear packing tape or a reinforcement sticker before punching.
Cut two equal lengths of grosgrain ribbon, typically between 25 and 30 cm each. Thread one end of the ribbon through the punched hole from the outside of the bag to the inside. Tie a tight, secure figure-eight knot or a double overhand knot on the inside tail. Pull the ribbon firmly from the outside to seat the knot snugly against the interior wall of the bag. Repeat this process for the other end of the ribbon and the opposite side of the bag. The ribbed texture of grosgrain ensures these knots will not slip through the punched holes, even when the bag is filled with heavy party favors.
Tying a perfect, symmetrical bow directly onto a bag handle can be incredibly challenging, as the ribbon tends to twist. To achieve a flawless finish, tie your bows separately “in-the-hand” first. Cut a 40 cm length of satin ribbon, fold it into two even loops, cross them over, and pull one loop through the center opening to form a classic bow. Adjust the loops and tails until they are perfectly balanced, then snip the tails at a clean 45-degree angle or a V-shape using ultra-sharp scissors to prevent fraying. Secure this pre-tied bow to the front of the bag or the base of the handle using a single high-tack glue dot for a clean, mess-free presentation.
Applying Ribbon Borders and Curled Accents
Adding a horizontal ribbon border along the bottom or top collar of your birthday party bag is an excellent way to frame your design and add a splash of coordinating color. To apply a clean ribbon border, measure the exact width of your bag and cut a strip of satin or grosgrain ribbon that is 2 cm longer than this measurement. Apply a continuous strip of ultra-thin, high-bond double-sided tape directly to the underside of the ribbon, pressing it down firmly.
Peel off the tape backing and carefully align the ribbon with the bottom edge of your flattened bag. Press down from the center outward to prevent air bubbles or fabric puckering. Fold the extra 1 cm of ribbon on each end around the side creases of the bag, securing them tightly to the back or side gussets. This wrap-around technique hides the raw, cut ends of the ribbon, preventing them from fraying over time and giving the bag a seamless, professionally wrapped appearance.
For a more whimsical, energetic touch, you can create bouncy curled accents using thin polypropylene curling ribbon. Cut three to four strands of curling ribbon in coordinating colors, making each strand roughly 40 cm long. Hold one strand firmly near the end with your thumb, and place the flat, dull edge of your craft scissors against the ribbon at a perpendicular angle. With a swift, smooth, upward motion, pull the ribbon across the scissor blade while applying moderate pressure. The tension causes the plastic fibers to contract, creating tight, beautiful spirals. Tie these curled strands together in a bunch and secure them to the base of your bag handles or thread them through a personalized gift tag to add playful volume and movement.
Layering Stickers and Embellishments
Once your ribbon foundations are in place, you can begin layering stickers and dimensional embellishments to build a rich, multi-textured design. Creating a successful layout relies on establishing a clear visual hierarchy. Start by selecting a large, eye-catching focal point, such as a custom-printed name sticker, a themed character die-cut, or a bold graphic element. Position this primary embellishment in the lower-middle or center of the bag, using your horizontal ribbon borders to frame or underline it.
Stickers are not only decorative but also highly functional. You can use medium-sized themed stickers strategically to conceal construction seams, tape intersections, or the raw ends of your ribbon borders. For instance, if you have wrapped a vertical ribbon strip down the center of the bag, placing a round “Thank You” or “Happy Birthday” sticker directly over the bottom cut edge of the ribbon secures it firmly while hiding any minor alignment errors.
For heavier, dimensional embellishments—such as laser-cut wooden shapes, thick chipboard letters, mini wooden clothespegs, or faceted acrylic gemstones—standard stationery adhesives will not suffice. These heavier items require heavy-duty, thick glue dots or a low-temperature glue gun to form a strong, flexible bond. When using a glue gun, apply only a tiny bead of adhesive to the center of the embellishment to prevent hot glue from squeezing out the sides and ruining the clean finish of your paper bag.
While it is tempting to add every crafting supply in your drawer, maintaining a balance of visual weight is crucial. A well-designed birthday party bag should look intentional, not cluttered. Aim to leave at least 40% to 50% of the bag’s original surface area uncovered. This negative space allows the contrasting colors of your ribbons and stickers to pop, ensuring that each decorative element stands out clearly rather than getting lost in a chaotic sea of embellishments.
Matching Ribbons and Embellishments to Party Themes
To make your birthday party bags truly memorable, tailor your material choices, colors, and textures to coordinate with the overall theme of the celebration. For a whimsical garden or floral-themed party, pair rustic brown kraft paper bags with soft pastel grosgrain ribbons in mint green, lavender, or blush pink. Layer these with delicate botanical stickers, pressed paper leaves, or small floral die-cuts to create an organic, elegant aesthetic that feels warm and inviting.
If you are planning a futuristic space or sci-fi themed birthday, swap the rustic textures for high-contrast, modern materials. Use deep navy blue or matte black cardstock bags as your canvas. Accent them with metallic silver or holographic curling ribbons that catch the light beautifully. Add metallic star stickers, geometric spaceship die-cuts, and silver foil lettering to create a striking, cosmic presentation that children will be excited to carry home.
Personalization is another highly effective way to elevate simple packaging. You can easily incorporate the guest of honor’s age or initials into the bag design. Try running a wide, solid-colored satin ribbon horizontally across the center of the bag to act as a banner. Layer individual, high-contrast alphabet or number stickers directly onto this ribbon banner to spell out the child’s name or age, such as “TWO” or “7”. This simple technique adds a customized, high-end touch without requiring expensive custom printing.
Do not be afraid to mix contrasting textures to make budget-friendly materials look exceptionally premium. Combining a rough, matte paper bag with a luxurious, high-shine gold satin ribbon creates an immediate sensory contrast that feels sophisticated. By pairing inexpensive kraft bags with a few yards of high-quality ribbon and simple cardstock cutouts, you can design stunning, bespoke party favors while keeping your overall stationery and crafting budget highly manageable.
Final Durability Checks and Safety Tips
Before you begin packing your decorated bags with treats and toys, it is essential to perform a few quick quality and safety checks. First, conduct a gentle “tug test” on all ribbon handles and heavier 3D embellishments. Hold the bag by its handles and give them a moderate pull to ensure the interior knots are secure and the paper around the punched holes shows no signs of tearing. Press down firmly on any dimensional stickers or acrylic gems to verify that the adhesive has fully bonded and will not peel off when the bags are handled by excited young guests.
Safety must always be a top priority, especially when crafting for children’s events. If you are decorating bags for toddlers or very young children, keep all dangling curling ribbons trimmed to a safe length of under 15 cm to eliminate any potential tangling hazards. Ensure that small, hard embellishments like acrylic rhinestones, wooden beads, or mini buttons are bonded exceptionally well with heavy-duty, non-toxic adhesives. If there is any risk of these small parts detaching during transit, it is safer to substitute them with flat, child-safe paper stickers or printed elements to eliminate choking hazards.
Finally, perform a weight capacity test using one fully decorated prototype bag. Fill the bag with the actual favors you plan to distribute, such as small notebooks, colored markers, treats, or toys. Lift the bag by its ribbon handles and carry it around for a few minutes. If you notice the bottom of the bag sagging or the paper around the handle holes stretching, reinforce the structure. You can easily strengthen the bag by placing a rectangular piece of thick scrap cardstock at the bottom of the bag to distribute the weight evenly, ensuring your beautiful creations survive the journey home intact.
Frequently Asked Questions (FAQ)
What is the best adhesive for glossy or cellophane party bags?
Liquid craft glues and standard school glues do not bond well with non-porous surfaces like cellophane or glossy laminated paper. Because these glues rely on water evaporation to cure, they will slide off glossy surfaces, take hours to dry, or cause the paper to warp and wrinkle. For a strong, invisible, and instant bond on glossy or cellophane bags, always use high-tack, clear double-sided tape or clear pressure-sensitive glue dots. These dry adhesives hold their grip perfectly without introducing moisture, keeping your bags looking clean and professional.
How far in advance should I decorate the birthday party bags?
It is best to decorate your birthday party bags 1 to 3 days before the event. While you can certainly prepare them earlier, Singapore’s high relative humidity can cause paper bags to lose their crispness and can gradually weaken certain adhesives if left out for too long. To preserve the quality of your hard work, store your decorated, empty bags flat in a cool, dry, air-conditioned room or inside a sealed plastic storage container with a few silica gel packs. Wait to fill the bags with heavy favors or treats until the day before or the morning of the party to prevent the handles and bottom flaps from stretching prematurely.

Community discussion
Share your experience or ask a question. Comments are reviewed before publication.