
Decorating a transparent gift bag with ribbons and wrapping paper accents is an excellent way to elevate a simple present into a stunning, professional-looking package. By combining the clean, modern look of a clear bag with the rich textures of paper and fabric, you can create a customized presentation that showcases the gift while adding an element of artistic suspense. This guide walks you through selecting the right materials, applying paper accents without messy smudges, and tying perfect bows that stay secure on slippery plastic surfaces.
Gathering Materials and Preparing the Transparent Bag
To achieve a flawless finish, understand the specific characteristics of your transparent gift bag. Clear bags generally fall into three categories: cellophane, clear PVC, and organza. Cellophane is lightweight, crinkly, and highly flexible, making it ideal for smaller treats. Clear PVC is thicker, semi-rigid, and holds its shape exceptionally well, which is perfect for heavier gifts like candles, bottled items, or stationery sets. Organza is a sheer fabric that offers a soft, translucent look but requires different decorative approaches since adhesives do not bond well to its porous weave.
When working with plastic-based bags like cellophane and PVC, choosing the right adhesive is critical. Standard liquid school glues or hot glue guns should be avoided. Liquid glues contain water or solvents that can warp thin cellophane, cause wrinkling, or dry into an unsightly cloudy white patch. Hot glue can instantly melt or warp thin plastics, ruining the bag entirely. Instead, opt for dry, clear adhesives. Double-sided tape, clear glue dots, and adhesive rollers are the gold standard for this project. They provide an instant, strong bond without moisture, keeping the transparent surface pristine.
Products mentioned in this guide
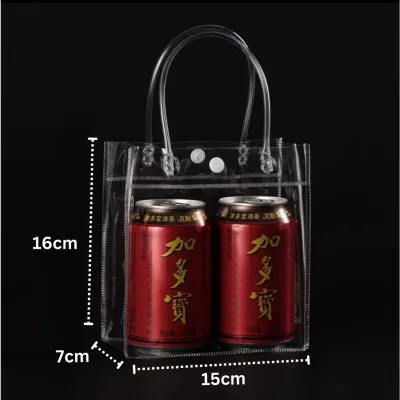
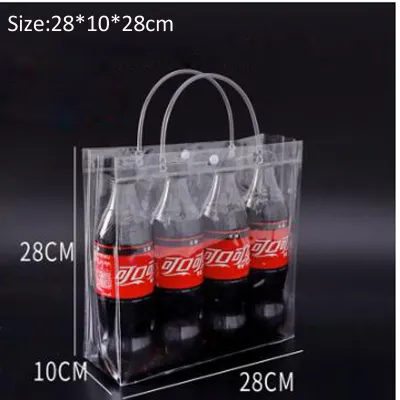
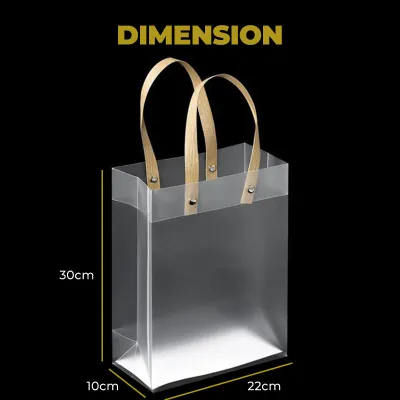
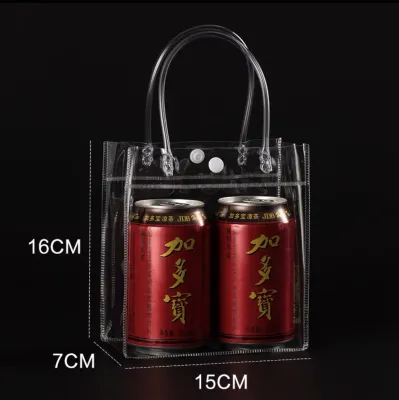
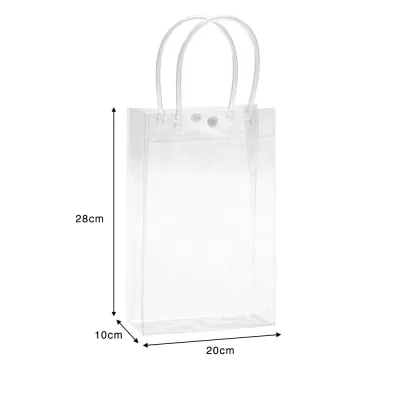
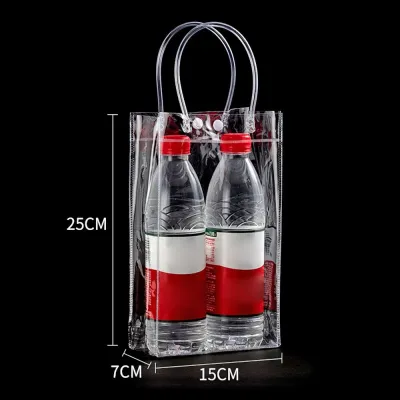
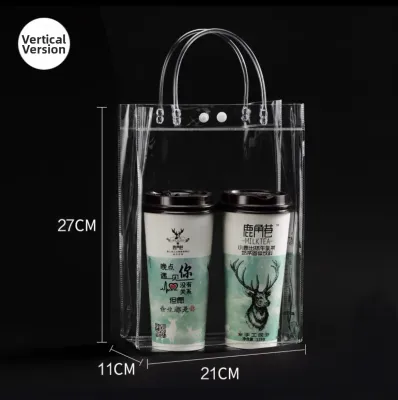
Prices are valid at publication and may change. Please refer to the product page for the latest price.
Preparing your wrapping paper scraps is the next step. This project is a fantastic way to upcycle leftover pieces of high-quality wrapping paper. Select papers with vibrant patterns, metallic foils, or rich textures that contrast nicely with the clear bag. Before cutting, lay the paper flat on a clean cutting mat. If the scraps have creases or curls from being stored, gently smooth them out. You can do this by placing the paper face down and running the flat edge of a plastic ruler or a bone folder over the back. Cut the paper into your desired decorative shapes—such as clean geometric bands, scalloped borders, or delicate leaf cutouts—using sharp scissors or a utility knife. Always cut away from your body and keep your fingers clear of the blade path to ensure safety.
Applying Wrapping Paper Accents Securely
Before peeling the backing off any adhesive, plan your layout. A transparent gift bag relies on visual balance; you want your paper accents to frame and complement the gift inside, not completely block it from view. Place the actual gift (or a temporary object of similar size) inside the bag to see how it sits. This allows you to position your paper decorations precisely where they will look best. For instance, if the gift has an attractive label, you will want to position your paper accents around it rather than directly over it.

Once you have decided on the placement, always apply the adhesive directly to the back of the wrapping paper accent rather than to the bag itself. Applying tape or glue dots directly to the clear plastic makes it incredibly difficult to align the paper perfectly on the first try. If you make a mistake, removing the paper can leave sticky, dust-attracting residue on the visible parts of the bag. By placing the adhesive on the paper, you control the exact boundaries of the bond. Use a continuous strip of double-sided tape along the edges of the paper shape to prevent the corners from curling upward over time.
When transferring the adhesive-backed paper to the transparent bag, start by aligning one edge first. Gently lower the rest of the paper onto the plastic surface. To prevent trapped air bubbles—which are highly visible and distracting on smooth PVC or cellophane—press the paper down firmly starting from the center and smoothing outward toward the edges. You can use a clean, soft cloth or a squeegee tool to press the paper flat, ensuring a seamless, bubble-free bond.
There are several classic placement strategies you can use to create a balanced design. A bottom border is highly effective; wrapping a wide band of patterned paper around the lower third of the bag grounds the presentation and neatly hides any tissue paper or structural cardboard at the base. Alternatively, corner framing involves placing small, triangular paper accents on the bottom corners of the bag to draw the eye inward. For a modern, asymmetrical look, try running a single vertical strip of decorative paper down one side of the bag, leaving the other side completely clear to showcase the gift.
Styling and Tying Ribbons for a Polished Finish
The ribbon you choose acts as the crowning glory of your transparent gift bag, tying the entire design together. To create a cohesive look, match the texture of your ribbon to the style of your wrapping paper accents. Satin ribbons offer a luxurious, high-shine finish that pairs beautifully with glossy or metallic papers, though they can be slippery to work with. Grosgrain ribbons have a ribbed texture that provides excellent grip and holds structured shapes exceptionally well, making them ideal for crisp, modern bows. For a rustic or organic aesthetic, cotton, linen, or jute ribbons pair wonderfully with kraft paper accents and textured wrapping papers.
Tying a classic bow on a gift bag requires a bit of technique to ensure the loops sit flat and face forward. Start by wrapping the ribbon around the neck of the bag or threading it through the pre-punched handle holes. Tie a simple, tight half-knot. To form the bow, make a loop with one hand, wrap the other end of the ribbon around the base of the loop, and push it through the center space to create the second loop. Pull both loops firmly to tighten. To give the bow a professional finish, cut the ribbon tails at a clean 45-degree angle or fold the ribbon in half vertically and cut diagonally upward to create a classic chevron (V-shape) tail. This not only looks polished but also prevents the fabric from fraying.
If you want to add more volume, a multi-loop bow is an excellent option. To make one, loop the ribbon back and forth in your hand several times to create a stack of loops. Secure the center of the stack tightly with a piece of thin floral wire or a small scrap of ribbon, then tie this pre-made bow directly to the bag’s handles. If you are using lightweight polypropylene curling ribbon, you can add playful volume by holding the ribbon firmly against the dull edge of a pair of scissors with your thumb and pulling quickly outward. Note that this curling technique only works on specific synthetic curling ribbons; attempting it on satin or grosgrain will damage the fabric fibers.
One of the most common challenges when decorating plastic gift bags is keeping the ribbon from sliding down smooth handles or slipping out of place. To secure slippery ribbons, apply a tiny piece of clear double-sided tape directly to the underside of the handle where you plan to tie the knot. When you tie the ribbon over the tape, it will grip the fabric securely without being visible. Alternatively, you can tie a secure square knot (left over right, then right over left) before forming your bow loops, which provides a tighter, slip-resistant foundation.
Adding Final Embellishments and Quality Checks
With your paper accents applied and your ribbon tied, you can introduce subtle, lightweight embellishments to elevate the presentation even further. Consider threading a personalized gift tag onto the ribbon tail before tying the final bow. For a touch of natural elegance, slide a small sprig of dried lavender, baby’s breath, or eucalyptus under the ribbon knot. If you love the look of wax seals, do not apply hot wax directly to the plastic bag, as the heat will melt the material. Instead, stamp the wax seal onto a piece of parchment paper or a scrap of wrapping paper first, let it cool completely, peel it off, and attach it to the bag using a clear glue dot.
Before declaring your gift ready, perform a quick quality check. Inspect all the adhesive points on your wrapping paper accents. Gently run your finger along the edges to ensure no corners are lifting. If you find a loose edge, carefully slide a small glue dot or a tiny piece of double-sided tape underneath and press down firmly. This step ensures your decorations remain intact during transport and handling.
Next, evaluate the overall balance of transparency. Step back and look at the bag from a distance. The primary appeal of a transparent gift bag is the visual anticipation of seeing the gift inside. Ensure your paper borders and large bows do not completely obscure the item. If the bag looks too crowded, you can trim down the ribbon tails or adjust the placement of the gift inside to restore the perfect balance between clear space and decorative accents.
Finally, conduct a practical weight and structural test. Lift the decorated bag by its handles with the actual gift inside. Observe how the bag behaves under the weight. Ensure that the paper accents do not restrict the natural flexing of the bag, which could cause the paper to crease or pop off. Check that the handles are secure and that the weight of the gift is not putting excessive strain on the bag’s seams. If the bag feels slightly unstable, you can reinforce the bottom by placing a sturdy piece of cardboard wrapped in matching wrapping paper inside the base of the bag to distribute the weight evenly.
Frequently Asked Questions (FAQ)
Can I use liquid glue on a transparent cellophane bag?
It is highly recommended to avoid using standard liquid craft glues on thin cellophane bags. Cellophane is a semi-permeable, delicate material that reacts poorly to moisture. The water content in liquid glues can cause the cellophane to warp, wrinkle, or shrink as it dries, distorting the shape of your bag. Additionally, liquid glues often dry with a cloudy, hazy finish that ruins the crystal-clear aesthetic of the plastic. For a clean, professional look, always opt for dry, low-moisture adhesives such as double-sided tape, clear glue dots, or dry adhesive rollers, which bond instantly without damaging the material.
How do I prevent ribbons from slipping on smooth plastic handles?
Smooth plastic handles on PVC or cellophane bags offer very little friction, causing satin or organza ribbons to slide out of place easily. To prevent this, you can choose textured ribbons like grosgrain, cotton, or jute, which naturally grip the smooth plastic much better. If you prefer the look of satin ribbon, apply a small strip of clear double-sided tape directly to the handle where the knot will sit, then tie the ribbon firmly over it. Another effective method is to tie a tight square knot before forming your bow loops, which locks the ribbon in place and prevents it from loosening.

Community discussion
Share your experience or ask a question. Comments are reviewed before publication.