
Elevating a plain transparent gift bag into an elegant, professional-grade presentation requires a thoughtful combination of textured ribbons, invisible adhesives, and balanced embellishments. Because every angle of a clear bag is visible, the key to a polished look lies in clean execution—ensuring that knots are secure, tape remains hidden, and the interior styling complements the exterior decorations. Whether you are preparing door gifts for a corporate event in Singapore, assembling wedding favors, or wrapping a personal birthday present, mastering these simple styling techniques will make your gifts stand out.
Using a transparent gift bag allows the contents of your gift to shine while offering a modern, minimalist aesthetic. However, without the right decorative touches, a clear plastic or cellophane bag can sometimes look unfinished or clinical. By learning how to select the right materials, tie secure bows on slippery surfaces, and layer delicate embellishments, you can easily create a beautiful, cohesive package that feels both personal and premium.
Preparation: Choosing the Right Materials for Transparent Bags
Ribbon Textures and Clear Plastic
When decorating a transparent gift bag, the texture of your ribbon plays a crucial role in the overall design. Satin ribbons offer a classic, high-gloss finish that adds instant luxury, though their smooth surface can make them slippery to tie on plastic handles. Organza ribbons, with their sheer and airy quality, complement the transparency of the bag beautifully, allowing light to pass through and creating a soft, delicate look. For a more structured or rustic appearance, grosgrain ribbons provide a ribbed texture that holds knots exceptionally well and resists slipping.
Products mentioned in this guide
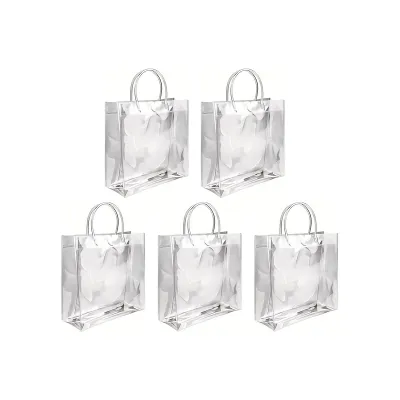
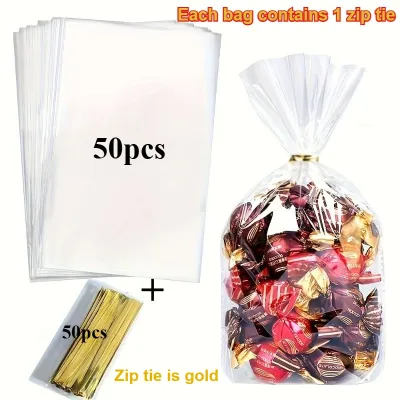
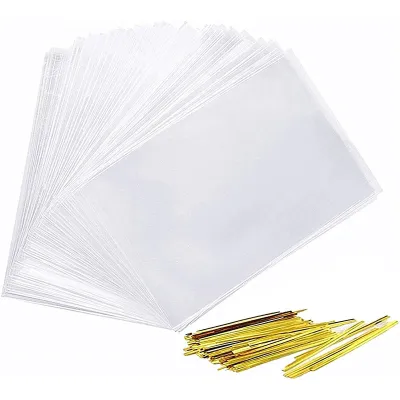
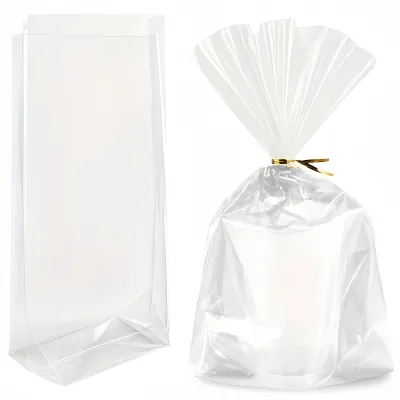
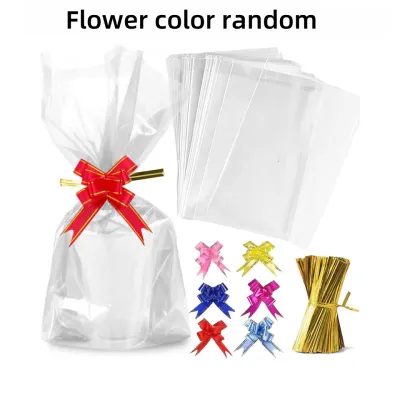
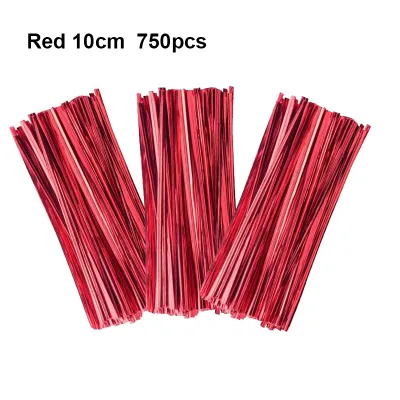
Prices are valid at publication and may change. Please refer to the product page for the latest price.
Selecting Invisible Adhesives
Because the inside of a transparent bag is completely visible, standard liquid glues or yellowing tapes will ruin the clean aesthetic. Instead, opt for high-quality clear double-sided tape or transparent glue dots. Glue dots are particularly useful because they provide a strong, instant bond without messy residue, and they remain virtually invisible when pressed flat against smooth plastic or ribbon fibers.
Choosing Lightweight Embellishments
The embellishments you choose should enhance the bag without overwhelming its structure. Since transparent bags are often made of lightweight polypropylene or cellophane, heavy ornaments can cause the plastic to sag, stretch, or tear. Select delicate items such as small cardstock gift tags, lightweight metal or wooden charms, or dried botanical sprigs like lavender or baby’s breath. These elements add organic texture and visual interest without putting undue stress on the bag’s handles.
Step-by-Step Guide to Tying and Attaching Ribbons
Measuring and Cutting the Ribbon
To ensure your bow looks balanced, start by measuring the correct length of ribbon. A good rule of thumb is to cut a piece that is approximately three to four times the width of the bag’s opening. This length provides ample room to wrap around the handles, tie a secure knot, and form elegant loops with generous tails. Always use sharp fabric scissors to make a clean cut. To prevent fraying and add a tailored finish, cut the ends of the ribbon at a clean 45-degree angle, or fold the ribbon end in half vertically and cut upward at an angle to create a classic swallowtail (V-cut).

Tying a Secure Classic Bow
Tying a bow on slippery plastic handles requires a slightly different approach than wrapping a standard paper box. Begin by wrapping the ribbon around the base of the handles where they meet the bag. Tie a single, firm knot to establish a solid foundation. To prevent the ribbon from shifting while you tie the loops, hold the center of the knot firmly with one finger. Create two even loops (often called the “bunny ears” method) and cross them over, pulling one loop through the center gap. Adjust the loops and tails gradually until they are symmetrical and proportional to the size of the bag.
Creating a Multi-Loop Bow for Extra Volume
If you want a more dramatic, festive look, a multi-loop bow is an excellent choice. Instead of tying the bow directly onto the bag, construct it separately. Take a long length of ribbon and fold it back and forth to create four to six overlapping loops of equal size. Secure the center of these loops tightly with a thin piece of floral wire or a metallic twist tie. Once the bow is formed, use the remaining wire or a separate piece of matching ribbon to tie the bow securely to the bag’s handle, hiding the wire completely beneath the loops.
Securing the Ribbon on Slippery Handles
Smooth plastic handles offer very little friction, which can cause even tightly tied bows to slide down or tilt. To keep your ribbon perfectly positioned, apply a tiny piece of clear double-sided tape or a single glue dot directly to the handle where you want the knot to sit. Press the ribbon firmly onto the adhesive as you tie the first knot. This simple step locks the ribbon in place, ensuring your bow remains upright and centered throughout transit.
Adding Embellishments for a Professional Finish
Layering Ribbons for Depth
One of the easiest ways to achieve a professional, designer look is by layering different types of ribbon. Start with a wider, solid-colored ribbon—such as a 2.5-centimeter satin or grosgrain ribbon—as your base. Once the main bow is tied, layer a thinner, contrasting ribbon over it. A narrow metallic gold thread, a rustic piece of baker’s twine, or a delicate organza ribbon tied directly over the center knot adds immediate depth, texture, and visual contrast.
Attaching Tags and Botanicals Safely
To protect the integrity of the transparent bag, avoid pinning or taping embellishments directly to the plastic surface, which can cause punctures or unsightly tears. Instead, thread your gift tags, charms, or dried flower sprigs directly onto the ribbon tails or slide them through the center knot before tightening the bow. This keeps the embellishments securely attached while allowing them to drape naturally over the front of the bag.
Balancing Visual Weight
When decorating a clear bag, it is important to maintain a balance between the decorations and the gift inside. If your gift is highly detailed or colorful, keep the ribbon and embellishments minimal to avoid a cluttered look. Conversely, if the gift inside is simple or monochromatic, you can use a more elaborate multi-loop bow or larger gift tags to add excitement. The goal is to frame the gift, not to hide it completely.
Elevating the Presentation with Internal Styling
The secret weapon of professional gift wrappers is coordinating the inside of the bag with the outside decorations. Placing a few sheets of premium tissue paper or a handful of color-coordinated crinkle-cut paper inside the bag serves multiple purposes. It cushions the gift, creates a beautiful backdrop that makes your external ribbons pop, and effectively conceals the back of gift tags, knots, and internal tape, ensuring a flawless presentation from every angle.
Common Mistakes to Avoid When Decorating Clear Bags
Using the Wrong Adhesives
Using liquid craft glue or hot glue guns on transparent bags is a common mistake that can ruin your packaging. Hot glue can easily melt or warp thin polypropylene and cellophane, leaving permanent puckers in the plastic. Liquid glues often smear, take a long time to dry on non-porous surfaces, and dry to a cloudy, unattractive finish. Stick to dry, clear adhesives like glue dots or double-sided tape for a clean, instant hold.
Overloading the Handles
While it can be tempting to add multiple charms, heavy wooden tags, and thick ornaments, clear plastic bags have weight limits. Overloading the handles can cause the plastic to stretch out of shape, sag, or even rip at the seams. Keep your embellishments lightweight and let the ribbon do most of the decorative work.
Neglecting the Inside and Back Views
Unlike traditional paper gift bags, transparent bags offer no place to hide messy wrapping work. A beautiful bow on the front can be ruined if the back of the bag reveals messy tape lines, tangled knots, or the blank, unfinished back of a gift tag. Always inspect your bag from all sides, and use internal styling elements like tissue paper to mask any unavoidable construction details.
Choosing Overly Stiff Ribbons
Ribbons with heavy wire edges or exceptionally stiff synthetic fibers can be incredibly difficult to manipulate into neat, small bows on delicate plastic handles. They tend to look bulky and can overpower the clean lines of a transparent bag. Opt for soft, pliable ribbons that drape naturally and conform easily to the shape of the handles.
Frequently Asked Questions (FAQ)
How do I keep ribbon from slipping off smooth plastic handles?
To prevent ribbons from sliding on smooth plastic handles, apply a small piece of clear double-sided tape or a transparent glue dot directly to the handle at the desired knot location. Tie your ribbon firmly over this adhesive point. The tape provides the necessary friction to lock the knot in place without damaging the bag or showing through the clear material.
Can I use hot glue to attach embellishments to a transparent plastic bag?
It is highly recommended to avoid using hot glue on transparent plastic bags. The high temperature of the glue can instantly melt, warp, or shrink thin plastic and cellophane materials, leaving permanent damage. Instead, use clear glue dots, double-sided tape, or tie your embellishments directly to the ribbon loops and knots.
What is the best way to hide the back of a gift tag on a clear bag?
To maintain a clean look, use a double-sided gift tag that features a decorative pattern or message on both sides. Alternatively, you can fold a small card tag in half so the blank interior is hidden, or place a sheet of colored tissue paper inside the transparent bag to act as a solid backdrop, masking the back of the tag from view.

Community discussion
Share your experience or ask a question. Comments are reviewed before publication.