
Decorating a small gift bag transforms a simple container into an elegant, personalized presentation that enhances the anticipation of the gift inside. By selecting proportional ribbons and carefully layering embellishments, you can elevate plain paper, fabric, or plastic bags into custom creations. The key to success lies in matching the scale of your decorations to the compact dimensions of the bag, ensuring that every element looks intentional rather than cluttered. With a few basic tools and structured techniques, you can achieve a professional, boutique-quality finish that showcases your attention to detail.
Gather Your Materials and Tools
Selecting the right materials is the foundation of a successful decorating project. For a small gift bag, typically measuring under 15 centimeters in height or width, standard-sized wrapping accessories can easily overwhelm the design. Begin by evaluating the bag material itself. Matte paper bags accept almost any adhesive, whereas glossy, varnished, or plastic bags require high-tack double-sided tape or specialized glue dots to prevent peeling. Fabric bags, such as those made of cotton, linen, or organza, pair best with fabric-safe adhesives or simple stitching.
Ribbon selection requires careful attention to width and texture. For small bags, ribbon widths between 3 millimeters and 15 millimeters maintain a balanced proportion. Satin ribbons offer a smooth, classic sheen that reflects light beautifully, while grosgrain ribbons provide a ribbed texture that holds knots securely. Organza ribbons add a sheer, delicate layer, and natural cotton twine or jute cord suits rustic themes.
Products mentioned in this guide
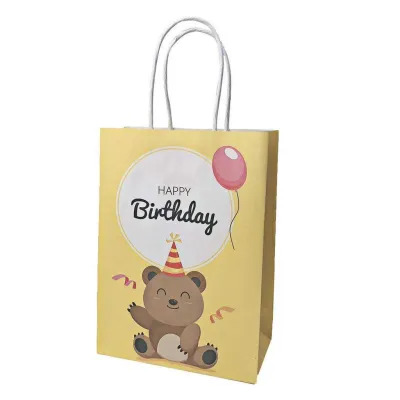
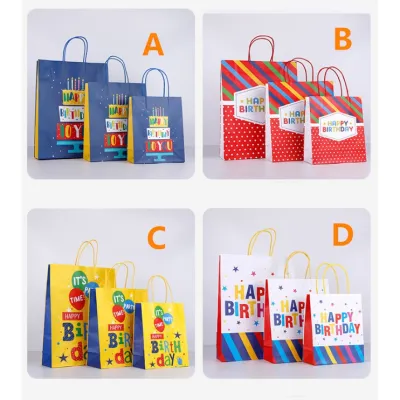
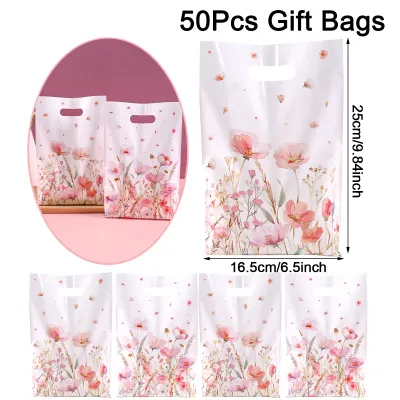
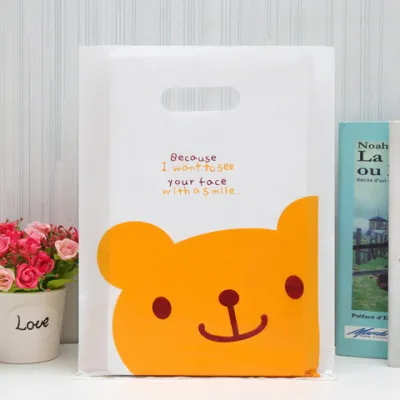
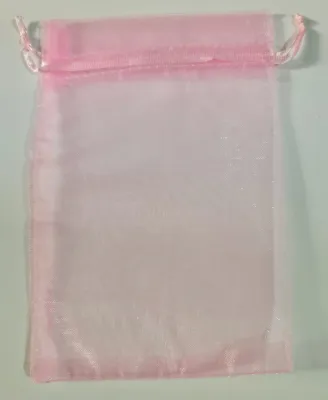
![[SG] 🎁 Gift Bags | Birthday Gift Wrapping Bags | Goodies Bags | Drawstring Candy Bags | Baking Cookies Pastries Party Su](https://img.lazcdn.com/g/p/ec67e54b17de891e1a4b7cfce4d591b7.jpg_400x400q80.jpg_.webp)
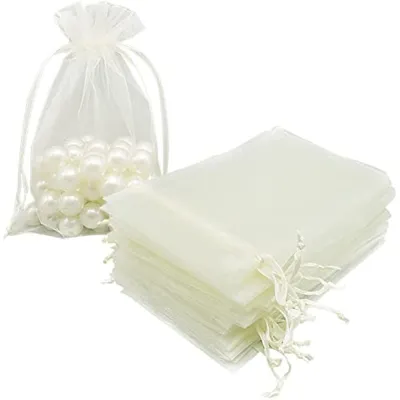
![💜[SG] - Fast Shipping | Waterproof Drawstring Pouch / Gift Bag / Christmas Birthday Goodie Bags / Small Door Gifts - Zyf](https://img.lazcdn.com/g/p/bc7a1432ac5f4e416b375b19f1e63721.png_400x400q80.png_.webp)
Prices are valid at publication and may change. Please refer to the product page for the latest price.
Equip yourself with the proper tools to ensure clean execution. A pair of dedicated, sharp fabric scissors is essential for cutting ribbons without fraying the edges. A bone folder helps crease paper ribbons or flatten adhesive tape smoothly. Tweezers are invaluable for placing tiny embellishments, such as sequins, flatback pearls, or miniature paper flowers, exactly where you want them without leaving fingerprint marks on the adhesive. If you plan to write on attached gift tags, select a smudge-resistant gel pen or calligraphy marker, verifying its drying speed and bleed resistance on a scrap piece of tag paper first to prevent ink smears.
Prepare the Gift Bag Surface
Before applying any decorative elements, take time to inspect and prepare the surface of your small gift bag. Coated papers, metallic foils, and textured cardstocks interact differently with adhesives. A glossy finish can repel standard water-based liquid craft glues, causing embellishments to slide or fall off over time. Conversely, highly porous kraft paper may absorb liquid glues too quickly, potentially warping the paper or leaving unsightly dark stains on the exterior of the bag.

To ensure maximum adhesion, gently wipe the bag surface with a clean, dry microfiber cloth. This simple step removes invisible dust, manufacturing residues, and natural oils transferred from your hands, all of which can compromise the bond of double-sided tape or glue dots. Avoid using damp cloths on paper bags, as moisture can weaken the fibers and cause permanent wrinkling.
Once the surface is clean, plan your layout by dry-fitting your ribbons and embellishments. Lay the bag flat on a clean work surface and position your decorative elements without removing their adhesive backings. This visualization step allows you to adjust the spacing, check the alignment, and ensure the overall composition is balanced before making any permanent attachments.
Step-by-Step Ribbon Techniques
Applying ribbon to a small gift bag adds structure, color, and a sense of luxury. Mastering a few foundational techniques allows you to customize the bag’s handles and body to suit any occasion.
Tying and Attaching a Classic Bow
A well-formed bow serves as an excellent focal point for a small gift bag. To create a balanced bow, cut a length of ribbon approximately 30 centimeters long. Fold the ribbon to form two loops of equal size, cross them, and pull one loop through the center loop to create a standard bow knot. Gently pull the loops while holding the center knot, adjusting the tails until they are symmetrical and proportionate to the bag’s face. Tighten the center knot firmly to lock the shape in place.
To secure the bow to the bag, apply a high-tack glue dot or a small strip of double-sided tape directly to the back of the center knot. Press the bow firmly onto the base of one of the bag handles or directly onto the center of the front panel. Placing the bow at the handle base adds visual interest without obstructing the opening of the bag.
Finish the bow by trimming the ribbon tails to prevent fraying and create a tailored look. Use your sharp fabric scissors to cut the ends at a clean 45-degree angle, or fold the ribbon tail vertically and cut upward at an angle to create a classic V-cut finish. Ensure both tails are of equal length and do not drape past the bottom edge of the bag.
Wrapping the Handles for a Polished Look
Wrapping plain cord or paper handles with ribbon instantly elevates a basic bag into a high-end presentation. Select a thin ribbon, preferably 6 millimeters to 10 millimeters wide, in a color that complements or contrasts with the bag. Begin by securing the starting end of the ribbon at the inner base of one handle using a small piece of high-tack double-sided tape, ensuring the raw edge of the ribbon is completely hidden from the outside.
Wrap the ribbon tightly and evenly around the handle, moving upward from the base. Overlap each turn by approximately half the width of the ribbon to ensure the original handle material is completely covered and cannot slip through. Maintain consistent tension as you wrap to prevent the ribbon from bunching or slipping during handling.
When you reach the opposite base of the handle, cut the ribbon, leaving a small tail. Apply a final dot of adhesive to the inner side of the handle base, tuck the ribbon end neatly underneath the last wrap, and press firmly to secure it. Repeat this process for the second handle, checking that both wrapped handles match in tension and appearance.
Adding Embellishments and Accents
Layering secondary decorative elements over your ribbon work adds depth and personalization to your small gift bag. To maintain a sophisticated look, start with flat or low-profile elements as your base layer. Die-cut paper shapes, pressed botanical leaves, or custom wax seals work beautifully when positioned slightly offset from the ribbon knot. If using a wax seal, cast it on a silicone mat beforehand, then attach it to the bag using a double-sided adhesive circle to avoid pouring hot wax directly onto the paper bag, which could scorch or warp the material.
Dimensional items add tactile interest and can be attached using mini glue dots or tied directly to the handles. Small wooden tags, metal charms, dried flower sprigs, or miniature bells can be threaded onto a thin piece of contrasting twine and tied around the base of the handle. When using dried botanicals, handle them gently with tweezers to prevent the delicate petals or leaves from breaking during application.
Because a small gift bag has limited surface area, visual restraint is crucial. Keep the focal point concentrated in one area, such as the upper corner near the handle base or the lower third of the front panel. Avoid spreading embellishments across the entire bag, which can look chaotic. Use the rule of thirds to guide your placement, leaving plenty of empty space to let the individual decorations stand out.
Final Checks and Presentation Tips
Before presenting your decorated gift bag, perform a quick quality check to ensure it is both beautiful and functional. Lift the bag gently by its handles with the intended gift placed inside. This test verifies that the adhesive bonds are strong enough to support the weight and that the wrapped handles do not slip or unravel under tension. If any part of the ribbon shifts, reinforce it with an extra glue dot.
Inspect the bag closely for any visible construction marks. Use tweezers to pull away any stray hot glue strings, and use a clean craft knife to trim any exposed edges of double-sided tape that might collect dust. If you used a gel pen or marker on a gift tag, touch it gently with a clean finger to confirm the ink is completely dry and will not transfer to the bag or the recipient’s hands.
Complete the presentation with thoughtful finishing touches. Select tissue paper that coordinates with your ribbon color scheme. Instead of stuffing the tissue paper into the bag, use the “puff” method: lay a sheet of tissue paper flat, pinch it from the center, lift it, and place the pinched end into the bag first, allowing the flared corners to bloom elegantly out of the top. You can also mist the tissue paper lightly with a subtle scent or attach a handwritten card to the embellishment cluster to complete the sensory experience.
Frequently Asked Questions (FAQ)
How do I prevent ribbon from fraying when cutting it?
To prevent ribbon from fraying, always use dedicated, sharp fabric scissors rather than general household scissors, which can chew the fibers. Cutting the ribbon at a sharp 45-degree angle or in a V-shape naturally reduces fraying by limiting the exposure of the crosswise threads. For synthetic ribbons like polyester satin or grosgrain, you can carefully seal the cut edge by passing it quickly near a flame to melt the fibers slightly, though this requires caution. For natural fibers like cotton or silk, apply a tiny drop of clear fabric sealant or clear nail polish to the very edge of the cut.
What is the best adhesive for glossy or coated gift bags?
Glossy or coated gift bags have non-porous surfaces that prevent standard water-based liquid glues from soaking in and bonding. Adhesives that perform well on these surfaces include high-tack double-sided tape, silicone-based glue dots, or hot glue. These adhesives create a strong mechanical bond without relying on absorption. Before applying your decorations, always test a small piece of the adhesive on an inconspicuous area of the bag, such as the inside of the bottom fold, to ensure it holds securely and does not discolor or peel the glossy coating.

Community discussion
Share your experience or ask a question. Comments are reviewed before publication.