
Decorating a small clear gift bag is an excellent way to transform simple packaging into a highly personalized, professional-looking presentation. Because the bag is transparent, the key to success lies in balancing the visual elements inside the bag with the decorative accents on the outside. By thoughtfully layering colorful fillers, choosing the right ribbon textures, and securing delicate embellishments, you can elevate any small token or stationery gift into a memorable keepsake.
Whether you are preparing party favors, gifting handmade stationery, or packaging small treats, a well-decorated bag shows a high level of care and attention to detail. With a few basic supplies and a structured approach, you can easily customize these versatile containers to suit any style, theme, or occasion.
Materials and Tools You Will Need
To achieve a polished finish, gather your materials before starting the assembly process. The foundation of your project is the clear gift bag small size, typically made of clear cellophane or lightweight plastic. Before purchasing, verify the flat dimensions of the bag against the size of your gift to ensure a comfortable fit that does not stretch the seams.
Products mentioned in this guide
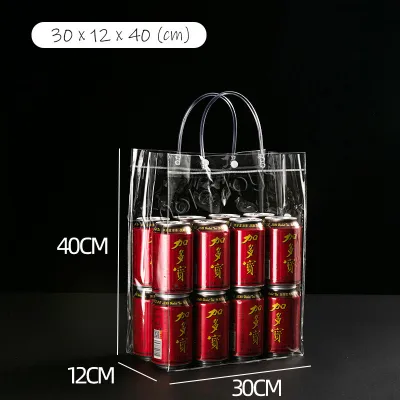
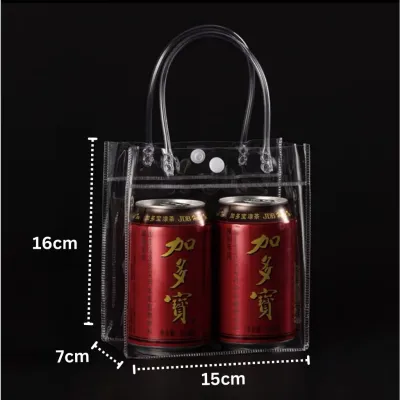
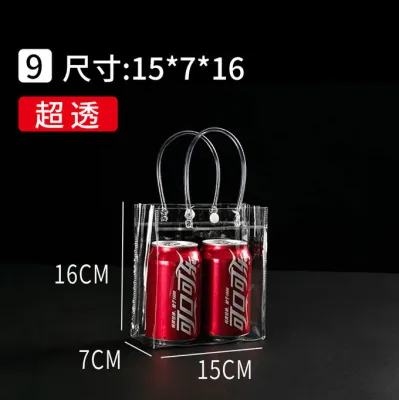
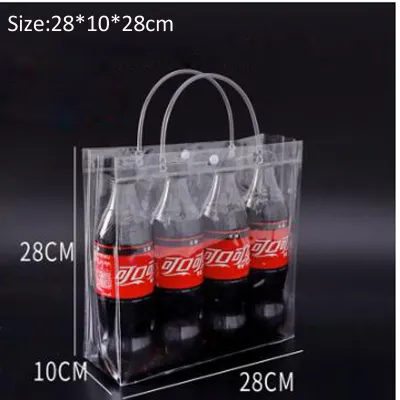
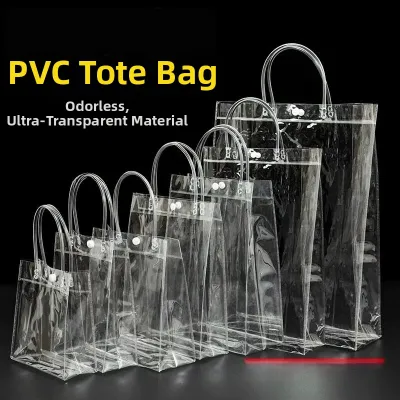
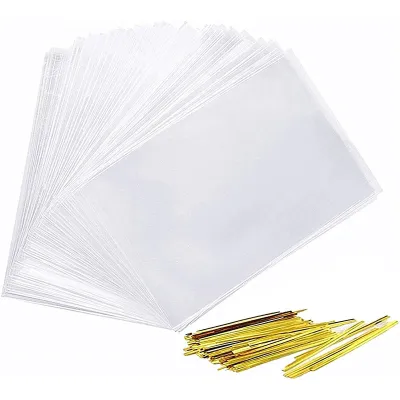
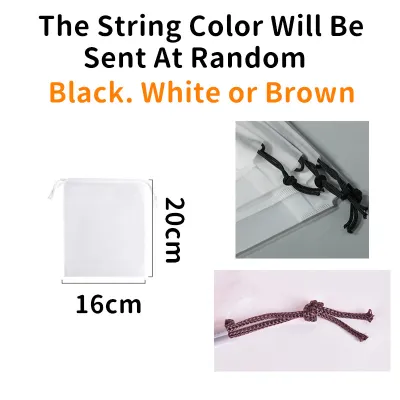
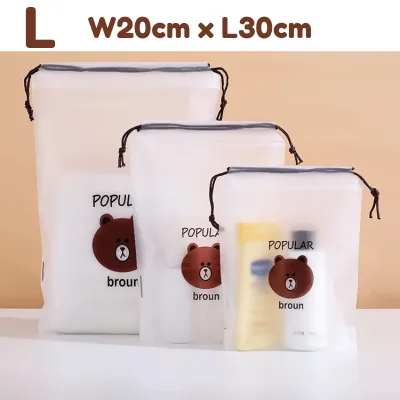
Prices are valid at publication and may change. Please refer to the product page for the latest price.
You will also need interior styling elements such as crinkle-cut paper filler, shredded tissue, or small sheets of colored tissue paper. These materials provide a vibrant backdrop for your gift and keep it from shifting. For the exterior decorations, select ribbons that match your theme, such as satin, grosgrain, or sheer organza, which offer distinct textures and structural properties.
Prepare custom gift tags, small stickers, or lightweight charms to add a personal touch. Having the right tools on hand prevents frustration and ensures clean lines. A pair of sharp scissors is essential for cutting ribbons cleanly without fraying, while double-sided tape or adhesive glue dots are ideal for securing small embellishments without leaving messy residue.
If your bags do not have pre-punched holes, a standard single-hole punch will help you create precise openings for your ribbons. When using scissors or hole punches, work on a flat, stable surface to maintain control and ensure safety. Keep a small scrap piece of the bag material nearby to test your adhesives and hole placement before working on the final package.
Step-by-Step Guide to Decorating Your Clear Gift Bag
Transforming a plain transparent pouch into an eye-catching gift package requires a methodical approach. The process involves preparing the interior first, securing the bag closure, and then layering your external decorations. By following a structured sequence, you ensure that the delicate plastic material remains unwrinkled and the final presentation looks balanced and intentional.

Preparing the Bag and Inserting the Gift
Begin by preparing the interior of the bag, which acts as the canvas for your presentation. Select a small amount of crinkle-cut paper or shredded tissue filler that complements the color of your gift. This filler serves a dual purpose: it cushions the item to prevent it from sliding around and provides a solid, colorful backdrop that makes the gift pop against the transparent plastic.
Carefully place the filler at the bottom of the bag, gently fluffing it to create a level base. Slide your gift item into the bag, ensuring that its most attractive side faces forward. If you are gifting stationery items like notebooks, stickers, or pens, arrange them so the designs are clearly visible through the front of the clear plastic.
Once the contents are arranged to your satisfaction, secure the bag closure. If your bag features a built-in adhesive strip, peel off the protective backing and fold the flap down smoothly, pressing firmly from the center outward to avoid trapping air bubbles. If your bag does not have a built-in adhesive, you can fold the top edge over and secure it with a neat strip of clear double-sided tape or a decorative sticker.
Tying and Styling Ribbons
Ribbons add structure and elegance to the top of your clear gift bag. If your bag has pre-punched holes, thread your chosen ribbon through them from front to back. If there are no holes, use a standard hole punch to create one or two clean punctures near the folded top edge, leaving at least half an inch of clearance from the top border to prevent the plastic from tearing.
Select a ribbon width that matches the scale of your small bag; narrow ribbons measuring 1/8 inch to 1/4 inch generally look the most proportional. Thread the ribbon through the holes and tie a basic bow or a double-loop bow. If you prefer a modern, minimalist look, a simple, tight knot with long, elegant tails works beautifully.
To give the ribbon a professional finish, trim the ends carefully. Use sharp scissors to cut the ribbon tails at a clean 45-degree angle, or fold the ribbon in half vertically and cut upward at an angle to create a classic V-notch. This simple step not only prevents the fabric from fraying over time but also adds a tailored, high-end touch to the overall presentation.
Adding Tags and Embellishments
Once your ribbon is secured, you can integrate secondary decorations to elevate the design. Slide a personalized gift tag onto one of the ribbon tails before tying the final knot, or loop it directly through the center of the bow. Ensure the tag is small enough that it does not obscure the view of the gift inside the bag.
For additional embellishments like small charms, dried flower sprigs, or wax seals, use adhesive glue dots or double-sided tape. These adhesives provide a strong, instant bond without the moisture of liquid glues, which can warp or cloud the plastic. Test your chosen adhesive on a spare piece of plastic first to verify that it holds securely and dries completely clear.
Gently press the embellishment onto the ribbon knot or the front of the bag, applying light pressure to secure it. As you add these elements, step back periodically to assess the visual balance. The goal is to enhance the presentation, not crowd it; keep the embellishments clustered near the top closure or along one side so that the clear window of the bag remains open.
Design Ideas for Different Occasions
The versatility of a clear gift bag small size allows you to adapt its style to suit any event or recipient. For a clean, modern, and minimalist aesthetic, pair a single-color satin ribbon in a neutral tone like cream, olive, or slate gray with a simple kraft paper tag. Keep the interior filler minimal or omit it entirely if the gift itself has a beautiful, clean design.
For festive occasions and holidays, embrace vibrant colors and playful patterns. Use patterned grosgrain ribbons featuring stripes, polka dots, or seasonal motifs. Fill the bottom of the bag with bright, multi-colored crinkle paper, and attach a small themed charm, such as a tiny bell or a wooden cutout, to the ribbon knot to create a joyful, tactile experience.
If you are aiming for an elegant or formal presentation, layer different ribbon textures. Combine a narrow metallic gold or silver ribbon with a slightly wider, sheer organza ribbon to create a soft, luxurious bow. Use a high-quality cardstock tag featuring elegant calligraphy, and secure a delicate sprig of dried lavender or a mini wax seal to the front of the bag for a sophisticated finish.
Common Mistakes to Avoid
Working with clear plastic requires a gentle touch and careful planning to avoid common pitfalls. One of the most frequent mistakes is overstuffing the bag. Forcing a gift that is too large into a small bag stretches the plastic, distorts its shape, and makes it difficult to seal properly, often leading to unsightly tears near the seams or ribbon holes.
Another issue is using heavy embellishments or thick, heavy twine. Small clear bags are lightweight, and heavy decorations can cause the plastic to sag, wrinkle, or tear around the punch holes. Stick to lightweight ribbons, paper tags, and delicate charms that the bag can easily support without losing its structure.
Finally, avoid applying liquid craft glue or hot glue directly to the plastic surface of the bag. Liquid glues often cause the clear plastic to cloud, warp, or wrinkle due to moisture and chemical reactions, while hot glue can melt the thin material instantly. Always opt for dry adhesives like double-sided tape, glue dots, or decorative stickers to keep your presentation clean, clear, and professional.
Frequently Asked Questions (FAQ)
How do I keep the contents from sliding around in a clear bag?
To keep your gift stable and centered, use a generous base of crinkle-cut paper or shredded tissue to fill the empty space and create natural friction. For heavier or unusually shaped items, you can apply a small piece of double-sided tape or a removable glue dot to the bottom of the item, anchoring it securely to the inside base of the bag.
What type of ribbon works best for small clear bags?
Narrow ribbons ranging from 1/8 inch to 1/4 inch in width work best because they match the delicate scale of a small bag. Materials like grosgrain or wired satin are ideal because they have enough texture and structure to hold their bow shape securely without slipping through the plastic punch holes.

Community discussion
Share your experience or ask a question. Comments are reviewed before publication.