
Transforming a basic kraft or matte wine paper bag into an elegant gift presentation relies on selecting the right weight of ribbons, coordinating textures, and securing embellishments without compromising the bag’s structural integrity. A plain wine paper bag is a highly versatile canvas. With a few thoughtful additions, it can match the sophistication of any vintage or occasion. In Singapore’s gifting culture, where presentation is highly valued for corporate events, housewarmings, and festive celebrations, taking the time to decorate a bag by hand adds a memorable, personal touch.
By understanding how different materials interact with paper surfaces, you can create a polished look that remains secure from the moment you hand over the gift to the final toast. This guide provides step-by-step techniques to style ribbons, attach decorative tags, and avoid common structural mistakes, ensuring your presentation looks refined and professional.
Gather the Right Ribbons, Tags, and Adhesives
Before beginning your project, evaluate the structural limits of your wine paper bag. A standard 750ml wine bottle typically measures around 30 to 32 cm in height and 7.5 to 8 cm in diameter, weighing approximately 1.2 to 1.5 kg. To support this weight safely, select a bag made from heavy-duty paper, ideally between 150 gsm and 200 gsm. Check the handles to ensure they are securely glued or threaded through reinforced eyelets, as these will bear the brunt of the weight.
Products mentioned in this guide
![[Hommly SG Instock] Wine Paper Bag | Kraft Bottle Bag | Wine Gift Bag | Wine Bottle Carry Bag | Wine Bag | Christmas Bag](https://img.lazcdn.com/g/p/8739309d6b75bc1ac23c6da9de4fe0ae.jpg_400x400q80.jpg_.webp)
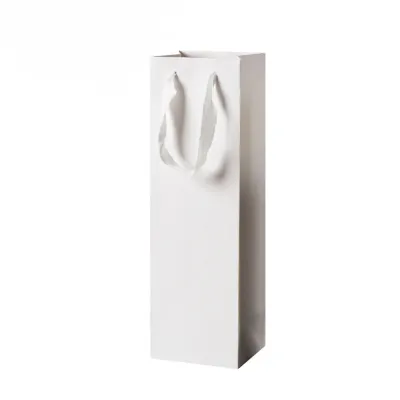
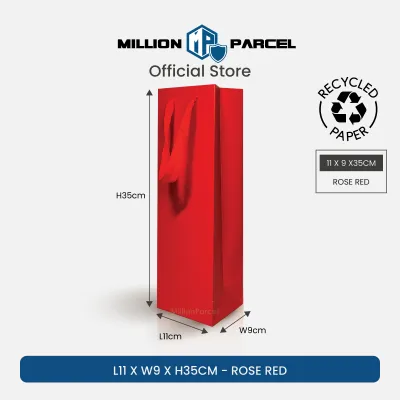
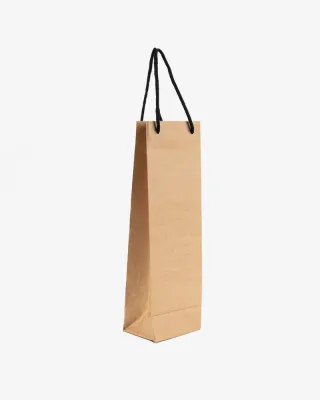
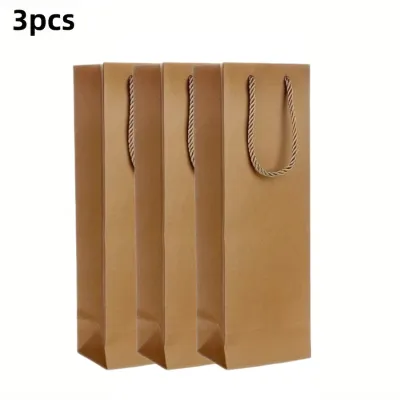
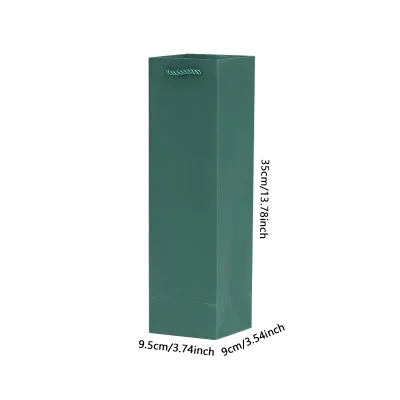
Prices are valid at publication and may change. Please refer to the product page for the latest price.
The choice of ribbon material significantly influences both the aesthetic and the ease of styling. Grosgrain ribbon is highly recommended for beginners because its ribbed texture provides excellent grip, making knots secure and preventing bows from slipping. Satin ribbon offers a classic, high-shine finish that looks exceptionally elegant, though its smooth surface requires more careful tying to prevent loosening. For a rustic or organic presentation, burlap, jute, or cotton twill ribbons provide a stiff, structured hold that complements plain kraft paper beautifully. Aim for a ribbon width of 1.5 cm to 2.5 cm, which balances well with the narrow profile of a standard wine bag.
When selecting adhesives, avoid standard liquid school glues or heavy craft glues. These water-based formulas can saturate paper fibers, causing the bag to warp, buckle, or develop unsightly dark stains. Instead, opt for dry adhesives such as high-tack double-sided tape, adhesive glue dots, or a low-temperature glue gun. If you are using a glue gun, exercise caution to avoid skin burns and apply the adhesive sparingly to prevent thick, lumpy spots under your ribbons.
For embellishments, choose lightweight items that will not strain the bag’s handles or cause the paper to sag. Cardstock gift tags, dried botanicals like lavender sprigs, eucalyptus leaves, or pressed flowers are excellent choices. If you plan to write a personalized message on your cardstock tags, perform a quick ink test on a scrap piece of the same paper first. Verify that your gel pen, calligraphy ink, or felt-tip marker dries quickly and does not bleed or feather, especially in humid environments where moisture can prolong drying times.
Tie and Style Ribbons for a Balanced Finish
A beautifully tied bow serves as the focal point of your gift presentation. To achieve a balanced look without putting unnecessary stress on the bag’s handles, you must measure and cut your ribbon precisely. For a standard bow on a dual-handle wine paper bag, measure and cut a length of ribbon approximately 60 to 70 cm long. Always cut the ends of the ribbon at a clean 45-degree angle or a V-shape (chevron cut) using sharp fabric scissors. This simple step prevents the fabric from fraying and gives the presentation a tailored finish.

To tie a classic dual-handle bow, bring the two handles of the bag together. Thread the cut ribbon under both handles, centering it so that the tails are of equal length. Cross the right tail over the left tail, pull it under, and tighten gently to form a secure base knot. While holding the center of the knot with one finger, fold the left tail into a loop. Wrap the right tail around the loop and pull it through the center opening to create the second loop. Adjust the loops and tails until they are symmetrical, ensuring the bow sits flat against the collar of the bag.
If your wine paper bag has a single-point handle or pre-punched eyelets, a sliding knot or a simple hang-knot may be more appropriate. Thread the ribbon through the eyelet from the inside out, tie a small stopper knot on the inside to secure it, and let the remaining ribbon drape elegantly down the front of the bag. You can then tie a single-loop bow or a tailored flat knot at the base of the handle.
Once the bow is tied, inspect the loops and tails for visual symmetry. The loops should not be so large that they droop downward, and the tails should ideally hang no further than two-thirds of the way down the bag. If the tails are too long, trim them again at an angle. To keep the bow from shifting or sliding down the handles during transport, place a tiny dot of double-sided tape or a single glue dot directly underneath the central knot, securing it firmly to the paper collar of the bag.
Attach Tags and Embellishments Without Tearing the Bag
Adding personalized tags and decorative elements elevates your gift, but improper placement can easily tear the paper or pull the handles out of alignment. To maintain structural balance, always position your gift tags near the base of the handles or thread them directly onto the ribbon before you tie the final bow. This ensures that the weight of the tag is supported by the ribbon structure rather than pulling directly on a single point of the paper bag.
For flat embellishments, such as custom labels or paper cutouts, use adhesive glue dots to secure them flat against the face of the bag. If you are incorporating natural elements like dried botanicals, a mini wooden clothespin is a highly effective and stylish tool. Simply clip a small sprig of dried rosemary, eucalyptus, or a cinnamon stick along with your gift tag to the top rim of the bag. This method distributes the pressure evenly across the reinforced collar of the bag and avoids the need for permanent adhesives.
When arranging multiple decorations, keep the visual weight balanced. The human eye naturally gravitates toward the upper third of a vertical package, making this the ideal zone for your decorative cluster. Avoid placing heavy ornaments near the bottom or sides of the bag, as this can cause the bag to tilt or swing awkwardly when carried.
Never use heavy metal charms, thick wooden ornaments, or dense plastic decorations on standard paper handles. While these accessories may look appealing, their weight can easily tear through paper handles or cause the bag to rip if it is jostled during transit. Stick to lightweight cardstock, delicate twine, and dried natural elements to keep the presentation elegant and physically secure.
Customize the Design for Specific Gifting Occasions
The beauty of a plain wine paper bag lies in its adaptability. By altering your color palette, ribbon textures, and accessories, you can easily customize the presentation to suit any occasion or recipient. For a modest budget of under S$5 in decorative materials, you can create a high-end look that rivals professional gift-wrapping services.
For corporate events or formal gatherings, a minimalist approach is highly effective. Pair a matte black or natural kraft wine paper bag with a wide, solid-colored grosgrain ribbon in navy blue, forest green, or charcoal gray. Keep the gift tag simple: a clean, rectangular white or cream cardstock tag with minimalist black lettering. This clean design conveys professionalism and understated elegance without unnecessary clutter.
For festive holidays, birthdays, or personal celebrations, embrace richer textures and vibrant colors. During year-end festive seasons, coordinate a deep red or emerald green paper bag with a shimmering gold or silver satin ribbon. You can tuck a small sprig of dried pine or a miniature pinecone into the ribbon knot for a seasonal touch. For birthdays, bright pastel ribbons paired with a colorful, hand-stamped tag add a cheerful and personalized feel.
Always coordinate your decorative accessories with the bag’s existing color and finish to create a cohesive design. If your wine paper bag has a glossy finish, pair it with matte ribbons like cotton twill or ribbed grosgrain to create an appealing contrast in textures. Conversely, if you are using a matte or textured kraft paper bag, a high-shine satin ribbon or a ribbon with metallic-edged detailing will stand out beautifully against the flat paper background.
Avoid Common Decorating Mistakes and Structural Damage
While decorating a wine paper bag is a creative and enjoyable process, a few common mistakes can ruin the presentation or even damage the gift inside. The most critical rule is to avoid overloading the bag’s handles. Remember that the primary function of the handles is to support the weight of the wine bottle. Adding heavy decorations, thick cords, or multiple layers of heavy cardstock can weaken the handle attachments, leading to a sudden failure while the gift is being carried.
Another common pitfall is using wet adhesives. As mentioned previously, liquid craft glues, hot glue applied too thickly, or wet spray adhesives will warp the paper fibers. This not only looks unprofessional but also structurally weakens the paper, making it more susceptible to tearing. Always opt for dry, pressure-sensitive adhesives like double-sided tape or glue dots, which provide a strong bond without introducing moisture to the paper.
Before threading any ribbon through pre-punched handle holes or eyelets, always check the ribbon’s thickness against the hole size. Forcing a thick, wide ribbon through a small eyelet can easily rip the surrounding paper. If the ribbon is too wide, fold it in half lengthwise before threading it through, or select a narrower ribbon that glides through the opening smoothly without friction.
Finally, ensure that your decorations do not obscure or interfere with the bag’s structural integrity. The top opening of the bag must remain completely clear so the wine bottle can be inserted and removed easily without catching on ribbons, tags, or delicate dried botanicals. By keeping your decorations focused on the exterior collar and handle bases, you preserve the bag’s functionality while maximizing its visual appeal.
Frequently Asked Questions (FAQ)
How do I prevent the ribbon from slipping off smooth paper handles?
To prevent ribbons from sliding off smooth or glossy paper handles, apply a small strip of high-tack double-sided tape to the underside of the handle where the ribbon knot will rest. This creates a non-slip barrier that holds the ribbon firmly in place. Alternatively, you can choose a textured ribbon such as grosgrain or cotton twill, which naturally grips the paper surface much better than slippery satin. Another effective method is to tie a discreet stopper knot on the inside of the handle loop to anchor the ribbon securely.
Can I safely reuse a decorated wine paper bag?
Yes, you can easily reuse a decorated wine paper bag if you plan your decorations with disassembly in mind. Avoid using permanent liquid glues or high-temperature hot glue directly on the paper surface. Instead, use removable glue dots, double-sided tape designed for easy removal, or simply tie your ribbons and tags with gentle knots that can be untied without cutting. When the gift is opened, carefully untie the ribbons and peel away any temporary adhesives. Store the emptied bag flat in a cool, dry environment away from direct sunlight to maintain its shape and prevent the paper from warping or fading.

Community discussion
Share your experience or ask a question. Comments are reviewed before publication.