
Transforming a plain wine gift bag into a personalized presentation is an easy and rewarding way to elevate any bottled gift. By applying a custom-cut panel of high-quality wrapping paper and layering coordinated ribbons, you can turn a basic paper carrier into a bespoke piece of art. This process allows you to tailor the design to any occasion, whether it is a festive dinner, a sophisticated housewarming party, or a formal celebration.
To achieve a professional finish, the key lies in precision and material selection. Rather than settling for a generic store-bought bag, combining textured wrapping paper, double-sided adhesives, and structured ribbons creates a tactile, multi-dimensional look. With a few simple tools and a methodical approach to measuring, cutting, and securing your decorations, you can craft a durable and visually balanced gift bag that stands out.
Gather the Right Materials and Tools
Before beginning your project, assembling the correct tools and materials ensures a smooth workflow and a clean final product. The foundation of your project is a sturdy, plain wine gift bag. Opt for a bag made from thick kraft paper or heavy cardstock, as thin paper bags may sag or tear under the weight of additional decorative layers and the wine bottle itself.
Products mentioned in this guide
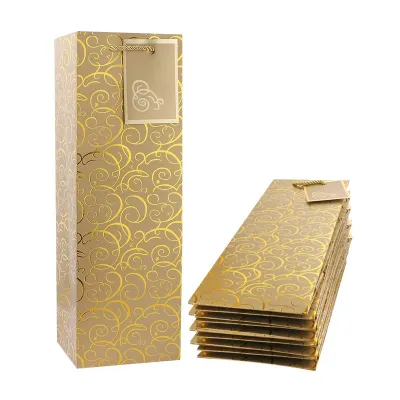
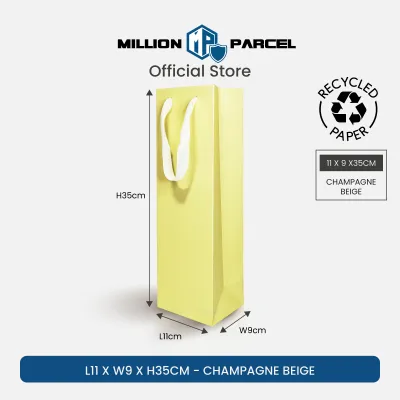
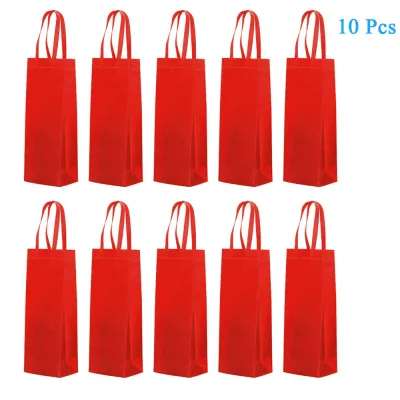
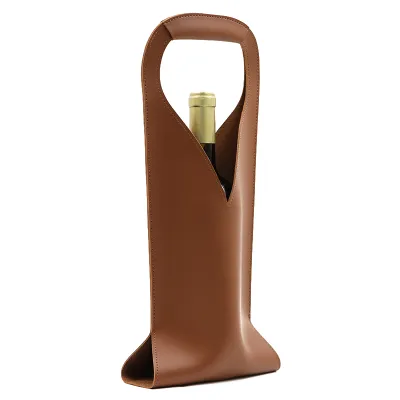
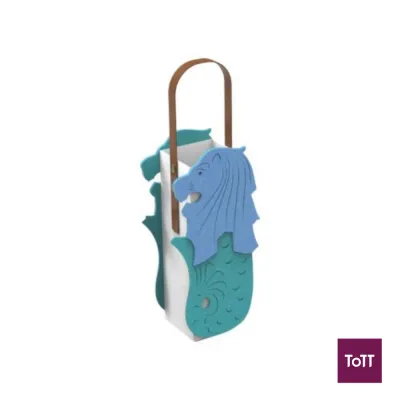
Prices are valid at publication and may change. Please refer to the product page for the latest price.
Next, select your wrapping paper and ribbons. For the wrapping paper, medium-weight sheets with textured finishes, metallic accents, or elegant patterns are highly suitable. Avoid extremely thin newsprint-style papers, which tend to wrinkle when adhesive is applied, as well as overly thick cardstock that resists clean creasing. Your ribbons should complement the paper; combining a wide, structured ribbon like grosgrain or satin with a thinner, textured option such as velvet or rustic twine adds depth and visual interest.
For adhesives and cutting tools, precision is essential. Double-sided tape is a highly effective choice for securing paper panels because it lies completely flat and eliminates the risk of warping. Glue dots are excellent for attaching heavier embellishments or securing ribbon knots. You will also need a pair of very sharp scissors to prevent frayed ribbon edges, or a paper trimmer to guarantee consistently straight, clean cuts on your wrapping paper panels.
Finally, consider optional embellishments to add a highly personalized touch. Gift tags made from matching cardstock, delicate dried flowers, sprigs of fresh rosemary, or even a custom wax seal can be integrated into your design. These small details bridge the gap between a simple DIY project and a premium, boutique-style presentation.
Measure and Cut for a Custom Fit
Achieving a seamless, professional look depends entirely on accurate measurements. Wrapping paper that is cut too large will overhang, buckle, and create unsightly bulk along the edges of your wine gift bag. Conversely, paper cut too small will expose the plain bag underneath in an unbalanced, messy way.

To begin, lay your plain wine gift bag flat on a clean, hard work surface. Use a metal ruler to measure the height and width of the front panel. If you plan to wrap the paper around the sides of the bag, you must also measure the depth of the side gussets. Write these dimensions down. When calculating your paper size, add a small allowance of approximately five millimeters to the height if you want the paper to tuck slightly inside the top collar, or subtract two millimeters if you prefer a clean border that exposes a sliver of the original bag.
When cutting your wrapping paper, use a grid-lined cutting mat and a utility knife or a paper trimmer to ensure consistently straight lines. If your paper features a directional pattern, such as stripes, geometric shapes, or holiday motifs, pay close attention to how the design aligns with the bag’s orientation. Center the most prominent part of the pattern on the front panel before making your cuts.
Because adding decorative paper and embellishments increases the overall weight of the bag, it is wise to inspect and reinforce the structure. Check the base of the bag; if it feels flimsy, cut a piece of thick cardboard to fit the interior bottom dimensions and slide it inside. This simple step prevents the bottom from sagging when the heavy wine bottle is inserted, preserving the clean lines of your exterior decoration.
Secure the Wrapping Paper Smoothly
Applying the wrapping paper to your wine gift bag requires a steady hand and strategic adhesive placement. The goal is to create a completely flat, bubble-free surface that looks like it was printed directly onto the bag.
To achieve this, apply high-quality double-sided tape along the outer perimeter of the bag’s front panel, keeping the tape about two millimeters away from the edges. For larger bags, add an extra strip of tape down the center to prevent the paper from bowing outward. Avoid using standard liquid school glue, as the moisture can saturate the paper fibers, causing unsightly ripples, warping, and long drying times that delay your project. This is especially true in humid climates like Singapore, where liquid glues take even longer to cure and can compromise the paper’s structural integrity.
You must choose between two primary application methods: the front-panel method or the full-wrap method. The front-panel method is ideal for beginners or when using thick, stiff paper; it involves cutting a single sheet to match the front face exactly and pressing it down smoothly. The full-wrap method wraps a single continuous piece of paper around the front, sides, and slightly over the back edges. If you choose the full-wrap method, gently crease the paper along the bag’s vertical corners before peeling the adhesive backing, ensuring a crisp, tight fit.
When pressing the paper onto the adhesive, start from one edge and slowly smooth it across to the other side using a clean, dry cloth or a plastic bone folder. This pushes out any trapped air and ensures a strong bond. If your bag has side gussets that need to fold inward when empty, gently fold the bag along its original crease lines while the adhesive is still fresh, guiding the new paper to crease in harmony with the bag’s structure.
Style With Ribbons and Embellishments
Once your wrapping paper is securely in place, ribbons and embellishments provide an excellent opportunity to add texture, color contrast, and personality to your wine gift bag. The way you style these elements can define the entire aesthetic of the gift, shifting it from rustic and natural to sleek and modern.
Start by addressing the bag’s handles. If your plain bag has simple rope or ribbon handles, you can elevate them by tying a decorative bow at the base of one handle. For a more integrated look, thread a luxurious satin or grosgrain ribbon through the existing handle holes, replacing the original cords entirely. If you prefer a minimalist approach, wrap a long piece of ribbon around the neck of the bag itself, securing it with a neat, flat knot and letting the tails drape elegantly down the front panel.
To create visual depth, try layering different ribbons. Begin with a wider, solid-colored ribbon as your base, then layer a thinner, patterned, or textured ribbon directly over the center. For example, pairing a wide cream cotton ribbon with a thin gold metallic cord or a rustic jute twine creates a striking contrast between soft and structured textures. Secure the layers together at key points using tiny glue dots to keep them from shifting.
Finally, incorporate your lightweight embellishments. You can slip a personalized gift tag onto the ribbon before tying the final bow. For a botanical touch, tuck a small sprig of dried lavender, eucalyptus, or a cinnamon stick under the ribbon knot. If you want to add a vintage or formal feel, apply a wax seal directly onto the ribbon intersection on the front of the bag. Ensure all added elements are lightweight so they do not pull the paper away from the bag or cause the bag to tip over.
Final Checks for a Polished Presentation
Before presenting your decorated wine gift bag, take a few moments to perform a thorough quality check. This ensures your hard work remains intact during transport and looks flawless when handed to the recipient.
First, inspect all adhesive bonds. Gently run your fingers along the edges of the wrapping paper to ensure there are no lifting corners or loose seams. If you spot a loose edge, use a toothpick to apply a tiny amount of precision craft glue or slide a small piece of double-sided tape underneath, then press firmly. Check that no sticky adhesive residue is exposed on the exterior, as this can collect dust or stick to the wrapping of other gifts.
Next, step back and evaluate the visual balance of your design. The ribbons, tags, and embellishments should look intentional and cohesive rather than cluttered. If the top of the bag feels too heavy with decorations, you can balance it by keeping the wrapping paper pattern simple, or by adding a small, matching decorative border along the bottom edge of the bag.
Finally, prepare the bag for the wine bottle. Carefully slide the bottle into the bag, ensuring it sits flat on the reinforced base. To add an extra layer of sophistication and cushion the bottle, tuck one or two sheets of coordinating tissue paper into the top of the bag. Let the tissue paper bloom slightly out of the opening, hiding the bottle neck and creating a beautiful, voluminous finish. Lift the bag by its handles to verify that it carries the weight comfortably and stands upright without tilting.
Frequently Asked Questions (FAQ)
Can I use regular liquid glue instead of double-sided tape?
Using regular liquid glue is generally not recommended for decorating paper gift bags. Liquid craft glues contain a high water content, which easily saturates paper fibers, leading to warping, bubbling, and wrinkling as the glue dries. Additionally, liquid glue can seep through thinner wrapping papers, leaving shiny or dark stains that ruin the clean look of your design. For a smooth, professional finish, double-sided tape, adhesive rollers, or dry glue dots are much safer and more reliable choices.
How do I prevent the wrapping paper from tearing at the handles?
To prevent tearing around the handles, avoid covering the handle attachment points directly with wrapping paper if possible. Instead, cut your paper panels to sit just below the handle holes. If your design requires covering the entire face of the bag, reinforce the back of the wrapping paper with a strip of clear packing tape or heavy-duty cardstock before punching holes for the handles. This reinforcement distributes the tension and prevents the paper from ripping when the bag is lifted by its handles.

Community discussion
Share your experience or ask a question. Comments are reviewed before publication.