
A plain thank you gift bag is a versatile canvas that can be easily transformed into a beautiful, personalized presentation. By combining simple wrapping paper accents and beautifully tied ribbons, you can elevate a basic paper bag into a custom piece of art that shows your recipient how much you care. This approach is not only cost-effective but also allows you to tailor the colors, textures, and patterns to perfectly match the occasion.
Whether you are preparing a token of appreciation for a friend, a corporate client, or a wedding guest, mastering a few basic papercraft and ribbon-tying techniques will ensure your presentation looks polished and high-end. With the right tools and a structured approach, you can avoid common pitfalls like wrinkled paper or frayed ribbons, creating a sturdy and memorable package.
What You Need: Materials and Tools for Your Thank You Gift Bag
To achieve a professional finish, gathering the correct materials is essential before you begin crafting. Using the right combination of paper weights, ribbons, and adhesives ensures that your thank you gift bag remains structurally sound and looks clean.
Products mentioned in this guide
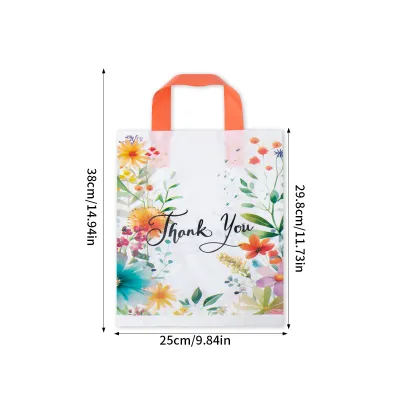
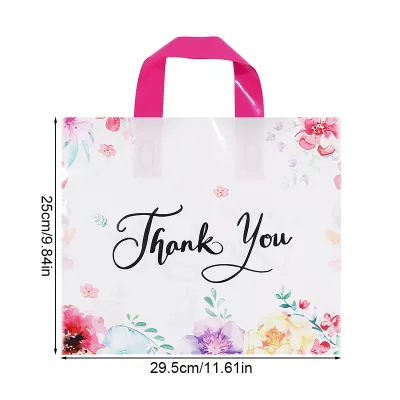

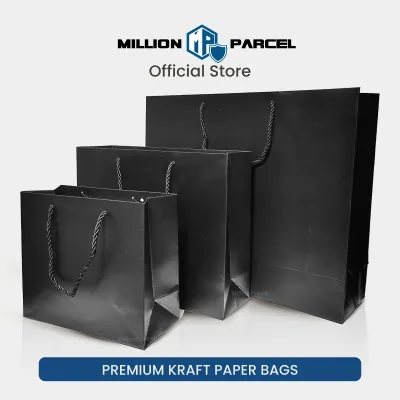
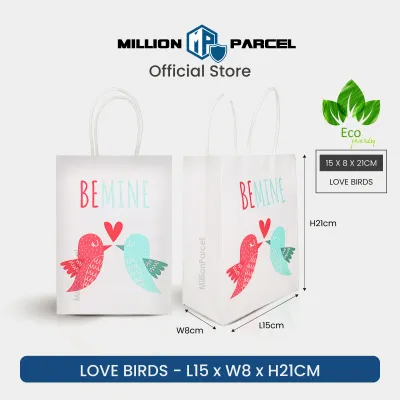
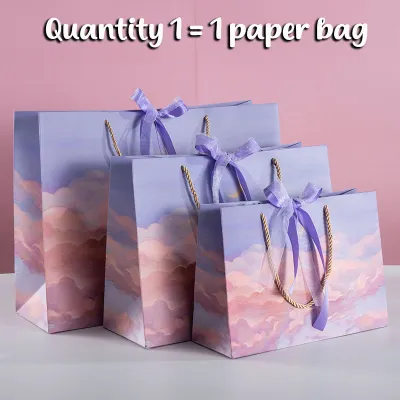
Prices are valid at publication and may change. Please refer to the product page for the latest price.
Base Materials
- Plain Thank You Gift Bags: Start with a sturdy kraft paper or solid-colored paper bag. Standard medium-weight paper bags (around 120 to 150 gsm) are ideal because they provide a flat, stable surface that can support additional layers without folding or collapsing.
- Wrapping Paper Scraps or Sheets: High-quality wrapping paper with a weight of 80 to 100 gsm works best. Look for complementary patterns, metallic accents, or textured finishes that contrast nicely with the solid color of your bag.
- Assorted Ribbons: Keep a selection of ribbons on hand, such as double-faced satin, grosgrain, or curling ribbon. Satin offers a luxurious sheen, grosgrain provides a modern ribbed texture, and curling ribbon adds playful volume.
Adhesives and Tools
- Double-Sided Tape or Tape Runners: This is the most crucial tool for a seamless look. It provides a strong, flat bond without introducing moisture that could warp the paper.
- Glue Dots: These are excellent for securing heavy ribbon knots, bows, or small embellishments exactly where you want them.
- Sharp Scissors: Use dedicated fabric or paper scissors to ensure clean, crisp cuts on both paper and ribbon, preventing unsightly fraying.
- Ruler and Pencil: Essential for measuring your bag panels and cutting straight lines.
- Standard Hole Punch: Useful if you plan to thread ribbons directly through the bag or add custom gift tags.
Preparation and Safety Advice Before applying any decorative elements, check the paper weight and thickness of your gift bag. Extremely thin paper bags may tear under the weight of heavy ribbons or thick cardstock accents. It is always best to check the manufacturer’s weight capacity if you are packaging heavier items.
Additionally, always test your chosen adhesive on a hidden corner or the inside flap of the bag first. Some glossy wrapping papers or coated gift bags do not bond well with standard double-sided tape, while certain strong adhesives can bleed through thin kraft paper. A quick test ensures your decorations stay firmly in place without leaving oily marks or peeling off later.
Step-by-Step Guide to Adding Wrapping Paper Accents
Adding wrapping paper accents is a brilliant way to introduce color and pattern to a plain thank you gift bag. The key to a professional-looking result lies in precise measurement and dry adhesive application.

Measuring and Cutting Your Accents Begin by placing your plain bag flat on a clean, hard work surface. Decide on your design layout, such as a horizontal band across the middle, a full-front overlay, or a decorative front pocket. Use your ruler to measure the dimensions of the bag’s front panel.
If you are creating a horizontal band, measure the width of the bag and add two centimeters to each side so you can wrap the edges neatly around the sides of the bag. For a front pocket, measure a square or rectangle that covers the lower half of the bag, leaving a small border of the original bag visible around the edges. Mark your cutting lines lightly on the back of the wrapping paper with a pencil, and cut carefully along the lines using sharp scissors.
Applying the Dry Adhesive Turn your cut wrapping paper piece face down. Apply double-sided tape or a tape runner along all four outer edges, keeping the adhesive as close to the edge as possible without letting it spill over. For larger paper panels, add a small “X” of tape across the center to prevent the middle of the paper from bubbling or sagging over time.
Do not peel off the adhesive backing just yet. Place the paper piece onto the bag to double-check the alignment. This dry run allows you to trim any excess paper before committing to the placement.
Smoothing and Securing the Paper Once you are satisfied with the fit, peel the backing off the double-sided tape. Hold the paper piece by the top corners and align it carefully with your guidelines on the bag. Lower the center of the paper onto the bag first, then gently smooth the paper outward toward the edges using the side of your hand or a clean bone folder.
Smoothing from the center outward pushes out any trapped air, preventing wrinkles and bubbles. Apply firm, even pressure along all the taped edges to ensure a permanent, secure bond.
Common Mistake to Avoid: Liquid Glue One of the most common mistakes in paper crafting is using standard white school glue or liquid craft glue. The water content in liquid glues is easily absorbed by paper fibers, causing the paper to swell, warp, and wrinkle as it dries. Furthermore, liquid glue can seep through thin paper bags, leaving unsightly dark stains and weakening the structural integrity of the bag, which may lead to tearing when the bag is filled. Stick to dry adhesives like double-sided tape or glue dots for a perfectly flat, professional finish.
How to Tie and Attach Ribbons for a Polished Finish
Ribbons add texture, movement, and a sense of luxury to your gift presentation. By learning a few simple techniques, you can secure your ribbons cleanly without damaging the delicate paper of your thank you gift bag.
Upgrading the Handles If your plain bag comes with standard rope or twisted paper handles, you can easily upgrade them using ribbon. Thread a thin satin or grosgrain ribbon through the existing handle holes, wrapping it tightly around the handle in a spiral pattern to cover the original material. Secure the ends at the base of the handle inside the bag with a small glue dot.
Alternatively, you can tie a long piece of ribbon to the base of each handle, allowing the long, elegant tails to drape down the front of the bag. This simple addition instantly makes a standard bag look like a custom boutique purchase.
Creating and Attaching Bows To create a classic loop bow, cut a length of ribbon about 30 to 40 centimeters long. Fold the ribbon into two loops, cross them over, and pull one loop through the center space to create a traditional bow. Trim the ribbon tails at a 45-degree angle or cut a small “V” shape into the ends to prevent fraying and add a professional touch.
To attach the bow, place a high-tack glue dot or a small piece of double-sided tape on the back of the knot. Press the bow firmly onto the front panel of the bag or at the base of one of the handles. Using a separate piece of ribbon to tie the bow before attaching it ensures that the bow stays perfectly symmetrical and does not distort the shape of the bag.
Adding Volume Inside the Bag Curling ribbon is an excellent tool for adding height and a festive, voluminous look to your gift bag. Cut several strands of curling ribbon in coordinating colors, holding them together at one end. Open your scissors and gently pull the flat side of the blade along the ribbon strands to create tight, bouncy curls.
Gather the curled ribbon bundle and secure the base with a small piece of tape or a twist tie. Attach this bundle to the inside rim of the bag, allowing the curls to spill out of the top opening alongside your tissue paper. This technique adds depth and makes the gift opening experience feel much more exciting.
Safety and Handling Warning While ribbons are excellent for adding structure and style, avoid pulling thin ribbons too tightly when tying them around lightweight paper bags. Excessive tension can easily rip the delicate handle holes or tear the top edge of the bag. If you are using heavy satin or grosgrain ribbons, ensure they are anchored to the sturdiest parts of the bag, or reinforce the inside of the handle holes with a small piece of clear tape before threading the ribbon.
Combining Paper and Ribbon: 3 Easy Design Layouts
If you are unsure how to arrange your materials, these three classic design layouts offer a balanced, visually appealing starting point. They can be customized with different colors and patterns to suit any thank you gift bag project.
The “Wrapped Band” Layout This layout is clean, modern, and highly effective. Cut a horizontal strip of patterned wrapping paper that is approximately one-third the height of your gift bag. Wrap this band around the lower third of the bag, securing the ends neatly at the back or sides with double-sided tape.
Next, wrap a contrasting satin or grosgrain ribbon horizontally across the middle of the paper band. Tie the ribbon into a neat bow at the center of the front panel. This layout creates a beautiful focal point and works exceptionally well with metallic wrapping papers and solid-colored ribbons.
The “Paper Pocket” Layout The paper pocket layout is both decorative and functional. Cut a rectangular piece of wrapping paper that covers the bottom half of the bag’s front panel. Fold the top edge of the paper down by one centimeter to create a clean, finished hem, and secure it with double-sided tape.
Apply tape to the left, right, and bottom edges of the back of the paper, leaving the top edge open. Press the pocket onto the front of the bag. You can now slip a custom thank you card or a gift tag inside this pocket. Accent the pocket by attaching a small, pre-made ribbon bow to the center of the folded flap or the top corner of the pocket.
The “Handle Focus” Layout If you prefer a minimalist look, keep the body of the thank you gift bag plain and focus your decorations entirely on the handles and the top rim. Wrap the handles completely in a bright, coordinating ribbon, securing the ends inside the bag.
Using a standard hole punch or scissors, cut out small decorative shapes from your wrapping paper, such as stars, hearts, or small circles. Punch a hole in each paper cutout, thread a thin ribbon through them, and tie them directly to the base of the handles. This layout keeps the presentation clean while adding delightful, kinetic details that move when the bag is carried.
Final Checks and Presentation Tips
Before presenting your decorated thank you gift bag to your recipient, taking a few moments to perform final quality checks will ensure your gift looks pristine and functions perfectly.
Structural Check Gently pull on the handles and lift the bag to test the strength of your adhesive bonds. If any edges of the wrapping paper or ribbon feel loose, apply a tiny dot of double-sided tape or a glue dot to secure them. Ensure that the added decorations have not compromised the bag’s ability to stand upright or hold the weight of your intended gift.
Detail Trimming Inspect your bag under good lighting. Use your sharp scissors to trim any loose ribbon threads, frayed edges, or exposed bits of adhesive tape. Clean cuts and hidden tape lines make the difference between a homemade craft and a professional, boutique-style presentation.
Finishing Touches To complete your presentation, place your gift inside the bag and cover it with coordinating tissue paper. Gently crumple individual sheets of tissue paper at the bottom, then layer them so the crisp edges flare upward out of the bag opening. The tissue paper should complement the colors of your wrapping paper accents and ribbons, creating a cohesive, voluminous look that hides the gift while building anticipation for the recipient.
Frequently Asked Questions (FAQ)
Can I use regular liquid glue instead of double-sided tape?
Regular liquid glue is generally not recommended for decorating paper gift bags. The high water content in liquid craft glues and school glues easily saturates paper fibers, causing the paper to swell, warp, and wrinkle as it dries. This can ruin the smooth appearance of both your wrapping paper accents and the gift bag itself. Furthermore, liquid glue can seep through thin paper, leaving dark, oily-looking stains and weakening the structure of the bag. For a clean, flat, and professional finish, always use dry adhesives like double-sided tape, tape runners, or high-tack glue dots.
How do I keep curling ribbon from tangling or falling flat?
To keep curling ribbon looking bouncy and fresh, start by choosing a high-quality, medium-weight polypropylene curling ribbon. When curling the ribbon with scissors, use smooth, consistent pressure; pulling too hard or too quickly can stretch the plastic and cause it to warp or snap. Once curled, keep the decorated gift bag indoors in a cool, dry place, as high humidity and strong winds can cause the curls to droop or tangle. Avoid applying heavy sprays, perfumes, or water-based sealants near the ribbon, as the moisture can weigh down the curls and stain your paper decorations.

Community discussion
Share your experience or ask a question. Comments are reviewed before publication.