
Transforming a plain small paper bag into an elegant, personalized gift package is an excellent way to elevate your presentation. By combining simple stationery supplies like ribbons, stamps, and paper accents, you can create a custom design tailored to any recipient. The key to success lies in matching your decorative techniques to the specific paper finish of your bag, ensuring that adhesives hold securely and inks dry without smudging. Whether you are preparing a small token of appreciation or a delicate handmade item, this step-by-step guide will help you achieve a polished, professional finish.
Gathering the Right Materials and Tools
To achieve a professional finish, select decorative elements and adhesives that are compatible with your small paper bag’s surface. Paper bags generally fall into three categories: uncoated kraft paper, coated or glossy paper, and textured specialty paper. Each surface interacts differently with inks, tapes, and glues. For instance, a lightweight kraft bag cannot support heavy wooden embellishments or thick layers of wet glue without warping, while a glossy bag will cause standard water-based inks to smear.
When choosing embellishments, consider the scale and weight of the gift. For a small paper bag, delicate accents such as thin satin ribbons, natural twine, small paper cutouts, or dried flower sprigs work best. Heavy or bulky decorations can cause the bag to tip over or tear.
Products mentioned in this guide
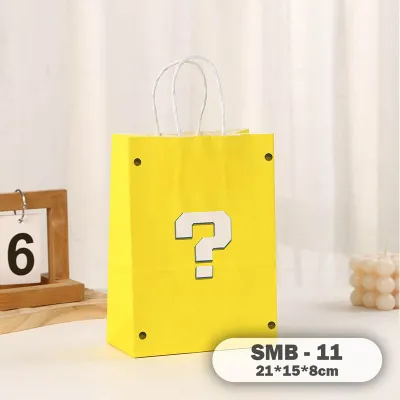
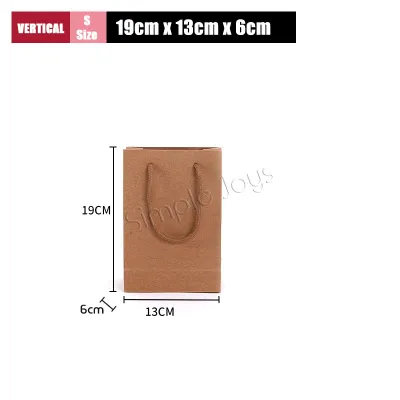
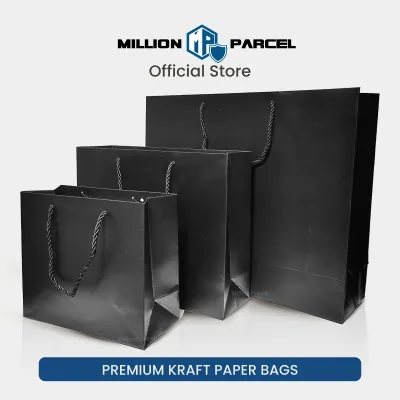
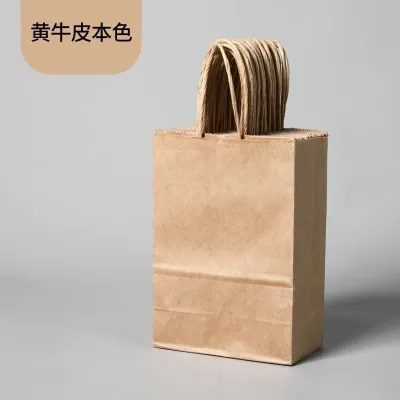
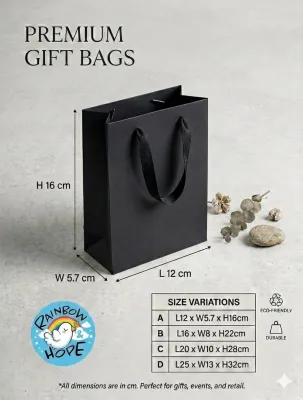
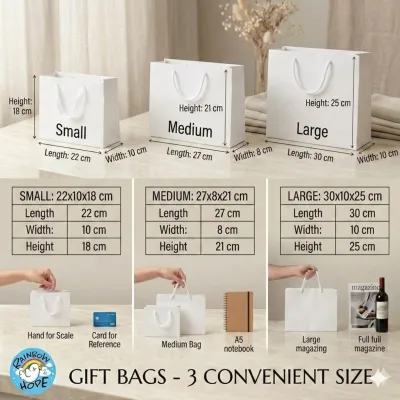
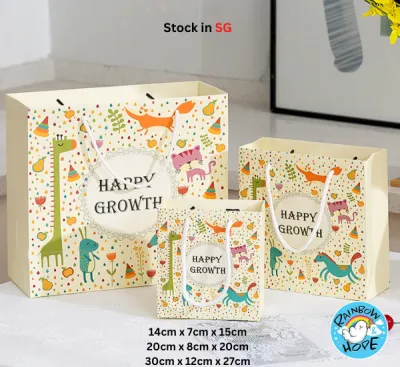
![[Hommly SG Instock] Square Colour Paper Bag Cake carrier Gift bag Kraft Paper Bags Gift Bags Xmas Christmas Dessert bag](https://img.lazcdn.com/g/p/794e80e8789a9290622b890e3a806daf.jpg_400x400q80.jpg_.webp)
Prices are valid at publication and may change. Please refer to the product page for the latest price.
Adhesive selection is critical to prevent structural failure or warping. Double-sided tape is ideal for flat paper accents, borders, and lightweight ribbons, providing an instant, dry bond with no risk of wrinkling. Glue dots are excellent for securing dimensional items like buttons, small wooden tags, or dried flowers, offering a strong, localized grip without moisture. Low-moisture glue sticks are suitable for securing thin paper cutouts on uncoated paper, while liquid craft glue should be used sparingly and only on thick, textured paper, applied with a fine-tip applicator to prevent pooling.
Step 1: Preparing and Reinforcing the Bag
Before applying any decorative elements, prepare the physical structure of the small paper bag. A crumpled or unstable bag makes it difficult to apply stamps evenly or secure flat accents smoothly. Lay the bag completely flat on a clean, hard, and level work surface. Gently smooth out any minor creases or folds with the palm of your hand or a clean bone folder, taking care not to tear the seams or weaken the paper fibers.

Next, evaluate the structural integrity of the bag in relation to the gift it will carry. Small paper bags often have a folded bottom gusset that may require reinforcement if the gift is relatively heavy or has sharp edges. Reinforce the bottom by cutting a small piece of stiff cardstock to the exact dimensions of the bag’s base and placing it flat inside. This distributes the weight of the gift evenly and prevents the bottom from sagging or tearing.
Finally, inspect the handles and seams. If the bag features glued-on paper or ribbon handles, give them a gentle tug to ensure they are securely attached. Wipe the entire exterior surface of the bag with a dry, lint-free microfiber cloth. This removes any microscopic dust, paper fibers, or manufacturing residues that could interfere with adhesive bonding or cause ink stamps to transfer unevenly.
Step 2: Planning a Cohesive Design Theme
A common mistake when decorating small paper bags is applying too many mismatched elements, which can quickly overwhelm the limited surface area. To avoid a cluttered appearance, plan a cohesive visual direction before committing any glue or ink to the paper. Start by defining a clear style that matches the occasion and the recipient’s preferences. For example, a rustic theme might pair brown kraft paper with natural jute twine and simple botanical stamps, while a minimalist modern theme might feature a white bag with a single bold geometric accent and a sleek black ribbon.
Limit your color palette to two or three complementary shades to maintain visual clarity. If you are using a brown kraft bag, warm earth tones, deep forest greens, or metallic gold accents work beautifully. For white or pastel bags, soft monochromatic tones or a single contrasting pop of color can create a striking effect.
Before applying any permanent decorations, arrange your planned elements loosely on the flat bag to test their placement. Pay close attention to the balance between decorated areas and negative space—the empty areas of the bag. Leaving sufficient negative space allows your focal points, such as a stamped monogram or a delicate ribbon bow, to stand out. Mark light guidelines with a soft pencil if necessary, which can be easily erased later.
Step 3: Applying Base Layers and Flat Accents
Once your design is planned, begin by applying the flat, foundational layers. It is much easier to stamp, draw, or apply tape while the bag is completely flat, before any three-dimensional elements or the gift itself are added. If you are using ink stamps, place a flat, hard piece of cardboard or a small acrylic block inside the collapsed bag, directly beneath the area you plan to stamp. This provides a firm, solid backing and prevents the seams or folds on the back of the bag from creating uneven pressure, which leads to incomplete or blurry stamped images.
When stamping, press the stamp firmly and evenly onto the ink pad, then press it directly down onto the paper without rocking or sliding it. Lift the stamp straight up in a single, clean motion. If you are applying patterned paper cutouts, decorative washi tape, or stickers, start from one edge and smooth the material down gradually using a clean scraper or the edge of a plastic card. This technique prevents air bubbles from becoming trapped underneath and ensures a smooth, professional bond.
Allow adequate drying time for all base layers before moving on to the next step. Even quick-drying inks and standard adhesives can smudge or shift if handled too quickly. If you have used any liquid adhesives or wet inks, leave the bag flat in a well-ventilated area until the surface is completely dry to the touch.
Step 4: Adding Dimensional Elements and Ribbons
With the base layers dry and secure, you can now add three-dimensional textures that elevate the presentation of your small paper bag. Ribbons, twine, and raffia are excellent for adding movement and elegance. You can tie a neat bow directly around the handles, or thread a ribbon through pre-punched holes at the top of the bag to create a beautiful closure. If the bag does not have holes, you can fold the top edge down slightly and punch two small holes through the folded layers, threading a ribbon through to secure the bag shut while adding a decorative focal point.
For heavier dimensional elements like dried flower sprigs, wooden tags, or small buttons, standard tape or glue sticks will not provide enough holding power. Instead, use high-tack adhesives such as glue dots or double-sided foam tape. Foam tape is particularly useful because it adds a subtle drop shadow effect, lifting the embellishment slightly off the surface of the bag for enhanced visual depth.
When placing dimensional elements, always balance the physical and visual weight of the decorations. Avoid placing heavy items near the very top or to one side of the bag, as this can cause the bag to tip over when it is stood upright. Keep the heaviest elements centered or positioned near the lower third of the bag to maintain a stable center of gravity.
Adapting Techniques for Different Paper Finishes
Different paper finishes require specific adjustments to your decorating techniques to ensure durability and a clean appearance.
Kraft and uncoated paper: Uncoated paper is highly porous, meaning it absorbs liquids quickly. While this makes it excellent for water-based inks and standard adhesives, it also means that wet markers or heavy liquid glues can bleed through to the inside of the bag or cause the paper to wrinkle. To prevent this, opt for pigment-based ink pads, which sit on top of the paper fibers rather than soaking deep into them, and use dry adhesives like double-sided tape or glue sticks.
Coated or glossy paper: Glossy paper has a slick, non-porous barrier that prevents standard water-based inks from drying, leading to immediate smearing. When working with glossy bags, use permanent solvent-based inks or oil-based paint markers, and allow extra drying time. For adhesives, avoid standard glue sticks, which will peel off easily once dry; instead, use high-tack double-sided tape, glue dots, or a specialized craft adhesive designed for slick surfaces.
Textured paper: Textured or embossed papers present a challenge for flat decorations and stamps. Stamps may not make full contact with the recessed areas of the paper, resulting in a distressed or incomplete look. To achieve a clean image, apply slightly firmer pressure when stamping, or embrace the rustic, textured look. For flat paper accents, use a flexible adhesive like double-sided tape and press it firmly into the texture to ensure complete surface contact.
Step 5: Final Inspection and Clean-Up
The final step is to inspect your decorated small paper bag to ensure it is structurally sound, clean, and ready for presentation. Gently open the bag and stand it upright on a flat surface. Give each attached dimensional element, ribbon, and tag a very gentle tug to test the bond strength. If any element feels loose or begins to peel, reinforce it immediately with a small glue dot or a strip of high-tack double-sided tape to prevent it from falling off during transit.
Next, perform a thorough visual clean-up. Use a clean, soft white eraser to remove any visible pencil guidelines you drew during the planning phase. Check for any stray adhesive residue, which can be gently rubbed away with a clean finger or a specialized adhesive eraser. If you spot any minor ink smudges, you can sometimes disguise them by strategically placing a small sticker, a flat paper accent, or a tied ribbon over the spot.
Finally, verify that the bag’s handles remain fully functional and comfortable to hold. Ensure that no ribbons, tags, or decorative elements block the opening of the bag or interfere with placing the gift inside. Once you are satisfied with both the structural integrity and the visual balance, your custom-decorated small paper bag is ready to be filled and gifted.
Frequently Asked Questions (FAQ)
Can I use regular school glue on a small paper bag?
It is generally not recommended to use standard liquid school glue on small paper bags, especially those made of thin or uncoated paper. Liquid school glue has a high water content, which quickly saturates paper fibers, causing them to swell, warp, and wrinkle as they dry. This can ruin the smooth finish of your bag and weaken its structure. Instead, opt for low-moisture alternatives such as high-quality glue sticks, double-sided tape, or glue dots, which provide a strong, instant bond without introducing moisture to the paper.
How do I prevent ink stamps from smudging on kraft paper?
To achieve crisp, smudge-free stamped designs on kraft paper, use quick-drying pigment inks or archival inks formulated for porous surfaces. Before stamping your bag, perform a test stamp on a scrap piece of similar paper to verify the ink’s drying speed and coverage. When stamping the actual bag, place a hard, flat object like a piece of thick cardstock inside the bag to create a solid backing. Press the stamp down firmly with even pressure without rocking it, and lift it straight up. Allow the ink to dry completely for several minutes before handling the bag.

Community discussion
Share your experience or ask a question. Comments are reviewed before publication.