
Transforming a plain paper gift bag into a stunning, bespoke presentation is an elegant and sustainable way to elevate your gifting. By using simple wrapping accessories like ribbons, tags, and stamps, you can turn an inexpensive, blank canvas into a memorable keepsake. This guide walks you through the entire process, from selecting the right materials to mastering advanced ribbon techniques, ensuring your final presentation looks professionally styled.
Gather Your Wrapping Materials and Tools
Before beginning your project, it is essential to select compatible materials that will hold up during transit. Start by evaluating your paper gift bag. Check the paper weight; a standard kraft paper bag is typically around 100 to 120 GSM, which is excellent for lightweight gifts but may require reinforcement for heavier items. Premium cardstock bags often range from 150 to 200 GSM, offering a smoother surface that resists warping when adhesives are applied. Examine the handles—whether they are twisted paper, cotton rope, or die-cut—as this dictates how you will attach your ribbons.
Next, select your ribbons. Satin ribbons offer a luxurious, glossy sheen but can slip easily, requiring tighter knots. Grosgrain ribbons feature a ribbed texture that provides excellent grip, making them ideal for structured bows that need to stay in place. If you want a bow that holds its shape dynamically, wired ribbon is the best choice, whereas curling ribbon adds a playful, casual touch. Ensure the ribbon width matches the scale of your bag; a wide 38mm ribbon works beautifully on large bags, while a delicate 9mm ribbon is better suited for small jewelry-sized bags.
Products mentioned in this guide
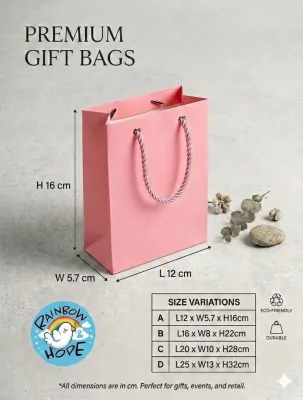
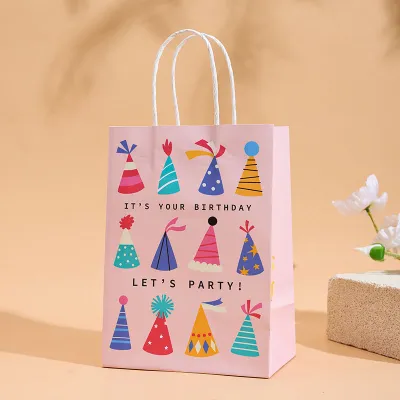
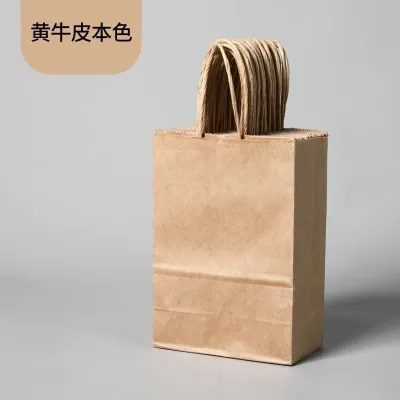

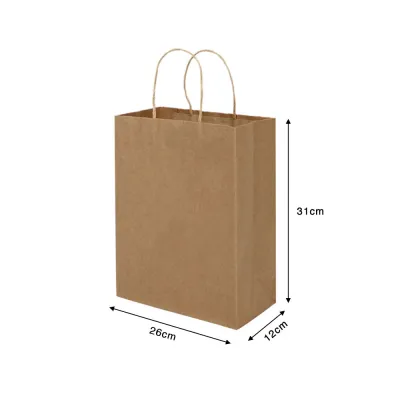
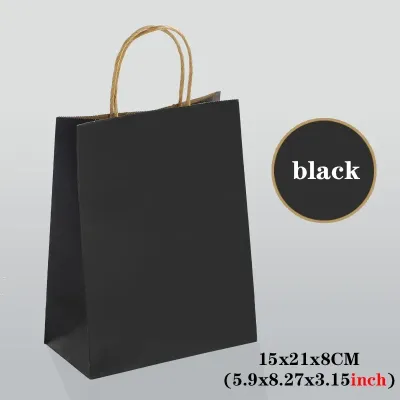
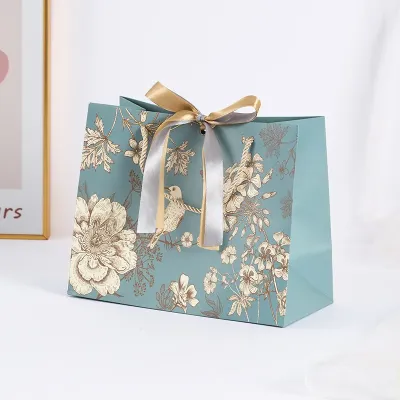
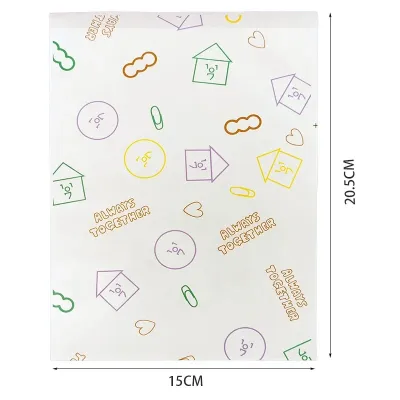
Prices are valid at publication and may change. Please refer to the product page for the latest price.
For adhesives, avoid standard liquid school glues, which introduce moisture and cause the paper to buckle or wrinkle. Instead, opt for dry adhesives such as double-sided tape runners, glue dots, or a low-temperature glue gun for heavier embellishments. In warm, humid climates, liquid glues can take exceptionally long to dry and may cause paper fibers to warp more severely, making dry adhesives the ideal choice. Finally, gather your decorative accents, including cardstock gift tags, natural jute twine, metallic eyelets, silicone stamps, or even pressed dried flowers to add a touch of organic beauty.
Prepare the Plain Paper Gift Bag
Before applying any decorative elements, you must prepare the physical structure of the bag. If the bag has been stored flat, it may have deep creases that detract from a polished look. Gently open the bag and smooth out the sides from the inside, using a clean, dry cloth to press out any stubborn folds without tearing the paper.

If your gift is slightly heavy, reinforce the bottom gusset by cutting a piece of thick cardboard to fit the exact dimensions of the base, then slide it inside to distribute the weight evenly. Inspect the handle attachment points on the inside rim. If the handles feel loose or are made of thin paper, apply a strip of heavy-duty packing tape or reinforced paper tape over the anchoring tabs on the inside of the bag to prevent them from pulling through.
Once the bag is structurally sound, plan your visual layout. Lay the bag flat on a clean work surface and arrange your ribbons, tags, and embellishments on top of it without any adhesive. Use a ruler and a light graphite pencil to mark subtle guidelines where your borders or accents will go, ensuring everything is perfectly centered and level before making any permanent changes.
Apply Ribbons for Structure and Elegance
Ribbons add color, texture, and a sense of luxury to a plain paper gift bag. To achieve a professional finish, you must measure and cut your ribbons with precision. Always use sharp fabric shears rather than standard utility scissors, as dull blades will fray the edges of satin and grosgrain. To prevent the cut ends of synthetic ribbons from fraying, carefully pass the raw edge near a small flame for a split second to melt and seal the fibers, a technique known as heat-sealing.
When wrapping ribbon around the body of the bag, maintain a consistent tension. If the ribbon is too loose, it will sag and look untidy, but if it is too tight, it will compress and warp the paper bag. Ensure the placement of your ribbons does not obstruct the opening of the bag, allowing the recipient to easily peek inside or remove the gift without destroying your hard work.
Tie and Secure Bows on the Handles
Tying a beautiful, symmetrical bow directly onto the handles of a paper gift bag requires a systematic approach. Start by cutting a length of ribbon that is approximately four to five times the desired width of your finished bow. If you are using an unwired satin or grosgrain ribbon, loop the ribbon around the base of one handle and tie a secure double knot to create a stable foundation.
To form the bow, create two equal-sized loops, cross them over, and feed one loop through the central gap, pulling firmly to tighten. For a more structured look, you can tie a separate bow using wired ribbon, which allows you to manually shape and fluff the loops to your liking. Secure this pre-made bow to the handle base using a thin piece of color-matched floral wire or a discreetly placed glue dot hidden beneath the central knot. Once secured, trim the ribbon tails at a sharp 45-degree angle or cut a clean “V” shape into the ends, then gently pull and fluff the loops to ensure they stand out beautifully.
Create Clean Ribbon Borders and Surface Accents
Applying ribbon directly to the flat surfaces of a paper gift bag creates a tailored, modern aesthetic. To create a horizontal border along the bottom edge or top rim, measure the width of the bag’s front panel and add an extra 2 centimeters to allow the ribbon to wrap neatly around the sides. Apply a continuous strip of double-sided tape runner directly to the back of the ribbon, pressing firmly to ensure complete coverage.
Carefully align the ribbon with your pencil guidelines on the bag, starting from one side crease, smoothing it across the front panel, and wrapping the excess around the corners to the back or sides. If you are applying ribbon to both the front and back, ensure the seams meet precisely at the side folds of the bag for a seamless look. For vertical stripes, run the ribbon from the inside top rim down to the bottom crease, securing the ends inside the bag and under the bottom fold to hide any raw edges.
Layer Personalized Tags and Embellishments
Once your structural ribbons are in place, you can begin layering secondary decorative elements to add depth and personality. Gift tags are a classic addition; instead of simply taping them flat, suspend them using natural jute twine, metallic thread, or colorful baker’s twine looped around the handle base. For a modern, minimalist look, use a miniature wooden clothespin to clip the tag directly to the top rim of the bag or to a horizontal ribbon border.
You can also apply flat embellishments directly to the paper surface. Custom silicone stamps with metallic ink can be used to print elegant patterns, monograms, or holiday greetings directly onto the kraft paper. If you want to add a vintage touch, melt a small amount of sealing wax onto a silicone mat, press it with a brass stamp, and once cooled, attach the wax seal to the bag using a high-bond glue dot.
When adding these elements, always keep visual balance in mind. If you have a large, dramatic bow on the handle, keep the surface embellishments minimal and off-center to avoid a cluttered appearance. Additionally, ensure that heavy embellishments do not compromise the bag’s balance, causing it to tip over when set down.
Perform Final Checks for a Polished Finish
Before presenting your customized gift bag, take a few moments to perform a thorough quality check. Gently tug on the handles, bows, and attached tags to ensure all knots are secure and the adhesive bonds are holding firmly. If you notice any lifting along the edges of your ribbon borders, use a toothpick to apply a tiny speck of low-temperature hot glue or a small piece of double-sided tape to secure the loose spot.
Inspect the bag for any visible pencil guidelines, erasing them gently with a soft vinyl eraser so you do not smudge the paper or disturb the decorations. Use your fabric shears to trim any stray threads that may have unraveled during the assembly process.
Finally, store the decorated bag in a cool, dry place away from direct sunlight to prevent the paper from fading or the adhesives from softening. If you need to transport the bag to an event, place it upright in a spacious tote bag or box, ensuring other items do not press against and crush your beautifully fluffed bows.
Frequently Asked Questions (FAQ)
How do I stop glue from showing through thin paper bags?
Thin paper bags, especially those under 100 GSM, are highly susceptible to absorbing moisture from liquid craft glues, which leads to unsightly dark spots, wrinkling, and bleed-through. To prevent this, always prioritize dry adhesives such as double-sided tape runners, glue dots, or dry adhesive sheets, which provide an instant bond without any moisture. Before applying any adhesive to the front of your bag, perform a quick test on a hidden inside flap or a scrap piece of similar paper to observe how it behaves. If you must use a liquid adhesive or hot glue for a heavy embellishment, apply a small piece of cardstock to the inside of the bag directly behind the decoration to act as a protective barrier and distribute the weight.
Can I reuse a decorated paper gift bag?
Yes, you can easily design your decorated paper gift bag to be reusable by choosing non-permanent attachment methods. Instead of gluing ribbons directly to the paper surface, tie them in slip knots around the handles or wrap them completely around the bag like a band, securing the ribbon to itself rather than the paper. Use removable glue dots or light-tack double-sided tape for tags and flat embellishments, which can be peeled away gently without tearing the paper fibers. Avoid writing personal messages directly on the bag itself; instead, write your message on a removable gift tag that the next recipient can easily untie and replace, extending the life cycle of your beautiful creation.

Community discussion
Share your experience or ask a question. Comments are reviewed before publication.