
Decorating a plain paper bag with wrapping paper and ribbons is an elegant, cost-effective way to elevate a birthday gift. By combining the structured base of a standard paper bag with the vibrant patterns of wrapping paper and the luxurious texture of ribbons, you can create a custom presentation that rivals high-end boutique packaging. This approach allows you to customize the design to match the recipient’s taste while recycling plain shopping bags or utilizing leftover wrapping paper scraps.
To achieve a professional finish, the process requires careful measurement, the right choice of adhesives, and neat folding techniques. By mastering these steps, you can transform a basic utility item into a memorable part of the birthday celebration. This guide walks you through the entire process, from selecting compatible materials to troubleshooting common assembly issues.
Quick Guide to Decorating a Birthday Paper Bag
Transforming a plain paper bag into a custom birthday masterpiece is a straightforward project that yields high-impact visual results. The entire process is divided into three main phases: preparing and measuring your materials, applying the wrapping paper panels to the bag’s exterior, and adding the final ribbon details and handles. This structured approach ensures that each element is secure and visually balanced before you move on to the next step.
Products mentioned in this guide
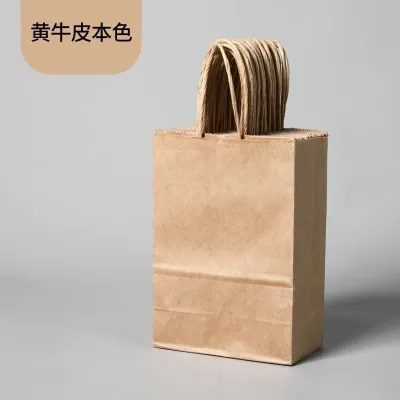
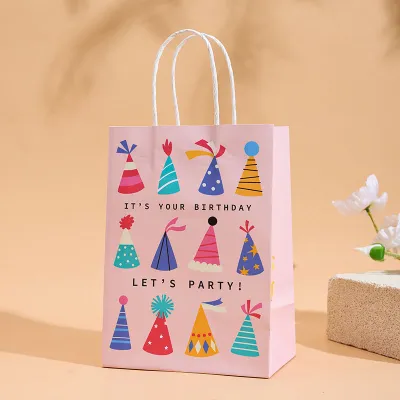
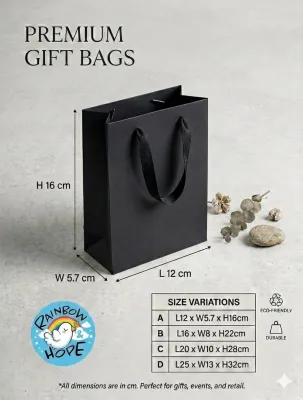
![[ FOR MINI ME ] 10 PCS KRAFT PAPER BAG PARTY BAG KIDS BIRTHDAY GOODIE BAG CHRISTMAS CNY WRAPPING](https://img.lazcdn.com/g/p/716f5be262fbbce0a60bfa23a232a224.jpg_400x400q80.jpg_.webp)


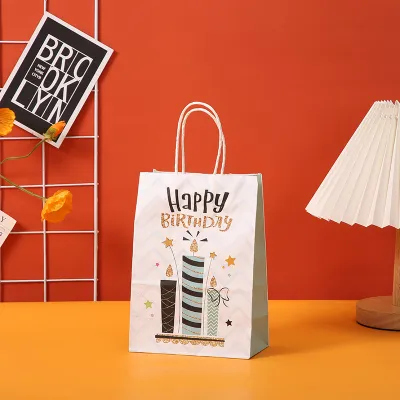
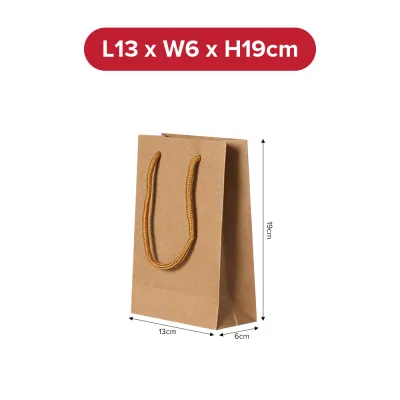
Prices are valid at publication and may change. Please refer to the product page for the latest price.
For a standard medium-sized gift bag, you can expect to spend approximately 20 to 30 minutes on the project. The skill level required is beginner-friendly, making it an accessible craft for anyone who can use scissors and apply tape. Despite the simplicity of the steps, taking your time with the measurements and creases will make the difference between a homemade look and a polished, professional presentation.
Materials and Tools for Your Birthday Paper Bag
Selecting the right materials is crucial for ensuring both the aesthetic appeal and the structural integrity of your birthday paper bag. The wrapping paper you choose should have a weight of around 80 to 120 gsm. Paper that is too thin tears easily when adhesive is applied, while excessively thick paper is difficult to fold cleanly around the bag’s edges and gussets. Additionally, consider the scale of the pattern; small to medium-sized patterns work best on standard bags, as large motifs may get cut off or lost in the folds.

Ribbons serve both functional and decorative purposes, so their material composition matters. Grosgrain ribbon is highly recommended for handles due to its ribbed texture, which provides excellent grip and structural strength. Satin ribbon, with its smooth and glossy finish, is ideal for creating decorative bows and accents. If you prefer a delicate, layered look, organza ribbon offers a sheer quality that complements bolder wrapping paper designs without overpowering them.
Having the correct tools on hand prevents damage to your materials and ensures clean lines. Double-sided tape is the preferred adhesive for paper-to-paper contact because it lies completely flat and does not cause warping. Glue dots are excellent for instantly securing heavy ribbon knots and bows. For cutting, use sharp stationery scissors or a utility knife paired with a metal ruler on a cutting mat. A bone folder or a clean plastic ruler is also essential for scoring and pressing crisp, professional creases.
When working with sharp cutting tools, always cut away from your body on a stable, flat surface. If you are crafting with children, ensure adult supervision during the cutting phases and opt for child-safe scissors. Keep adhesives away from sensitive skin, and work in a well-lit area to maintain precision throughout the assembly process.
Step-by-Step Guide to Applying Wrapping Paper
Before cutting your wrapping paper, you must measure the plain paper bag accurately. Measure the height and width of the front and back faces of the bag. To ensure clean, professional edges, add a 1.5 cm margin to the top and bottom measurements. This extra paper will be folded over the top rim and under the bottom base, hiding any raw cut edges from view. If you plan to cover the side gussets, measure their width and add a 1 cm margin on each side for overlapping.
Lay your wrapping paper face down on a clean, flat work surface. Using a pencil and a metal ruler, mark the measured dimensions on the back of the paper. Align your ruler with the marks and draw straight guidelines. Cut along these lines using long, smooth scissor strokes to avoid jagged edges. If you are using a utility knife, hold the metal ruler firmly against the line as a guide and pull the blade smoothly along the edge in a single pass.
There are two primary methods for applying the paper: the full wrap and the panel method. The panel method is highly recommended for beginners as it preserves the bag’s ability to fold flat. To apply panels, place double-sided tape along the outer perimeter of the cut wrapping paper, staying roughly 2 mm away from the edges to prevent adhesive from squeezing out. Add a few diagonal strips of tape across the center of the panel to prevent the paper from sagging over time.
Align the top edge of the wrapping paper panel with the top rim of the paper bag. Gently lower the paper onto the bag’s surface, starting from the top and working your way down. Use the side of your hand or a bone folder to smooth the paper outward from the center, pushing out any trapped air. Once the face is secure, fold the bottom 1.5 cm margin under the bag’s base, securing it with double-sided tape. Repeat this process for the back face and the side gussets if you choose to cover them.
How to Attach Ribbons and Finishing Touches
To elevate the presentation, you can replace the standard paper handles of your bag with luxurious ribbon handles. Carefully snip off the existing paper handles from the inside of the bag. To reinforce the area where the new ribbon handles will attach, cut two small rectangles of heavy cardstock, measuring roughly 3 cm by 5 cm. Glue these cardstock reinforcers to the inside rim of the bag, directly over the spots where the original handles were attached.
Using a standard single-hole punch, punch two holes through both the bag and the reinforced cardstock on each side of the bag. Cut two equal lengths of grosgrain or heavy satin ribbon, approximately 40 cm each. Thread one end of the ribbon through the front of the hole to the inside of the bag. Tie a secure double knot on the inside, leaving a 2 cm tail. Pull the ribbon taut to ensure the knot is larger than the punched hole, then repeat the process for the other end of the ribbon to complete the handle.
For a decorative flourish, you can add a pre-tied bow to the base of one of the handles. Tie a classic bow using a separate piece of satin ribbon, ensuring the loops are symmetrical and the tails are angled neatly. Use a high-tack glue dot to adhere the back of the bow’s knot directly to the base of the ribbon handle on the front of the bag. This conceals the punched hole and adds a dimensional element to the design.
Complete the presentation by threading a personalized birthday gift tag onto one of the ribbon handles before tying the final knot. To add volume and suspense to the gift opening, layer two or three sheets of coordinating tissue paper inside the bag. Gently pinch the tissue paper sheets in the center, shake them out to create soft folds, and place them inside the bag so the colorful corners peek out of the top rim.
Common Mistakes and How to Fix Them
One of the most common issues encountered during this project is the formation of wrinkles or air bubbles under the wrapping paper. This usually happens when the paper is applied too quickly or without sufficient tension. If you notice a bubble, do not try to press it flat directly, as this can crease the paper. Instead, gently peel back the paper from the nearest corner if you are using a low-tack adhesive. If the adhesive is permanent, use a fine sewing pin to prick a tiny hole in the center of the bubble, then use a bone folder to gently push the trapped air out through the hole.
If you accidentally tear an edge of the wrapping paper during the folding process, there is no need to discard the entire project. You can easily conceal minor tears or visible adhesive residue by strategically placing decorative elements. Apply a strip of coordinating ribbon horizontally across the damaged area to create a stylish border, or position the birthday gift tag directly over the tear. For sticky residue, a clean rubber eraser rubbed gently over the spot can lift the excess adhesive without damaging the paper.
Another common failure point is the ribbon handles pulling through the punched holes when a heavy gift is placed inside the bag. This occurs when the paper around the hole is not sufficiently reinforced. To fix this, cut small cardboard washers from an old shipping box. Punch a hole through the center of each cardboard washer, slide it onto the ribbon inside the bag, and tie the knot behind the washer. This distributes the weight of the gift across a much larger surface area, preventing the ribbon from tearing through the paper bag.
Frequently Asked Questions (FAQ)
Can I use regular school glue instead of double-sided tape?
Using regular liquid school glue is not recommended for this project. Liquid glues contain a high water content, which quickly saturates paper fibers, causing the wrapping paper to warp, wrinkle, and bubble as it dries. For a perfectly flat, professional finish, always opt for dry adhesives such as double-sided tape, high-quality glue sticks, or adhesive rollers.
How do I prevent the ribbon handles from tearing the bag?
To prevent ribbon handles from tearing through the paper, you must reinforce the punch holes. Gluing a strip of heavy cardstock or a small piece of cardboard inside the bag’s rim before punching the holes distributes the weight of the gift. Additionally, tying a large, secure double knot and using a wider ribbon, such as 1.5 cm or 2 cm grosgrain, prevents the ribbon from slipping through the holes.
What is the best way to store decorated paper bags for future use?
To keep your decorated paper bags in pristine condition, store them completely flat in a cool, dry drawer or storage box. Keep them away from direct sunlight to prevent the wrapping paper colors from fading over time. To protect delicate ribbon bows from getting crushed or snagged, place a clean sheet of tissue paper between the folded bags.

Community discussion
Share your experience or ask a question. Comments are reviewed before publication.