
Transforming a plain paper bag into a premium gift presentation relies on thoughtful design choices, structural reinforcement, and high-quality stationery techniques. By focusing on texture, balanced embellishments, and clean execution, you can elevate a simple kraft or white paper bag into an elegant, personalized package that rivals high-end boutique wrapping. The key is selecting the right materials and applying them with precision to ensure the final product looks intentional rather than cluttered.
Essential Materials and Tools for Upgrading Paper Bags
The foundation of any successful paper bag upgrade is the base bag itself. Opt for bags made from heavy-weight paper, typically ranging from 120 GSM to 180 GSM, which provides a sturdy structure that resists creasing and sagging. Matte finishes, such as classic brown kraft paper or crisp white cardstock, are highly receptive to inks, stamps, and adhesives, whereas glossy finishes require specialized solvent-based inks and stronger bonding agents to prevent smudging and peeling.
Decorative elements introduce color and tactile interest. High-quality ribbons, such as double-faced satin, cotton herringbone, or textured grosgrain, instantly elevate the presentation when compared to basic plastic curling ribbons. Natural elements like pressed leaves, dried lavender stems, or minimalist wax seals add an organic, artisanal touch that feels bespoke and sophisticated.
Products mentioned in this guide
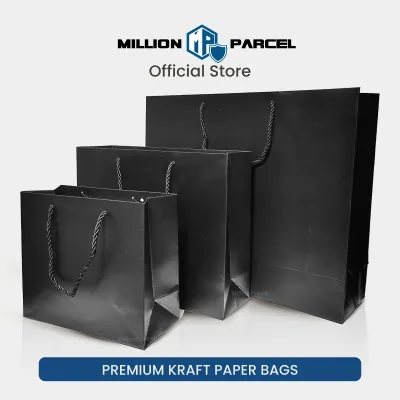

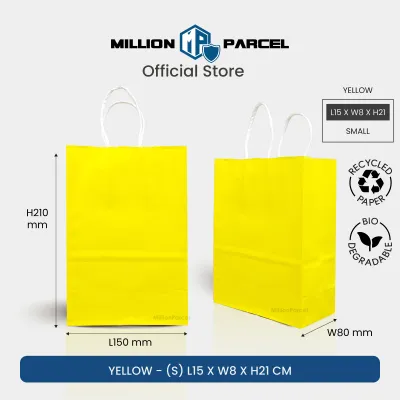
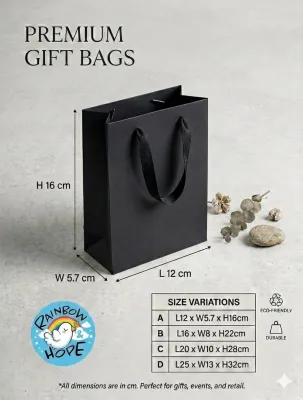


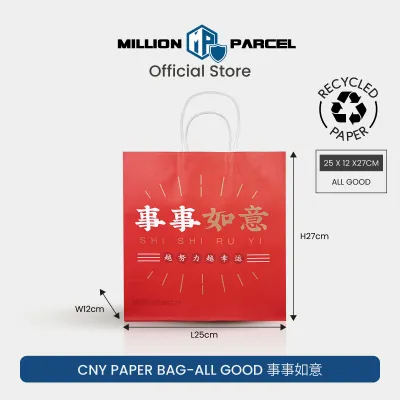
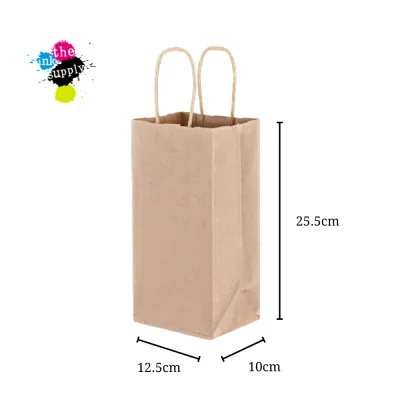
Prices are valid at publication and may change. Please refer to the product page for the latest price.
To assemble these elements without damaging the paper, you need the correct adhesives and cutting tools. Double-sided tape with a strong acrylic adhesive backing offers a clean, flat bond without the warping associated with liquid school glues. For precise cuts, a sharp craft knife paired with a metal ruler and a self-healing cutting mat ensures clean edges, while a standard circle punch or eyelet setter creates professional-grade holes for threading handles. Always handle sharp blades with care, keeping fingers clear of the cutting path and retracting the blade immediately after use.
Step-by-Step Techniques to Elevate Your Paper Bag
Upgrading a plain paper bag involves layering different decorative techniques to build depth and visual interest. By breaking the process down into distinct stages—adding surface patterns, securing physical embellishments, and personalizing with custom tags—you can maintain control over the design and ensure a polished, cohesive result.

Adding Texture and Patterns
Stamping and stenciling allow you to apply custom patterns directly to the paper surface. When selecting ink, pigment-based ink pads are ideal for matte paper bags because they offer rich, opaque color and excellent bleed resistance, though they require a slightly longer drying time. For glossy or coated paper bags, solvent-based inks are necessary to ensure the design adheres permanently without smearing.
To achieve a balanced, repeating pattern, plan your layout before applying ink to the bag. You can create a subtle grid using a light pencil and a ruler, or use a clear acrylic mounting block for transparent stamps to see exactly where the design will land. If you prefer a more organic look, space the motifs unevenly but maintain consistent orientation and density across the bag’s surface.
Drying time is critical to preventing smudges that can ruin the clean look of your bag. Always perform a test stamp on a scrap piece of the same paper material to observe how quickly the ink dries and whether it feathers or bleeds into the paper fibers. If you are working with slow-drying pigment inks, set the bag aside in a flat, dust-free area for at least fifteen to twenty minutes before proceeding to the next decorative step.
Incorporating Ribbons, Twine, and Embellishments
Replacing standard paper twist handles with premium ribbons or natural twine instantly transforms the bag’s aesthetic. To secure ribbon handles, thread the ends through punched holes and tie a neat double knot on the inside of the bag, pulling it taut to ensure it cannot slip back through. For a more refined look, you can fold the ribbon ends flat against the interior and secure them with a strip of heavy-duty double-sided tape.
When bonding fabric ribbons or dimensional embellishments to the paper surface, select adhesives that offer an immediate, strong hold without seeping through the material. Glue dots are excellent for securing small bows, dried florals, or wax seals because they provide a thick, localized bond that remains flexible. Avoid hot glue guns on thin paper bags, as the heat can cause the paper to warp and the glue can leave unsightly, bulky ridges.
Visual balance is achieved by placing embellishments strategically rather than covering the entire bag. Position focal points, such as a large bow or a cluster of dried florals, near the base of the handles or off-center according to the rule of thirds. This creates a natural path for the eye to follow and prevents the design from looking cluttered or bottom-heavy.
Personalizing with Tags and Calligraphy
A custom gift tag serves as the centerpiece of your decorated bag, offering a dedicated space for personalization. Choose a heavy cardstock for your tags, ideally between 250 GSM and 300 GSM, to provide a premium, rigid feel that contrasts beautifully with the bag’s surface. Textured papers, such as cold-press watercolor paper or laid paper, add an extra layer of tactile sophistication.
Before writing on your tags or directly on the bag, verify that your pens and markers are compatible with the paper surface. Fine-tip brush pens and calligraphy markers with water-based pigment inks are excellent for matte cardstock, offering smooth flow and minimal bleed. If you are writing on a dark or kraft paper bag, opaque metallic gel pens or acrylic paint markers provide excellent contrast, but you must test them on an inconspicuous area—such as the inside bottom fold of the bag—to check for drying speed and feathering.
Attach your personalized tags using complementary materials like waxed cotton cord, jute twine, or a thin satin ribbon. Thread the cord through a neatly punched hole at the top of the tag, and loop it around the bag’s handle. For an extra touch of professionalism, install a metal eyelet or grommet into the tag’s hole to prevent the paper from tearing under tension.
Structural Reinforcements for a Polished Finish
A premium appearance is quickly undone if the bag sags, tears, or loses its shape once the gift is placed inside. To prevent this, cut a piece of heavy chipboard or thick corrugated cardboard to the exact dimensions of the bag’s bottom panel and slide it inside. This simple insert distributes the weight of the gift evenly, keeping the base flat and preventing the sides from collapsing inward.
Reinforcing the handle attachment points is equally important, especially if you have replaced the original handles or added heavy embellishments. Apply a small square of heavy-duty packing tape or a cardstock patch to the inside of the bag where the handle holes are punched before making the cuts. This extra layer prevents the holes from stretching or tearing when the bag is carried.
The interior presentation should match the elegance of the exterior. Use high-quality, acid-free tissue paper to wrap the gift loosely before placing it inside, allowing the tissue to billow gently out of the top of the bag in clean, crisp folds. This not only conceals the gift but also provides internal volume that helps the paper bag maintain its structural shape during transport.
Common Mistakes to Avoid When Decorating Paper Bags
One of the most common errors is overloading a lightweight bag with heavy embellishments, such as large wooden cutouts, thick metal charms, or excessive layers of cardstock. This extra weight can cause the paper to sag, crease, or tear along the fold lines, instantly destroying the premium aesthetic. Keep decorations lightweight and proportional to the size and thickness of the bag.
Using wet adhesives, such as standard white school glue or liquid craft glue, is another frequent mistake. The water content in these glues quickly saturates paper fibers, causing the paper to swell, warp, and wrinkle as it dries. Stick to dry adhesives like double-sided tape, glue dots, or high-tack adhesive runners to maintain a perfectly flat, professional finish.
Finally, avoid cluttered designs and poor color contrast. A premium look relies on restraint and clean composition; packing too many elements onto a single bag can make it look chaotic. Choose a cohesive color palette of two to three complementary tones, and ensure there is sufficient contrast between your background paper and your decorative elements so that patterns and calligraphy remain legible and striking.
Frequently Asked Questions (FAQ)
Can I use acrylic paint on a standard paper bag?
Acrylic paint can be used on paper bags, but its success depends heavily on the paper’s weight and how the paint is applied. Standard lightweight paper bags (under 120 GSM) will warp and buckle when exposed to the moisture in acrylic paint, as the water swells the paper fibers unevenly. If you wish to use acrylics, select a heavy-weight kraft or cardstock bag, apply the paint in thin, dry layers using a stencil brush or sponge, and avoid heavy pooling. For lighter bags, dry mediums such as high-quality colored pencils, pastel markers, or alcohol-based dual-tip markers are much safer alternatives that will not compromise the paper’s flat structure.
How do I prevent the bag from tearing when adding heavy ribbons?
To prevent heavy ribbons from tearing through the paper, you must reinforce the stress points around the handle holes. Before punching the holes, adhere a strip of heavy cardstock or reinforced packing tape to the inside collar of the bag where the holes will go. When punching, use a clean, sharp hole punch to ensure smooth edges, as jagged cuts tear much more easily under tension. Additionally, using metal eyelets or reinforcing rings around the holes distributes the pulling force of the ribbon across a wider surface area, ensuring the bag remains secure even when carrying heavier gifts.

Community discussion
Share your experience or ask a question. Comments are reviewed before publication.