
A plain paper bag is a blank canvas waiting for a creative touch. With a few thoughtful additions, a basic, mass-produced container can be transformed into a bespoke piece of art that rivals high-end boutique packaging. Elevating a plain happy birthday bag into a premium, personalized presentation relies on structural reinforcement, balanced design layers, and the clever use of textures. By focusing on quality materials and precise assembly techniques, you can create a gift bag that is as memorable as the present inside.
Essential Materials and Tools for Upgrading Your Gift Bag
To achieve a professional finish, you must gather the correct supplies before beginning your project. The foundation of any successful upgrade is the bag itself. Look for a base bag made from heavy-weight paper, typically between 150 to 210 GSM (grams per square meter). Thicker paper resists wrinkling, holds its shape under the weight of embellishments, and instantly feels more luxurious to the touch.
Next, select your adhesives based on the paper type and the weight of your decorations. Double-sided tape is the gold standard for seamless ribbon wrapping because it lies completely flat without wrinkling the paper. For heavier elements or three-dimensional embellishments, glue dots provide an instant, high-strength bond without the mess or moisture of liquid adhesives. Standard liquid craft glue is useful for porous paper surfaces, but it must be used sparingly to avoid warping the fibers.
Products mentioned in this guide
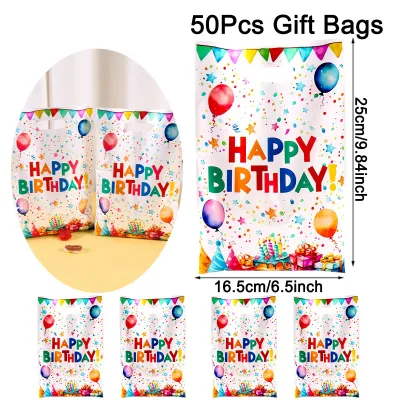
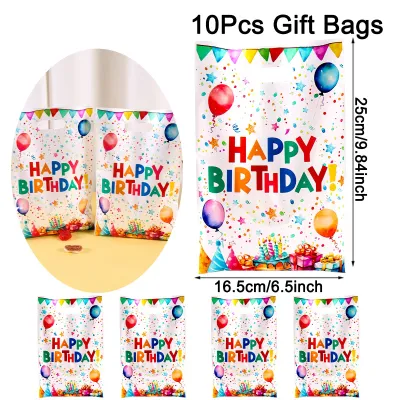
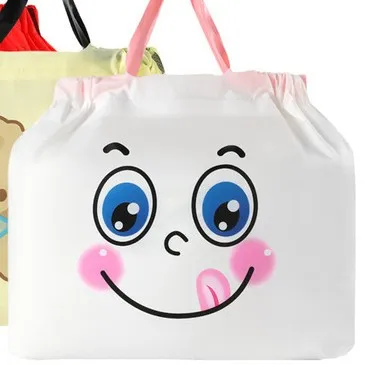
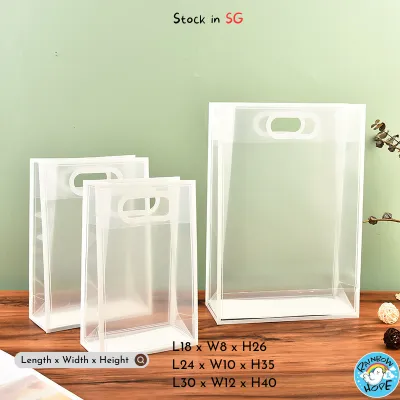
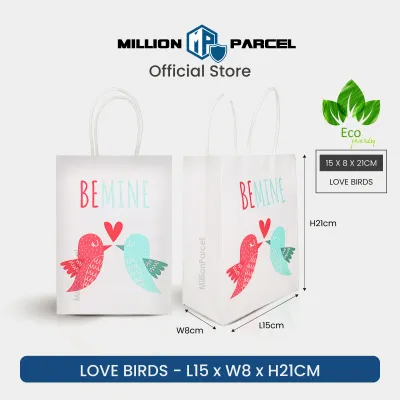
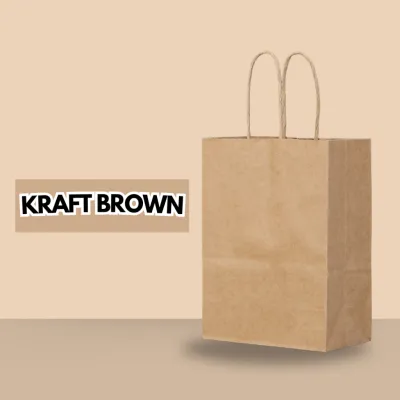
Prices are valid at publication and may change. Please refer to the product page for the latest price.
The decorative elements should represent a mix of textures to create visual depth. Choose high-quality ribbons such as double-faced satin, heavy grosgrain, or delicate organza. Natural embellishments like dried lavender sprigs, pressed eucalyptus leaves, or polished jute twine introduce an organic, tactile contrast. For personalization, consider custom wax seals, alphabet stamps, or heavy cardstock tags (at least 300 GSM) that can be hand-lettered or stamped.
Finally, equip yourself with the right tools. A pair of dedicated, ultra-sharp fabric shears is essential for cutting clean ribbon ends without fraying. A bone folder is invaluable for pressing down tape, creating crisp folds, and smoothing out paper creases. A metal ruler will ensure your ribbon wraps and embellishments are perfectly centered and aligned.
Step-by-Step Guide to Transforming a Basic Happy Birthday Bag
Step 1: Reinforcing and Prepping the Bag Structure
Before applying any decorative elements, you must ensure the structure of the bag can support the added weight and maintain a clean silhouette. Plain, budget-friendly bags often suffer from flimsy bases and weak handles. To remedy this, cut a piece of thick cardboard or chipboard to the exact dimensions of the bag’s bottom panel. Slide this insert into the bottom of the bag to distribute the weight of the gift evenly and prevent the paper from sagging or tearing when lifted.

To elevate the top opening of the bag, consider creating a folded hem if the bag has raw edges. Fold the top edge inward by approximately 1 to 1.5 inches. Use a bone folder to crease this fold sharply, then secure it inside with a thin strip of double-sided tape. This simple modification hides the raw, machine-cut edge, adds a double layer of rigidity to the top rim, and provides a sturdier anchor point for the handles.
Lastly, inspect the existing handles. If the bag uses simple paper cords or cheap polyester ribbons threaded through punched holes, reinforce these connection points. Apply a small piece of heavy-duty packing tape or a reinforced paper patch over the knots or glue tabs on the inside of the bag. This prevents the handles from pulling through the paper when carrying heavier items, ensuring your beautiful presentation remains intact during transit.
Step 2: Adding Dimension with Ribbons and Bows
Ribbons are the most effective tool for introducing color, texture, and elegance to a plain bag. You can choose between two primary placement strategies: wrapping the ribbon horizontally around the entire body of the bag or tying it directly to the handles. A horizontal wrap creates a modern, banded look that mimics high-end retail packaging, while handle ties offer a classic, whimsical appearance.
To execute a flawless horizontal wrap, measure the circumference of the bag and add two inches. Apply a strip of double-sided tape along the back of your ribbon. Starting at the back center of the bag, press the ribbon firmly onto the paper, wrapping it tightly around the sides and meeting back at the starting point. This technique ensures the ribbon remains perfectly horizontal without slipping, wrinkling, or showing unsightly glue marks.
For the bow itself, a multi-loop boutique bow offers a dramatic, luxurious focal point. Create this by folding ribbon back and forth into loops, securing the center with a thin wire, and hiding the wire with a small ribbon wrap. If you prefer a more understated look, use the classic “bunny ear” method to tie a simple bow with long, trailing tails. Cut the ribbon tails at a precise 45-degree angle or a neat V-shape (chevron cut) using your sharp shears, and seal the cut edges with a tiny dab of clear craft glue or a brief pass near a flame to prevent fraying.
To achieve a truly expensive look, layer your ribbons. Pair a wide, structured 1.5-inch grosgrain ribbon in a neutral tone with a narrower 0.5-inch double-faced satin ribbon in a coordinating accent color. The contrast between the ribbed texture of the grosgrain and the glossy sheen of the satin immediately elevates the presentation.
Step 3: Applying Embellishments and Personalized Touches
Once the structural and ribbon foundations are in place, you can introduce custom details that show genuine thoughtfulness. To keep the design sophisticated, apply the “rule of three” for your embellishments: select one primary focal ribbon, one natural organic element, and one personalized tag. This prevents the design from becoming cluttered or chaotic.
Natural elements bring a rustic, organic warmth to the paper surface. Take a small sprig of dried lavender, baby’s breath, or a single eucalyptus leaf, and tuck it behind your ribbon knot. Secure the stem to the handle base or ribbon using a short length of fine floral wire or rustic jute twine. This adds a three-dimensional, tactile quality that plastic decorations simply cannot replicate.
Personalization can be achieved through custom tags and traditional wax seals. Instead of writing directly on the bag, use a high-quality cardstock tag. You can apply a wax seal directly onto the tag using a personalized stamp—such as the recipient’s initial or a festive motif. For a clean finish, melt the wax onto a silicone mat first, press the stamp, let it cool, and then use a high-strength glue dot to adhere the perfect seal to your tag or the bag’s closure flap.
If you have neat handwriting, use a brush pen or calligraphy marker to write the recipient’s name on the tag. Alternatively, use alphabet ink stamps for a clean, vintage aesthetic. Ensure the ink is fully dry before handling to prevent smudging, especially in humid environments.
Adapting Techniques for Different Bag Materials
Not all paper bags react the same way to adhesives, inks, and embellishments. Understanding the characteristics of your bag’s material is crucial to preventing warping, staining, or peeling.
- Kraft and Brown Paper Bags: Kraft paper is highly porous and fibrous, making it exceptionally receptive to liquid craft glues, water-based ink stamps, and natural fibers like twine. However, because it absorbs moisture easily, excessive liquid glue can cause the paper to buckle and warp. Apply liquid adhesives in thin, even layers, or opt for double-sided tape to keep the surface perfectly flat.
- Glossy or Coated Paper Bags: High-gloss and laminated papers have non-porous surfaces that prevent liquid glues and standard water-based inks from drying, leading to messy smears. For glossy bags, completely avoid liquid glues and standard ink stamps. Instead, rely on high-tack glue dots, double-sided foam tape, or solvent-based permanent markers. Alternatively, bypass adhesives entirely by tying all tags and decorative elements directly to the handles.
- Textured or Handmade Paper Bags: Textured papers, such as felt-finish or cotton rag bags, have uneven surfaces that make standard tape adhesion difficult. Use a bone folder to press double-sided tape firmly into the crevices of the paper to ensure a strong bond. Avoid heavy liquid glues, as they can bleed through the porous fibers and leave permanent, dark stains on the exterior of the bag.
Regardless of the material, always perform a quick compatibility test. Apply a small dab of your chosen glue or ink to a hidden area, such as the inside bottom flap of the bag, and let it dry completely to verify that it does not warp, stain, or smear.
Common Mistakes to Avoid When Decorating Gift Bags
Even the most creative designs can look unprofessional if a few common pitfalls are overlooked. One of the most frequent errors is overloading a thin paper bag with heavy embellishments. Attaching heavy wooden ornaments, thick metal charms, or multiple large wax seals can cause the bag’s paper to tear or sag under the strain. Keep the weight of your decorations proportional to the thickness of the paper.
Another common mistake is the use of hot glue guns on thin or coated paper bags. The high temperature of hot glue can melt glossy plastic coatings, warp thin paper fibers, and leave thick, lumpy ridges beneath your ribbons. Additionally, hot glue often leaves thin, unsightly “spiderweb” strings that are difficult to clean off completely. Stick to double-sided tape and pressure-sensitive glue dots for a flat, clean, and secure bond.
Design-wise, avoid clashing color palettes and overcrowding. A premium look relies heavily on negative space—the empty areas of the bag that allow the eye to rest. Choose a cohesive color scheme of two to three complementary tones (such as forest green, cream, and gold) and stick to them.
Finally, do not neglect the interior of the bag. A stunning exterior loses its impact if the recipient opens the bag to find a poorly wrapped gift tossed inside without any cushioning. The presentation should be a cohesive experience from the outside in.
Final Presentation and Handoff Tips
The final step in preparing your upgraded gift bag is the arrangement of the tissue paper. To achieve a luxurious, voluminous look, use the “pinch and twist” method. Lay a sheet of high-quality tissue paper flat, pinch it firmly from the exact center, lift it up, and give the bottom point a quick twist. This creates a beautiful, flared cone shape. Place several of these flared sheets side-by-side inside the bag, allowing the crisp, folded edges to spill out of the top like a frame for your gift.
Before transport, double-check that all adhesives are fully set and dry. If you used any liquid glues or ink stamps, allow them to cure in a well-ventilated room. In Singapore’s humid climate, adhesives can take slightly longer to dry completely, so give your project ample drying time before packing.
Store your completed gift bag upright in a cool, dry closet to prevent the paper from absorbing moisture, which can cause it to lose its stiffness. Avoid stacking heavy items on top of the bag, which could crush your carefully constructed boutique bows or delicate dried flowers.
For an unexpected sensory touch, lightly mist a piece of scrap tissue paper with a subtle linen or floral spray, let it dry completely, and place it at the very bottom of the bag. This releases a gentle, pleasant aroma when the recipient opens the bag, completing a truly premium, multi-sensory gifting experience.
Frequently Asked Questions (FAQ)
Can I decorate a plastic or glossy gift bag the same way as a paper one?
No, plastic and highly glossy gift bags require different techniques because their non-porous surfaces do not absorb liquid glues or standard water-based inks. If you attempt to use liquid craft glue or traditional stamping ink, they will smear, run, or peel off once dry. For these smooth surfaces, use high-tack glue dots or heavy-duty double-sided tape to secure decorations. Alternatively, you can avoid adhesives entirely by tying your ribbons, custom tags, and dried flowers directly to the bag’s handles with twine or ribbon.
What is the best adhesive for attaching heavy embellishments to paper bags?
The best adhesives for securing heavy embellishments, such as thick cardstock tags, wax seals, or wooden accents, are pressure-sensitive glue dots or heavy-duty double-sided foam tape. These adhesives provide an immediate, high-strength bond without introducing moisture, which prevents the paper from warping or wrinkling. Avoid using hot glue on thin paper bags, as the heat can warp the fibers and leave bulky, uneven lumps. If you must use liquid craft glue, apply it in a very thin, even layer and press the items together firmly until dry.

Community discussion
Share your experience or ask a question. Comments are reviewed before publication.