
A plain happy birthday bag offers an excellent canvas for personal expression, turning a simple gift container into an elegant, custom presentation. Elevating a basic paper bag into a polished, boutique-style gift relies on choosing complementary materials, planning a balanced layout, and applying clean fastening techniques. By combining structured ribbon arrangements with layered embellishments like gift tags and dried florals, you can create a memorable unboxing experience that reflects the thoughtfulness of your gift.
Achieving a high-end look does not require professional wrapping skills. Instead, it requires attention to detail, such as selecting ribbons that match the bag’s weight, using non-warping adhesives, and ensuring every cut edge is clean. Whether you are preparing a gift for a friend, family member, or colleague, taking a few extra minutes to customize the packaging makes the celebration feel truly special.
Gather Your Materials and Tools for the Upgrade
Before beginning your project, gather all necessary supplies to ensure a smooth, uninterrupted crafting process. Having your tools organized beforehand prevents adhesive mishaps and allows you to focus entirely on the design layout.
Products mentioned in this guide
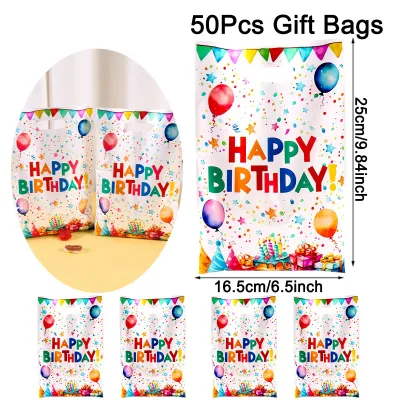
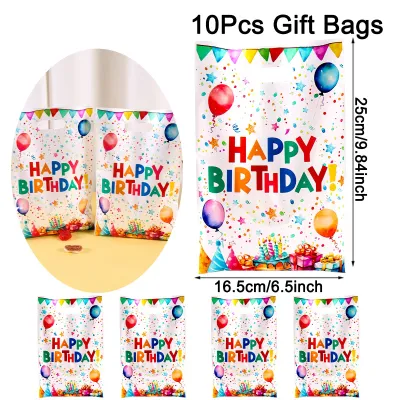
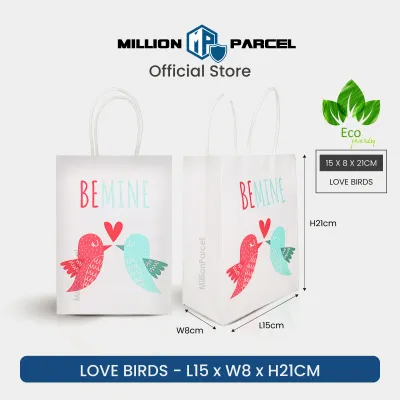
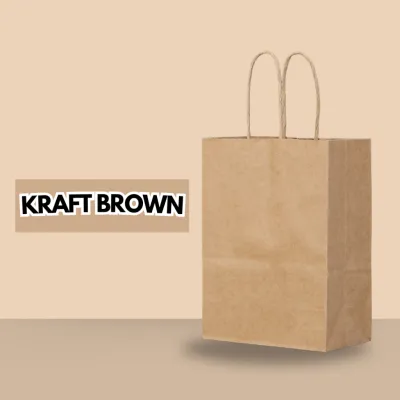
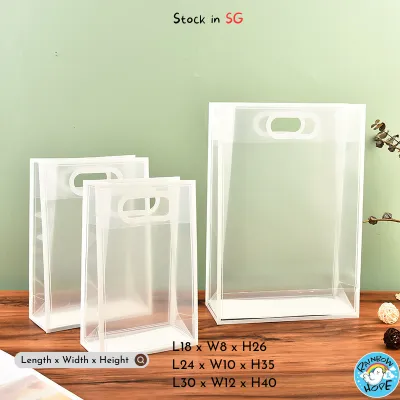
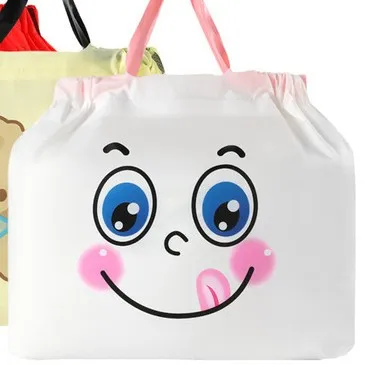
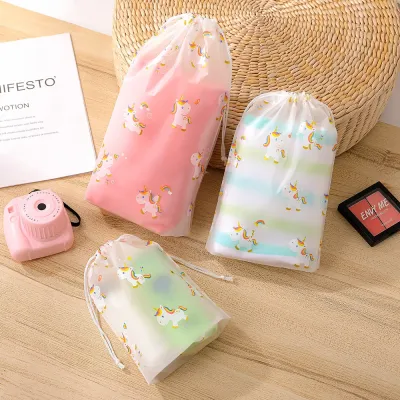
Prices are valid at publication and may change. Please refer to the product page for the latest price.
The foundation of your project is a plain or simply printed paper happy birthday bag. Opt for a medium-to-heavyweight paper bag, as thin paper may tear or sag under the weight of added decorations.
Select ribbons that complement the bag’s size and texture. Satin ribbons offer a classic, glossy finish that catches the light beautifully, making them ideal for elegant themes. Grosgrain ribbons provide a ribbed texture and excellent structural hold, which is perfect for crisp, defined bows. Organza ribbons add a soft, sheer, and airy touch that works well when layered over wider, solid-colored ribbons.
Choosing the right adhesive is critical to preserving the integrity of the paper. Double-sided tape is the best option for securing flat ribbon bands, as it lays perfectly flat and does not wrinkle the paper. For three-dimensional elements, heavy-duty glue dots provide immediate adhesion without the mess or drying time of liquid glues.
Keep basic tools within arm’s reach. You will need sharp craft scissors to make clean, fray-free cuts, and a ruler to measure ribbon lengths accurately. When using scissors or cutting tools, always work on a flat, stable surface and keep blades pointed away from your body. Additionally, prepare several sheets of high-quality tissue paper to help stuff the bag during the decorating process and to cover the gift inside when finished.
To elevate the presentation further, consider optional embellishments. Blank cardstock gift tags, natural twine, delicate dried flowers (such as lavender or mini eucalyptus sprigs), and high-quality stickers or washi tape can all be layered to add depth and personality to your design.
Prepare the Bag and Plan Your Design Layout
A polished final look starts with proper preparation. Taking the time to smooth the bag and plan your design layout ensures the final presentation looks intentional and balanced, rather than cluttered or rushed.

Begin by inspecting the paper bag for any creases, folds, or wrinkles from storage. Gently smooth out these lines using your hands on a flat surface. If the bag has deep creases, you can use a low-heat iron to flatten them. First, check the manufacturer’s care instructions or test a small, hidden area of the bag to ensure the paper or its printed ink can withstand heat. Always place a clean, dry protective cloth between the iron and the bag, and avoid using steam, which will warp the paper fibers.
Next, provide internal support for the bag. Stuff the empty bag with crumpled tissue paper or clean scrap paper until it is fully expanded. This step is essential because it gives the bag structural integrity, preventing the sides from collapsing or bending when you apply pressure to attach ribbons, tape, or embellishments.
With the bag stabilized, plan your color palette and design layout. For a cohesive look, choose ribbons and tags that match the existing colors of the “Happy Birthday” print. Alternatively, select contrasting neutrals—such as cream, kraft, or gold—to create a sophisticated, modern contrast against a brightly colored bag.
Lay the bag flat on your workspace and arrange your ribbons, tags, and florals on top of it before applying any adhesive. This trial layout allows you to visualize the focal point, adjust the spacing, and make changes without damaging the paper. Once you are satisfied with the visual balance, you can begin securing the elements permanently.
Attach Ribbons for Structure and Elegance
Ribbons serve as the structural anchor of your decorated gift bag, adding instant elegance and a tailored, professional finish. By integrating ribbons into the handles and the body of the bag, you can transform its silhouette and draw the eye to your custom details.
When working with ribbons, always measure and cut more than you think you need. It is much easier to trim excess ribbon at the end than to struggle with a piece that is too short to tie into a neat, full bow.
Wrapping and Tying the Handles
The handles of a paper bag are highly visible, making them an excellent starting point for customization. To create a classic, unified look, thread a long piece of satin or grosgrain ribbon through both handles. Pull the ribbon taut so it gathers the top of the bag slightly, then tie a secure, centered bow at the peak. This technique not only looks beautiful but also helps keep the bag closed, adding an element of suspense to the gift.
For a more detailed, wrapped look, you can wrap a thinner ribbon tightly around the base of each handle. Secure the starting end at the back of the handle with a small piece of double-sided tape, wrap the ribbon in a tight spiral, and secure the finishing end with another piece of tape. To ensure a clean finish, always cut the ribbon tails at a sharp 45-degree angle. This angled cut prevents the woven threads from sliding apart and fraying, while giving the tails a classic, professional shape.
Creating a Ribbon Accent on the Bag Body
Adding a horizontal or vertical ribbon band across the body of the bag frames the central design and adds a layer of texture. To apply a horizontal band, measure a strip of ribbon that can wrap around the front and sides of the bag. Apply double-sided tape directly to the back of the ribbon first, rather than applying it to the bag. This method prevents the tape from stretching or tearing the delicate paper surface during positioning. Press the ribbon firmly onto the lower third of the bag, keeping it perfectly straight.
To create a focal point, you can craft a simple, flat ribbon rosette or pre-tie a perfect bow from a matching ribbon. Attach this bow to the center of the ribbon band or the base of the handles using a heavy-duty glue dot. Avoid using liquid craft glue for this step; liquid glues can easily saturate paper fibers, causing the bag to warp, wrinkle, or leave unsightly dark stains that ruin the clean look of your happy birthday bag.
Layer Embellishments to Achieve a Polished Finish
Layering is the secret to achieving a high-end, boutique-style presentation. By combining flat elements with three-dimensional textures, you build visual depth that makes the gift bag feel custom-made.
To maintain a balanced aesthetic, keep the heaviest or most detailed embellishments near the center or the top of the bag, close to the ribbon bow. This placement draws the recipient’s eye to the main design elements while keeping the overall composition clean and organized.
Attaching Gift Tags and Charms
A personalized gift tag adds a thoughtful touch to the presentation. Thread a blank cardstock tag onto your ribbon or twine before tying the final bow, allowing it to drape naturally over the front of the bag. For an extra layer of detail, place a smaller, contrasting tag or a lightweight acrylic charm directly behind the main paper tag using a mini glue dot or a short piece of twine.
Before attaching the tag to the bag, write your recipient’s name and message. Writing on a flat, hard surface ensures your handwriting is neat. It also prevents ink smudging on the bag and avoids leaving pen indentations on the paper. If you are using gel pens or calligraphy ink, verify the drying speed and bleed resistance on a scrap piece of paper first to ensure the ink does not run or transfer to the bag’s surface.
Adding Florals, Stickers, and Textural Elements
Incorporate natural textures to soften the overall look of the paper and ribbon. Use glue dots to attach small, delicate bundles of dried flowers, such as lavender, baby’s breath, or mini sprigs of eucalyptus, directly to the knot of your ribbon bow or the corner of the gift tag. These elements add a subtle fragrance and a beautiful, organic touch.
You can also use high-quality stickers, metallic foil seals, or patterned washi tape to frame the edges of the bag or highlight specific words on the “Happy Birthday” print. However, it is important to know when to stop. Take a step back and look at the bag from a distance of one meter. If your decorations completely obscure the original print or make the bag look crowded, remove a few elements. Allowing the base design of the bag to breathe ensures the final presentation looks balanced and sophisticated.
Perform Final Checks for a Cohesive Presentation
Before presenting your decorated happy birthday bag, perform a few final quality checks to ensure it is structurally sound, secure, and ready for transit.
Gently tug on all attached ribbons, gift tags, and embellishments to verify that the adhesives are holding securely. This is especially important in humid climates, like Singapore’s, where moisture in the air can occasionally weaken low-quality adhesives over time. If any element feels loose, reinforce it with a fresh glue dot or a strip of heavy-duty double-sided tape.
Inspect the bag for any cosmetic imperfections. Use your craft scissors to trim any loose threads from the ribbon edges, and check for any exposed tape adhesive that might catch on the wrapping paper or dust. Ensure that the ribbon tails are trimmed to equal lengths and that their angled cuts are clean and sharp.
Place the bag on a flat surface to verify that it can still stand upright on its own without tipping over. The weight of your embellishments should not cause the bag to lean or collapse. Lift the bag by its handles to ensure they are comfortable to hold and that no sharp wire stems from artificial florals or rough edges from charms will scratch the recipient’s hand.
To complete the presentation, place your gift inside and add a final layer of tissue paper. Crumple or fold several sheets of coordinating tissue paper and place them at the top of the bag, allowing the edges to fluff out naturally. This conceals the gift inside, protects it from dust, and adds a professional finishing touch to the unboxing experience.
Frequently Asked Questions (FAQ)
What is the best adhesive for attaching heavy embellishments to paper bags?
For securing heavier three-dimensional items like thick cardstock tags, wooden charms, or dried flower bundles, foam double-sided tape or heavy-duty glue dots are the most reliable choices. They provide a strong, immediate bond without adding moisture. Avoid using liquid craft glues or hot glue guns on thin paper bags. Liquid glues can saturate and warp the paper, while the heat from a glue gun can melt thin synthetic ribbons, damage delicate prints, or leave thick, messy strings of adhesive that compromise the polished look.
How can I prevent the ribbon from fraying after cutting?
The most effective way to prevent ribbon fraying is to use extremely sharp fabric or craft scissors to make a clean cut at a sharp 45-degree angle or a classic V-notch (chevron cut). If the ribbon material is highly prone to unraveling, such as loose-weave satin or polyester, you can apply a tiny dab of clear nail polish or specialized fabric sealant to the very edge of the cut. Always allow the sealant to dry completely on a protected surface before handling the ribbon or letting it touch the paper bag.

Community discussion
Share your experience or ask a question. Comments are reviewed before publication.