
Transforming a plain, solid-colored paper bag into a custom birthday masterpiece is an elegant, budget-friendly way to show someone you care. By combining basic stationery supplies like ribbons, tags, and simple paper layers, you can elevate a standard kraft or white bag into a memorable part of the gift itself.
This guide walks you through the entire process, from selecting the right base materials to applying professional finishing touches that ensure your creation looks polished and holds up beautifully during transit.
Gather Your Materials and Tools
To begin, select a sturdy paper bag as your canvas. A thick kraft paper bag, typically 120 gsm or higher, provides an excellent, durable base that resists tearing and handles adhesives well. If you prefer a vibrant backdrop, choose a solid-colored matte paper bag. Avoid high-gloss bags for this project, as standard adhesives and inks struggle to bond with slick, laminated surfaces.
Products mentioned in this guide


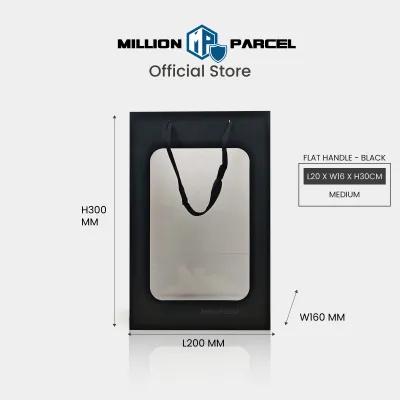
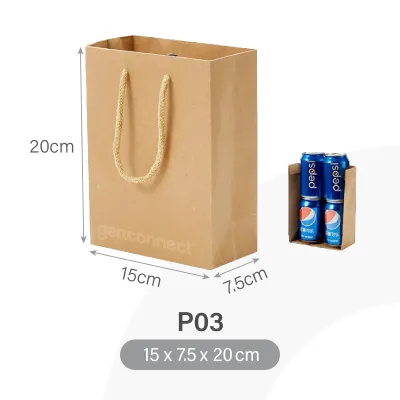
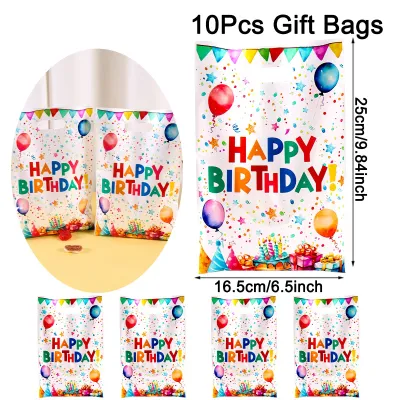
Prices are valid at publication and may change. Please refer to the product page for the latest price.
Next, gather your core embellishments. Satin, grosgrain, or organza ribbons add instant texture, while natural jute twine offers a rustic charm. Prepare a few blank cardstock gift tags that match your color scheme.
For your toolkit, you will need sharp detail scissors to prevent frayed edges, high-quality double-sided tape for clean adhesion, a solid glue stick, and a standard single-hole punch.
If you want to add extra character, consider optional accents such as decorative stickers, clear stamps with archival ink, or small sprigs of dried lavender or eucalyptus.
Prepare the Bag and Plan Your Design
Before applying any adhesive, prepare your workspace and the bag itself. Lay the bag completely flat on a clean, hard surface. Gently smooth out any minor creases or folds with the side of your hand, taking care not to bend the gussets or damage the handles.

Planning your layout beforehand prevents costly mistakes and wasted materials. Identify the primary visual focal point of your design. For a classic look, center your main elements on the lower two-thirds of the bag’s front panel. Alternatively, you can focus on the top closure or the area where the handles attach.
Arrange your ribbons, paper scraps, and tags loosely on top of the flat bag. Step back to evaluate the proportions, color balance, and overall composition. This trial arrangement allows you to adjust spacing, trim ribbons to the correct length, and ensure the design feels balanced rather than cluttered.
Step-by-Step Decoration Process
Transforming your planned layout into a finished, secure design requires a systematic approach. By working methodically from the background layers to the foreground details, you ensure that every element is properly anchored and visually integrated.
Secure the Base and Add Background Elements
Start by applying your largest, flattest decorative elements to establish the background. If you are using patterned paper scraps, cardstock panels, or large decorative stickers, apply double-sided tape or a solid glue stick evenly across the entire back surface of the element.
Pay special attention to the corners and edges, as these are the areas most prone to lifting. Press the paper firmly onto the bag, smoothing it from the center outward to eliminate trapped air bubbles.
Avoid using liquid school glue or heavy craft glue on standard paper bags. Liquid glues introduce moisture that quickly warps thin paper fibers, leaving unsightly wrinkles and causing ink to bleed through the other side.
Attach Ribbons, Bows, and Handles
Once your background is secure, integrate your textile elements to add depth and movement. To embellish the handles, wrap a length of satin or grosgrain ribbon around the base of the existing handles, securing them with a neat double knot or a classic bow.
If your bag does not have pre-installed handles, or if you want to add a decorative closure, use a single-hole punch to create two aligned holes near the top collar of the bag. Thread a length of decorative cord or ribbon through these holes from the inside out. Tie secure knots on the inside of the bag to keep the ribbon from slipping through.
Always trim the ends of your ribbons at a sharp 45-degree angle or in a clean V-shape using sharp scissors. This simple step prevents the fabric from fraying over time.
Personalize with Tags and Final Embellishments
The final layer of your design is where you add personal touches and fine details. Write your birthday message on a cardstock gift tag using a fine-liner pen or calligraphy marker, ensuring the ink is completely dry before handling. Attach the tag to one of the handle bases using a short piece of twine or a thin ribbon.
Next, apply your small accents to fill in any remaining empty spaces or to draw attention to the focal point. If you are using clear stamps, press them firmly and evenly onto the paper, lifting straight up to avoid smudging.
For a vintage touch, you can apply a wax seal directly to the bag or glue a small sprig of dried flowers tucked behind the gift tag. Take a moment to step back and review the overall balance, making minor adjustments to the placement of loose elements.
Finishing Touches and Quality Checks
Before placing your gift inside, conduct a thorough quality check to ensure the bag is structurally sound and visually pristine. Gently tug on the edges of all glued paper elements, ribbons, and tags to verify that the adhesive has bonded completely. If any corners lift, apply a tiny amount of double-sided tape to secure them.
Next, assess the weight capacity of the bag. If you have added heavy embellishments like wooden cutouts or thick wax seals, ensure the paper handles can still support the weight of the actual gift without tearing.
Finally, clean up the presentation. Use a clean white eraser to gently remove any visible pencil guidelines, wipe away paper dust from hole punching, and carefully peel off any stray adhesive residue using an adhesive eraser or your fingertip.
Creative Variations for Different Recipients
Tailoring your design to the recipient’s personality makes the gift feel even more intentional. For children, focus on high-contrast, bright colors and interactive elements. You can attach playful stickers, use colorful washi tapes to create geometric patterns, or even tie a small, lightweight toy or balloon to the handle.
For adults, a minimalist aesthetic works beautifully. Use a simple brown kraft paper bag as your base, wrap it with natural jute twine, and add a single sprig of fresh rosemary or dried eucalyptus for a clean, organic look.
For seniors, focus on elegant textures and classic patterns. Opt for rich, textured papers like handmade mulberry paper, use high-quality woven ribbons in deep jewel tones, and ensure the gift tag features large, clear, and easy-to-read handwriting.
Frequently Asked Questions (FAQ)
How can I attach ribbons without a hole punch?
If you do not have a hole punch, you can easily secure ribbons using alternative methods. One reliable approach is to use high-tack double-sided tape to adhere the ribbon directly to the inside collar of the bag, allowing the loops to drape over the top as decorative handles. Alternatively, you can tie your decorative ribbon directly onto the existing handle cords where they meet the bag’s paper body, creating a beautiful bow accent that requires no structural modifications to the bag itself.
How do I prevent the paper bag from wrinkling when gluing?
Paper wrinkles when it absorbs excess moisture from liquid adhesives, causing the fibers to expand unevenly. To prevent this, always prioritize dry adhesives such as double-sided tape, tape runners, or solid glue sticks. If you must use liquid glue for heavier embellishments, apply it sparingly with a fine-tip applicator or spread a very thin, even layer using a scrap piece of cardboard. Press the element down gently without rubbing, which can stretch the wet paper and create permanent creases.

Community discussion
Share your experience or ask a question. Comments are reviewed before publication.