
Transforming a plain paper gift bag into a custom, vibrant birthday presentation is an excellent way to make a child’s gift feel truly special before it is even opened. By using simple, accessible stationery supplies like colorful washi tape, themed stickers, markers, and ribbons, you can craft a personalized design tailored to the birthday child’s favorite things. This approach is not only budget-friendly, with plain bags often costing under S$1 to S$2 each at local craft stores, but it also allows you to control the materials, ensuring they are safe, durable, and perfectly suited to the party theme.
To achieve a polished look that survives the journey to the party, you need to select the right combination of paper, adhesives, and decorative elements. This guide walks you through selecting durable materials, applying clean base layers, adding eye-catching three-dimensional accents, and performing final safety checks to ensure the bag is robust and child-safe.
Choosing the Right Craft Supplies and Tools
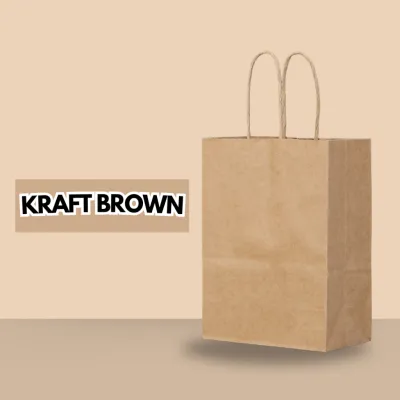
Before you begin decorating, you must evaluate the structural integrity of your base bag. Plain paper gift bags generally come in two finishes: uncoated matte kraft paper and coated glossy paper. Uncoated kraft paper, typically ranging from 120 GSM to 150 GSM (grams per square meter), is the ideal canvas because its porous surface easily absorbs ink, holds glue, and grips adhesive tapes without peeling. Coated or laminated bags have a slick surface that resists water-based inks and standard glue sticks, requiring stronger solvent-free double-sided tapes or glue dots to secure decorations.
Products mentioned in this guide
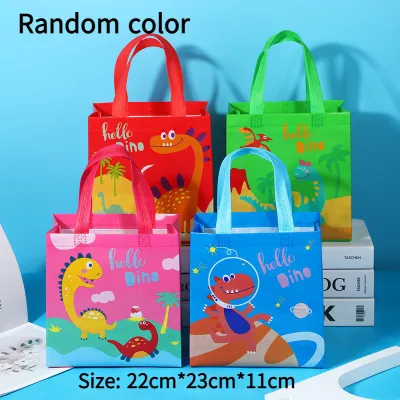
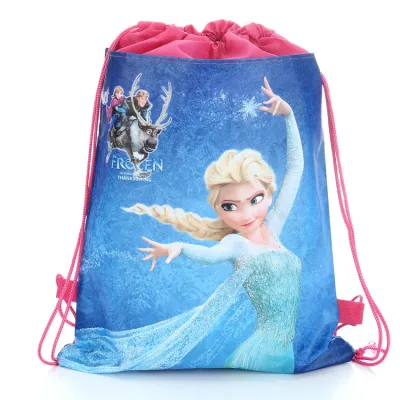
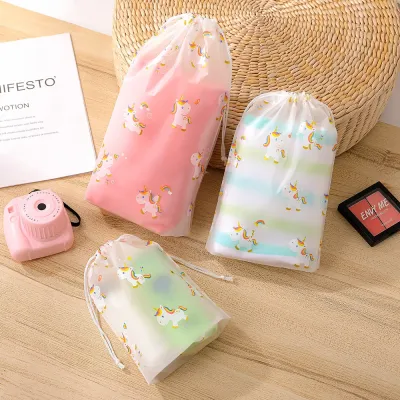
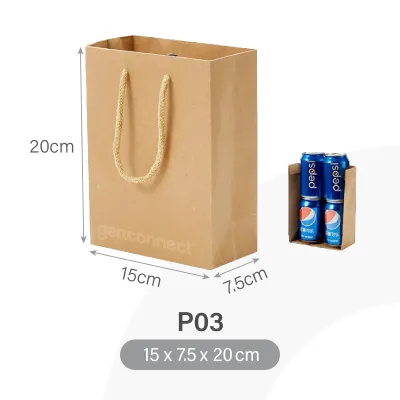
![[SG READY STOCK] Birthday Gift Bag Goodie Bags Kraft Paper Bag Thank you Bags Happy Everyday Wrapping Gift Bag Thank you Paper Bags](https://img.lazcdn.com/g/ff/kf/Sb2b79d065b9e4efeaa97df0eddd08956t.jpg_400x400q80.jpg_.webp)
Prices are valid at publication and may change. Please refer to the product page for the latest price.
Having the right tools on hand ensures clean cuts and secure attachments. Gather these essential items before starting your project:
- Craft Scissors: A sharp pair of scissors is necessary for clean cuts on ribbons and tape. If children are helping you decorate, provide designated safety scissors with rounded tips.
- Hole Punch: A standard 6mm single-hole punch is useful for adding custom ribbon handles or attaching gift tags.
- Ruler and Pencil: Use these to lightly sketch guidelines for lettering or to align tape borders evenly.
- Adhesives: Keep a high-quality glue stick for flat paper cut-outs, double-sided tape for clean border applications, and adhesive glue dots for heavier 3D elements.
Your decorative palette should feature a mix of textures and colors that appeal to children. Gather patterned washi tapes, sheets of themed stickers (such as animals, space elements, or dinosaurs), colorful ribbons (satin, grosgrain, or natural twine), and paper-safe markers. When selecting markers, opt for water-based pigment pens or acrylic paint markers, which offer vibrant, opaque coverage on both light and dark paper backgrounds.
Safety is paramount when crafting for or with children. Ensure all selected adhesives, markers, and paints carry a certified non-toxic seal, such as ASTM D-4236 or EN71. If younger children are assisting with the decorating process, avoid solvent-based liquid glues, which can emit strong fumes, and stick to solid glue sticks and pre-cut adhesive tapes that require no sharp tools to apply.
Adding Base Layers with Tape, Stickers, and Markers
The first step in decorating is establishing a cohesive background design on the flat surfaces of the bag. Washi tape is an exceptionally versatile tool for this stage. Because it is made from semi-translucent paper and uses a low-tack adhesive, you can easily peel and reposition it if you make a mistake. Use washi tape to create clean borders along the bottom and top edges of the bag, or layer parallel strips to form a colorful striped pattern across the center.

Once your borders are in place, you can strategically apply stickers to build your theme. To prevent the design from looking cluttered, place one or two large focal stickers first, such as a large cartoon character or a central birthday cake. Once these focal points are established, scatter smaller accent stickers, like stars, balloons, or confetti shapes, around them to balance the visual weight across the bag’s surface.
For a truly custom touch, use stamps, stencils, or freehand drawings to fill in the background. If you are using ink stamps, select a fast-drying pigment ink pad. Stencils are particularly helpful for creating repeating geometric patterns or clean shapes like clouds and stars without requiring advanced drawing skills. If you prefer freehand drawing, use light pencil sketches first to map out your illustrations before committing to permanent marker ink.
In warm, humid climates like Singapore, drying times for inks and liquid adhesives can be significantly longer than expected. To prevent smudging, warping, or color bleeding, allow each decorated layer to dry completely before moving on to the next step. Water-based marker inks and stamp pads should be left untouched for at least 15 to 20 minutes, while any wet craft glues may require up to an hour to cure fully in humid conditions.
Creating Dimension with Ribbons and 3D Embellishments
Adding three-dimensional elements elevates a simple paper bag into an eye-catching, tactile gift presentation. One of the easiest ways to customize a plain bag is by upgrading its handles. If the bag has simple paper twist handles, you can carefully snip them off and punch new holes about 2 centimeters below the top rim. Thread thick satin ribbon, grosgrain ribbon, or colorful cotton twine through the holes, tying secure double knots on the inside of the bag to create a comfortable, stylish grip.
Lightweight 3D embellishments add texture and playfulness to the bag’s exterior. You can craft simple paper cut-outs, such as butterflies or flowers, and fold the outer edges upward before gluing only the center down, creating a realistic pop-out effect. Alternatively, attach small, lightweight tissue paper pom-poms or pre-made fabric bows to the front of the bag to give it a festive, tactile quality that children love to touch.
To ensure these dimensional elements do not fall off during transport, you must use the correct adhesive. While standard glue sticks are excellent for flat paper, they lack the holding power required for fabric ribbons, thick cardstock, or textured pom-poms. Secure these heavier items using high-tack double-sided tape, adhesive glue dots, or a small amount of quick-drying, non-toxic craft glue. Press down firmly on each embellishment for at least 10 seconds to establish a strong bond.
As you add dimensional decorations, constantly verify that they do not interfere with the bag’s functionality. Avoid placing large, rigid decorations near the side gussets or the top opening, as this can prevent the bag from expanding properly to accommodate the gift. Keep all 3D elements centered on the main front and back panels, leaving the folding seams clear so the bag can open and close smoothly.
Personalizing the Design with Names and Party Themes
Personalizing a gift bag with the child’s name or age makes the presentation feel incredibly thoughtful and exclusive. To create neat, professional-looking lettering, use alphabet stencils or stamps. If you prefer hand-lettering, draw bold bubble or block letters with a pencil first, then fill them in with bright, opaque paint markers. Outline the letters with a dark fine-liner pen to make the name pop against the colorful background layers.
To make the bag cohesive, coordinate your colors and motifs with the specific birthday party theme. If the party is space-themed, use dark blue or black kraft bags as your base, adding silver star stickers, white gel pen constellations, and metallic silver ribbon handles. For an animal-themed party, use a classic brown kraft bag, adding paper ears to the top rim and drawing a simple animal face on the front panel.
If you prefer not to write directly on the bag, or if you want to keep the bag clean for future use, design a custom gift tag instead. Cut a rectangular piece of heavy cardstock (at least 200 GSM) and decorate it using the same washi tape, stamps, and markers used on the bag. Punch a single hole in the corner of the tag, thread a piece of thin ribbon or twine through it, and tie it securely to one of the bag’s handles.
When arranging your personalized elements, maintain visual balance by keeping the child’s name legible and prominent. Avoid placing busy patterns or dark stickers directly behind the lettering. Instead, create a dedicated, solid-colored frame or banner using washi tape or a contrasting piece of paper, and write the name inside this designated space to ensure it stands out clearly.
Final Inspections and Safe Packing for Children's Gifts
Before placing the birthday present inside your newly decorated bag, perform a quick structural inspection. Adding heavy decorations, punching new holes, or applying wet glues can sometimes weaken paper fibers. Gently pull on the ribbon handles to ensure the knots are secure and the paper around the holes is not tearing. Inspect the bottom gusset of the bag to confirm that the seams remain intact and can support the weight of the gift.
Next, conduct a quick touch test across the bag’s surface. Ensure that all markers, stamp inks, and adhesives are completely dry to the touch. Placing a gift inside a bag with damp glue or wet ink can cause the bag to stick to the gift wrapping or smudge your beautiful handiwork, ruining the presentation.
To complete the presentation and conceal the interior construction of your bag, line the inside with coordinating tissue paper. Take two or three sheets of tissue paper, pinch them in the center, shake them out gently to create volume, and place them inside the bag so the colorful edges tuft out of the top. This not only hides any visible ribbon knots or glue marks on the inside but also adds an element of suspense for the child as they peel back the layers to reveal their gift.
Finally, review your design with child safety in mind. If the gift is for a toddler or a very young child, avoid using small, easily detachable decorative parts such as loose sequins, tiny plastic buttons, rhinestones, or small beads. These items can easily peel off and pose a serious choking hazard. Stick to flat paper cut-outs, secure washi tape, and large, tightly knotted fabric ribbons to ensure the gift bag is as safe as it is beautiful.
Frequently Asked Questions (FAQ)
What is the best adhesive to use on thin paper gift bags?
For thin paper gift bags, double-sided tape and high-quality glue sticks are the best options. Glue sticks contain very little moisture, meaning they will not cause thin paper fibers to swell, wrinkle, or warp. Double-sided tape provides an instant, strong bond that lies completely flat and clean. Liquid craft glues should generally be avoided on thin paper bags because their high water content causes the paper to buckle and warp as it dries. If you must use liquid glue, apply it extremely sparingly with a fine-tip applicator or a small brush.
How can I decorate a gift bag if I lack drawing skills?
You do not need drawing skills to create a stunning, personalized gift bag. You can rely entirely on pre-made stationery supplies like patterned washi tapes to build geometric borders, and themed sticker sheets to create vibrant focal points. Ink stamps with clear acrylic blocks allow you to position and print intricate designs perfectly every time. Additionally, you can print out free templates or coloring pages from your computer, trace them onto the bag using carbon transfer paper, and simply fill in the lines with colorful markers.
Can I design a decorated gift bag to be reusable for future occasions?
Yes, you can easily design a decorated gift bag to be reusable by using temporary or detachable embellishments. Instead of writing the child’s name or age directly on the bag, place all personalization on a detachable gift tag tied to the handle. Use removable elements like clip-on fabric bows, or tie decorative ribbons around the handles rather than gluing them permanently to the paper. By keeping the main body of the bag decorated with general, non-specific birthday motifs like balloons or stars, the recipient can easily detach the tag and reuse the beautiful bag for another friend’s birthday.

Community discussion
Share your experience or ask a question. Comments are reviewed before publication.