
Transforming a plain kraft paper Christmas gift bag into an elegant, custom-designed holiday package is an excellent way to add a personal touch to your gift-giving. By combining structured ribbons, seasonal embellishments, and coordinated gift tags, you can elevate a simple, budget-friendly bag into a premium presentation that rivals high-end boutique wrapping. The key lies in balancing textures, securing elements safely, and planning a layout that complements the bag’s structural limits. Whether you are preparing gifts for family gatherings or corporate exchanges, this step-by-step guide will help you design a beautiful, durable holiday presentation.
Gather Your Wrapping Materials and Tools
Before beginning your project, select a sturdy base bag and gather the appropriate decorative elements. A plain kraft paper christmas gift bag is ideal, but you must check the paper weight. Look for bags with a paper weight of at least 120 gsm (grams per square meter) to ensure they can support the weight of added decorations without sagging or tearing. Examine the handles; twisted paper or woven cotton handles offer the best anchor points for ribbons.
Next, choose your ribbons. A mix of widths and textures creates visual depth. Consider a wide, wired-edge ribbon (about 38mm to 50mm) for structured bows, and a narrower satin or grosgrain ribbon (10mm to 15mm) for wrapping handles or tying tags. Wired ribbons are highly recommended because they hold their shape well in humid climates, where soft fabrics can sometimes droop.
Products mentioned in this guide
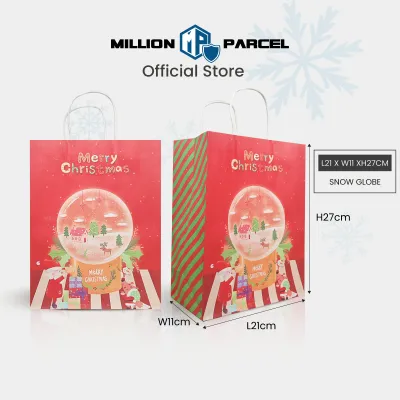
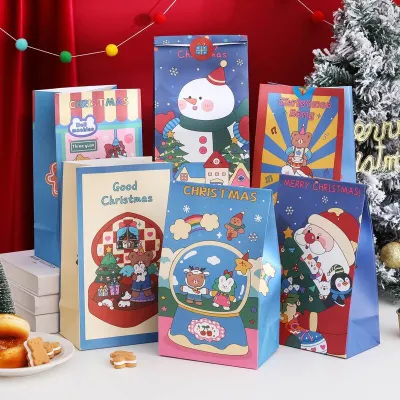
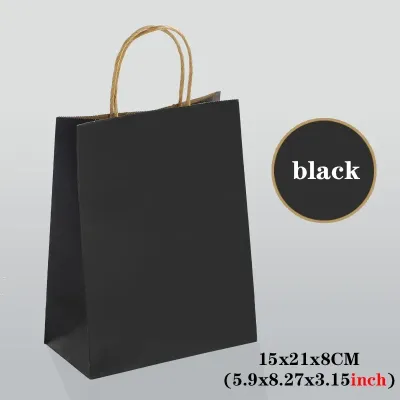

Prices are valid at publication and may change. Please refer to the product page for the latest price.
For embellishments, select lightweight seasonal accents. Faux pine sprigs, mini pinecones, dried orange slices, or small, shatterproof ornaments work beautifully. Avoid heavy glass ornaments that might strain the paper.
Finally, prepare your tools and adhesives. You will need sharp craft scissors for clean ribbon cuts, double-sided tape for flat attachments, glue dots for lightweight accents, and a low-temperature glue gun for heavier dimensional elements. If you are working with children, substitute the hot glue gun with craft glue or heavy-duty glue dots to ensure a safe crafting environment.
Prepare the Bag and Plan Your Layout
A successful design starts with structural assessment and visual planning. Before applying any adhesive, place your gift inside the bag to see how the paper behaves under load. A heavy item will stretch the bottom and sides, slightly altering the bag’s shape. Knowing this shape beforehand prevents your decorations from warping or popping off once the bag is filled.

Next, visualize your focal point. A balanced design typically concentrates decorations in one of three areas: the base of the handles, the front center of the bag, or along the top edge. Placing too many heavy elements in the center can cause the paper to cave inward, so distributing the visual weight toward the reinforced top collar or the handles is often the safest approach.
Lay the bag flat on a clean work surface and arrange your ribbons, greenery, and tags without peeling off any adhesive backings. This dry run allows you to test different compositions and check color coordination. For a classic holiday look, pair natural brown kraft paper with deep forest green, rich crimson, and gold accents. If you are using a white paper bag, a modern palette of silver, navy blue, and eucalyptus green offers a sophisticated alternative. Observe how the textures contrast; the rough texture of a pinecone or a glittery ribbon stands out beautifully against smooth paper.
Apply Ribbons for Structure and Visual Interest
Ribbons serve as the foundation of your decorated christmas gift bag, providing both structural reinforcement and a sense of movement. By selecting the right ribbon technique, you can frame the bag’s opening and draw attention to your personalized details. It is important to balance the volume of your ribbon work so it enhances the presentation without blocking access to the gift inside.
Wrapping and Tying Handle Ribbons
Wrapping the existing handles of your bag is a simple way to add color and a premium feel. If your bag has simple twisted paper handles, you can wrap them tightly with a narrow satin or grosgrain ribbon. Start by securing one end of the ribbon at the base of the handle inside the bag using a small piece of double-sided tape or a glue dot. Wrap the ribbon tightly around the handle in a spiral pattern, overlapping each turn slightly to cover the paper underneath.
As you wrap, maintain consistent tension to prevent the ribbon from slipping. When you reach the opposite end of the handle, secure it inside the bag collar with another dot of adhesive. If your bag has punched holes with cord handles, you can tie decorative knots. Thread a length of ribbon through the holes alongside the existing cord, tying a neat double knot on the outside. To prevent synthetic ribbons from fraying, cut the ends at a sharp 45-degree angle or a classic V-shape (chevron cut).
Crafting and Attaching Bows
A well-crafted bow acts as the primary visual anchor for your gift bag. To make a classic multi-loop bow, use wired ribbon. Loop the ribbon back and forth to create four to six loops of equal size, holding the center tightly between your thumb and forefinger. Secure the center tightly with a piece of floral wire or a thin ribbon scrap, leaving long tails to hang down the front of the bag.
Once secured, gently pull and fluff the loops to create a full, three-dimensional shape. To attach the bow, apply a generous amount of hot glue or a heavy-duty glue dot to the back of the wire center. Press it firmly onto the base of one of the handles or the upper center of the bag, holding it in place for ten seconds to ensure a strong bond. If the bow feels heavy, loop the central wire around the handle base itself for mechanical support, reducing the strain on the paper surface.
Layer Embellishments and Personalized Tags
With your ribbon foundation in place, you can now layer smaller embellishments and personalized tags to build depth. Layering is an art of moderation; adding elements one by one ensures the design remains cohesive and does not become top-heavy or cluttered.
Securing Textural Accents and Greenery
Adding natural or faux greenery introduces a fresh, seasonal texture that contrasts beautifully with paper and ribbon. Position a small sprig of faux pine, cedar, or eucalyptus so it tucks neatly behind your central bow, pointing outward or downward to mimic natural growth.
For lightweight items like faux leaves or small berries, double-sided tape or glue dots are highly effective. For heavier items like mini pinecones or small wooden stars, use a low-temperature glue gun. Apply the glue directly to the flat base of the embellishment, let it cool for two seconds so it is tacky but not runny, and press it onto the bag. Ensure that no sharp wire ends from faux greenery stick out, as these can snag on clothing or scratch the recipient. Keep all decorations clear of the bag’s top opening so the recipient can easily peek inside or remove the tissue paper.
Attaching and Styling Gift Tags
A personalized gift tag is the final touch that completes your holiday presentation. Choose a tag made from heavy cardstock (at least 250 gsm) so it does not curl or bend easily. The size of the tag should be proportional to your bag; a large bag can accommodate a standard shipping-style tag, while a small bag looks best with a mini gift card.
Write your recipient’s name using a high-quality gel pen or calligraphy marker. If you are using glossy tag paper, allow the ink to dry completely for at least two minutes to prevent smudging. Thread a thin piece of twine or narrow ribbon through the tag’s eyelet. You can tie the tag directly to the base of the handle, drape it over the center of your bow, or secure it flat against the bag using a small piece of double-sided tape to keep it from swinging. Ensure the adhesive does not touch the written text, as some glues can cause ink to bleed or fade over time.
Final Checks and Presentation Tips
Before presenting your decorated christmas gift bag, perform a few quick quality checks to ensure it survives the journey to the holiday gathering. Lift the bag by its handles and gently shake it to verify that all ribbons, bows, and embellishments are securely attached. If any element wobbles or sags, reinforce it with an extra glue dot or a dab of hot glue.
Inspect the bag for any unsightly crafting residue. Gently pull away any thin hot-glue strings, wipe off excess adhesive, and trim any frayed ribbon edges with your scissors. Look at the bag from the side to ensure the added weight has not caused the front panel to bow outward or the bag to tip forward. If the bag feels front-heavy, place a piece of heavy cardboard at the bottom of the interior to distribute the weight evenly and help the bag sit flat on flat surfaces.
If you are preparing your bags in advance, store them upright in a cool, dry cupboard. Avoid stacking decorated bags on top of one another, as this can crush your carefully fluffed wired bows and flatten delicate faux greenery.
Frequently Asked Questions (FAQ)
How do I prevent heavy embellishments from tearing the paper bag?
To support heavier decorations like large pinecones or wooden ornaments, you must reinforce the attachment point. Cut a small square of thick cardboard or heavy cardstock and glue it to the inside of the bag directly behind where your embellishment will sit on the outside. When you glue or wire the decoration, anchor it through the bag paper and directly into this internal backing piece. This simple step distributes the pulling force across a wider surface area, preventing the paper from tearing under tension. If the bag’s paper feels thin or brittle, it is best to upgrade to a premium kraft bag with a higher gsm rating.
What is the best adhesive for attaching items to a coated or glossy paper bag?
Glossy or laminated paper bags have non-porous surfaces that resist standard liquid craft glues, which often slide off or cause the paper to warp. For these surfaces, high-tack double-sided tape or heavy-duty glue dots are highly effective because they create an instant mechanical bond without moisture. If you prefer hot glue, use a low-temperature gun and test a small dot on the bottom of the bag first to ensure the heat does not melt the glossy coating or cause discoloration. For heavy items on glossy bags, threading ribbons or wire through the handle holes is often more reliable than relying solely on adhesives.

Community discussion
Share your experience or ask a question. Comments are reviewed before publication.