
Transforming a simple bag for gift presentation into an elegant, personalized masterpiece is an art that elevates the entire gifting experience. A beautifully decorated gift bag does more than just hold a present; it builds anticipation and shows the recipient that extra care was poured into every detail of their gift. By using ribbons, tags, and thoughtful embellishments, you can easily turn a plain kraft or monochrome paper bag into a stunning, professional-looking package. This guide walks you through the essential techniques, materials, and step-by-step methods to achieve a polished, secure finish that withstands handling and transport.
Gather Your Materials and Tools
To begin your decorating project, assemble a clean, organized workspace with all the necessary tools close at hand. Having the right instruments ensures that your ribbons are cut cleanly and your embellishments remain securely attached without damaging the delicate paper of your bag for gift presentation. A flat, clutter-free table or desk provides the ideal surface to measure ribbon, arrange decorative elements, and apply adhesives with precision.
The primary tools you will need include sharp fabric scissors, double-sided tape, glue dots, and perhaps a low-temperature glue gun for heavier embellishments. Standard household scissors often chew through delicate ribbon fibers, leaving frayed edges, so dedicated fabric shears or highly sharp craft scissors are recommended. For adhesives, matching the holding strength to the weight of the bag’s paper is crucial. Heavy-duty liquid glues can easily saturate and warp thin paper bags, while weak adhesives will fail to hold heavier ornaments.
Products mentioned in this guide
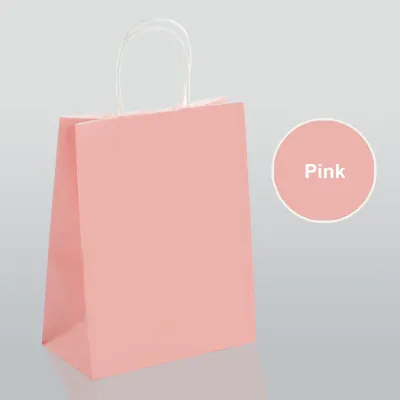
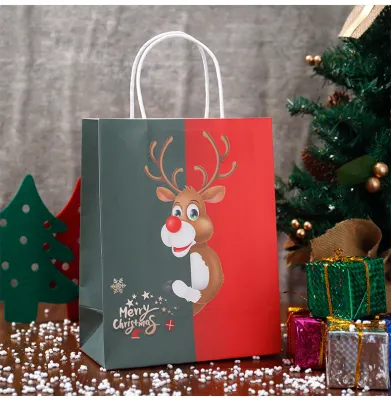
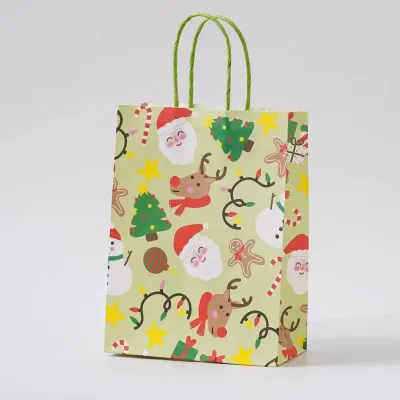
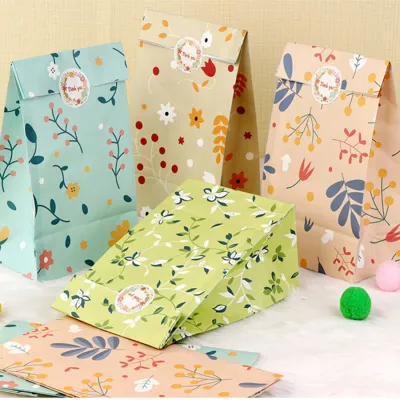
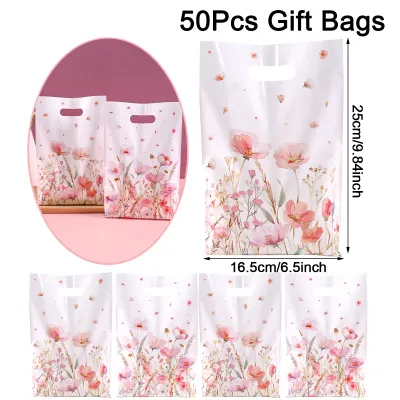
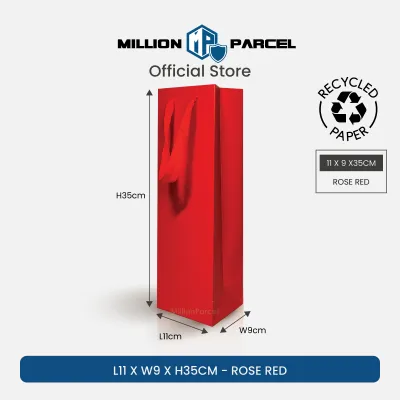
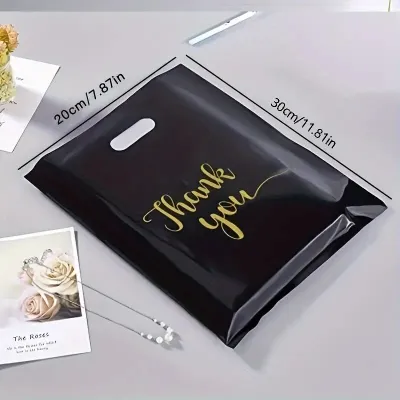
Prices are valid at publication and may change. Please refer to the product page for the latest price.
Before starting, set up a small tray or dish to hold your smaller embellishments, such as gift tags, dried botanical sprigs, or decorative charms. This keeps your workspace tidy and prevents small items from rolling away or getting lost under larger sheets of paper. Keeping a damp cloth nearby is also helpful for wiping away any stray adhesive from your fingers before you handle clean ribbon or paper surfaces.
Choose the Right Ribbon and Embellishments
Selecting suitable decorative elements requires a balance of texture, scale, and color coordination. The ribbon you choose serves as the foundation of your design, and different materials offer distinct structural properties. Satin ribbon is highly popular for its luxurious sheen and smooth drape, making it ideal for soft, flowing bows, though its slippery texture can sometimes make tight knotting a challenge. Grosgrain ribbon, with its ribbed texture, offers excellent grip and holds its shape beautifully, making it well-suited for structured, crisp bows. Organza ribbon provides a sheer, delicate look that adds volume without feeling heavy, which is excellent for layering over solid colors.

When choosing embellishments like gift tags, dried flowers, or small wooden charms, consider the overall dimensions of your bag for gift giving. A massive, elaborate bow paired with heavy ornaments can overwhelm a small jewelry-sized bag, causing it to tip over or sag. Conversely, a tiny bow on a large tote bag will look lost and unfinished. Aim for a balanced scale where the main decorative focal point occupies roughly one-third of the bag’s front surface area.
Color coordination is another key factor in achieving a polished, professional look. For a classic, sophisticated aesthetic, opt for a monochromatic color scheme, such as a cream-colored ribbon on a white or kraft paper bag. If you prefer a vibrant, festive look, choose contrasting colors that complement each other, such as deep forest green ribbon on a warm gold bag. When working with patterned bags, stick to solid-colored ribbons to avoid visual clutter, and match one of the minor colors in the pattern to tie the entire presentation together.
Step-by-Step Guide to Tying and Attaching Ribbons
Before cutting your ribbon or applying any adhesive, take a moment to inspect and prepare the bag handles. Ensure they are straight, clean, and free of any dust or manufacturing oils that might prevent tape or glue from adhering properly. If the handles are made of twisted paper or cotton rope, gently smooth out any kinks so the ribbon can sit flat against them.
To avoid wasting material or ending up with ribbon tails that are too short to tie, always measure your ribbon before cutting. A reliable rule of thumb for a standard bow is to wrap the ribbon around the bag or handle area once, then add an extra thirty to forty centimeters to accommodate the loops and tails. When cutting the ribbon, use a single, swift motion with your sharp scissors to ensure a clean edge that resists fraying.
Creating a Classic Bow
To form a symmetrical, structured classic bow, start by folding your measured ribbon in half to find the exact midpoint. Create two equal-sized loops, often referred to as “bunny ears,” one in each hand. Cross the right loop over the left loop, then tuck it under and pull it through the central opening that forms at the base.
As you pull the loops to tighten the knot, pay close attention to the tension. Pull gently and evenly on both loops to secure the center knot tightly without crushing or distorting the ribbon fabric. If you are using a slippery material like satin, you may need to hold the center knot with one finger while adjusting the size of the loops and the length of the tails to keep them highly symmetrical.
Once the bow is shaped to your satisfaction, finish the tails with a professional cut. You can trim the ends at a clean forty-five-degree angle, or fold each tail in half vertically and cut upward at an angle to create a classic swallowtail notch. This not only looks incredibly polished but also helps prevent the woven edges of the ribbon from unraveling over time.
Attaching Ribbons to the Bag Handles
Integrating your ribbon directly with the bag’s handles creates a seamless, integrated look that feels custom-made. For bags with flat paper handles, you can wrap a length of ribbon tightly around the base of each handle, securing the ends on the inside of the bag with a small strip of double-sided tape. This hides the raw edges and provides a clean anchor point for your main decorative bow.
If your bag features reinforced metal eyelets or rope handles, you can thread the ribbon directly through the holes alongside the handle cord. Tie a neat knot on the inside of the bag to secure it, then bring the ribbon to the outside to tie your decorative bow. This method eliminates the need for adhesives entirely, preserving the clean look of the bag’s exterior.
When deciding between using adhesives or traditional knotting, consider the handle material. Smooth, synthetic cords or glossy plastic handles do not bond well with standard double-sided tape, making physical knots or low-temperature glue dots a more reliable choice. For delicate paper handles, avoid heavy hot glue, which can melt or warp the paper; instead, opt for lightweight glue dots or thin double-sided craft tape.
Adding Embellishments for a Polished Finish
Once your main ribbon is securely in place, you can begin layering secondary embellishments to add depth and personality to your bag for gift presentation. Lightweight items such as custom gift tags, small sprigs of dried lavender or eucalyptus, or delicate paper cutouts should be attached using non-permanent or light adhesives. Threading a gift tag directly onto one of the ribbon tails before tying the final bow is an elegant way to secure it without using any glue.
When layering multiple decorations, always work from the background to the foreground. Start with larger, flatter elements like a decorative paper band or a wide ribbon wrap, then add your structured bow, and finish with smaller accents like a single dried flower stem or a metallic charm tucked into the center knot. This layered approach creates visual interest without obscuring the beautiful ribbon work underneath.
Keep in mind the structural limits of paper bags when planning your decorations. While it can be tempting to add heavy wooden ornaments, thick metal charms, or large clay tags, these items can easily cause a paper bag to sag, tear, or tip over. As a general rule, keep the total weight of your embellishments minimal, ensuring they do not pull the bag’s handles out of shape or put undue stress on the bottom seams of the package.
Common Mistakes to Avoid and Troubleshooting
One of the most common pitfalls in gift bag decoration is adhesive bleed-through, which occurs when liquid glue saturates thin paper, leaving unsightly dark spots or warping the bag’s surface. To prevent this, always test your adhesive on a small, inconspicuous area of the bag—such as the inside bottom fold—before applying it to the front. If you notice any warping or wet spots, switch to dry adhesives like double-sided tape or glue dots.
If you struggle with uneven bows or ribbon tails that refuse to lie flat, the issue is often uneven tension during the tying process. Untie the bow completely and start over, ensuring you pull both loops with equal force. For ribbon edges that begin to fray during handling, you can apply a tiny dot of clear craft glue or clear nail polish to the very edge of the cut to seal the fibers, or use a lighter to very carefully singe the edge of synthetic ribbons (such as polyester satin or grosgrain) to melt and seal the threads.
Finally, recognize when a bag is simply too fragile or worn for extensive decoration. If a paper bag has deep creases, torn handles, or weakened bottom seams, adding heavy ribbons and embellishments will only accelerate its failure. In these cases, it is advisable to start fresh with a new bag for gift presentation to ensure your hard work looks pristine and your gift remains safe during transit.
Frequently Asked Questions (FAQ)
Can I reuse a decorated bag for gift giving without damaging the ribbons?
Yes, you can easily design your decorations to be removable and reusable. Instead of gluing ribbons directly to the paper surface, use tying techniques that wrap around the handles or the entire body of the bag, allowing the recipient to untie them easily. If you must use adhesives, opt for low-tack, removable double-sided tape or repositionable glue dots, which can be peeled away gently without tearing the paper fibers. High-quality grosgrain and satin ribbons are highly durable and can be smoothed out with a low-temperature iron to be used again on future gifts.
How do I prevent the ribbon from slipping off smooth or glossy bag handles?
Slippery synthetic or glossy paper handles can make it difficult for ribbons to stay in place. To prevent slipping without resorting to permanent adhesives, you can create a small physical anchor by wrapping a thin strip of textured floral tape or a small piece of silicone grip tape around the handle base before tying your ribbon over it. Alternatively, use a tight square knot or a double-girth hitch knot, which naturally grips smooth surfaces much better than a standard bow knot, ensuring your decorations remain securely positioned throughout transport.

Community discussion
Share your experience or ask a question. Comments are reviewed before publication.