
Selecting the correct zipper puller is the difference between a garment that stays securely closed and a bag that spills its contents under pressure. While a zipper might seem like a simple mechanism, it relies on a precise match between the slider body, the pull tab, and the teeth profile. Using the wrong type can lead to slipping tracks, torn fabrics, or a completely jammed closure. To make the right choice, you must evaluate the mechanical demands of your item, the size of the zipper track, and the environment in which it will be used.
Understanding Zipper Puller Locking Mechanisms
Zipper sliders are engineered with specific internal mechanisms that control how easily they slide along the track. Understanding these mechanisms is crucial for choosing a replacement that functions correctly for your specific application.
Auto-lock sliders feature a small internal pin that engages directly with the zipper teeth when the pull tab is resting flat. When you pull the tab, the pin retracts, allowing the slider to move. This prevents the zipper from sliding open on its own under lateral tension.
Products mentioned in this guide
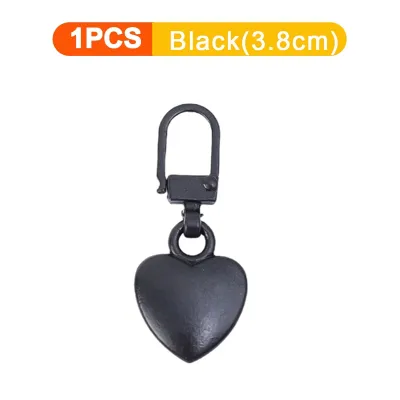
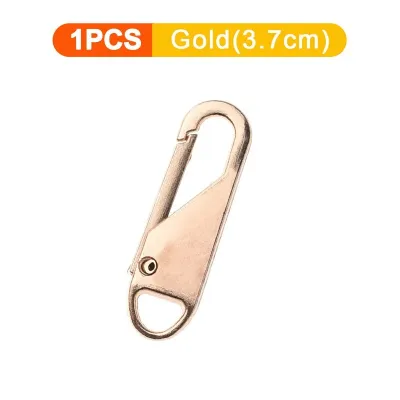
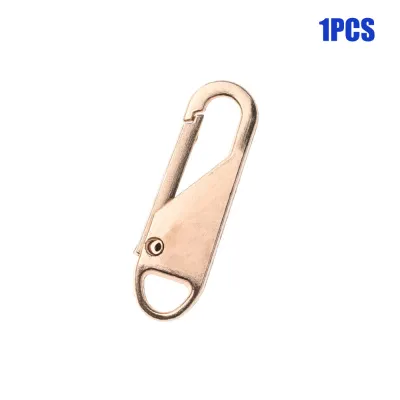
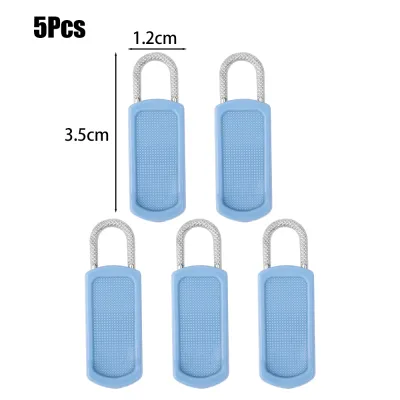
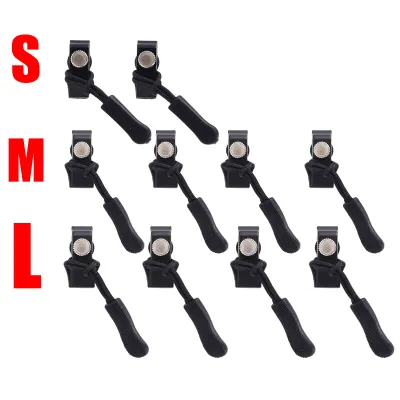
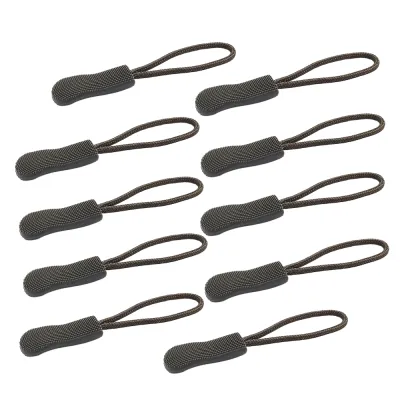
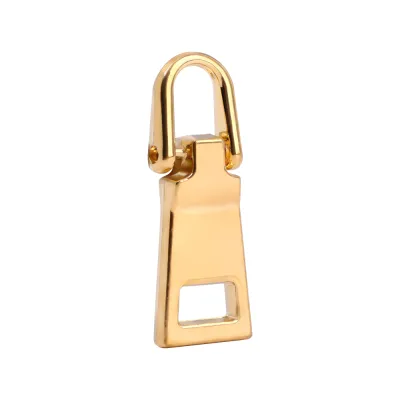
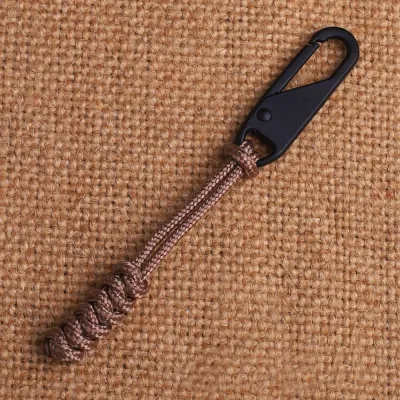
Prices are valid at publication and may change. Please refer to the product page for the latest price.
Pin-lock sliders require a more deliberate action. The pull tab itself has small pins on its underside. To lock the zipper, you must press the tab completely flat against the slider body so the pins insert between the zipper teeth.
Non-lock sliders contain no internal resistance mechanisms. The slider moves freely along the track whenever force is applied to either the pull tab or the zipper teeth themselves. These are ideal for bags, pockets, and luggage where you want quick, unobstructed access and do not have to worry about body movement pulling the zipper open.
To identify the lock type on your existing hardware, perform a simple visual and physical check. Hold the slider and try to pull the zipper tape apart from behind the slider. If the slider moves backward easily without you touching the pull tab, it is a non-lock slider. If it remains firmly in place, it features an auto-lock or pin-lock mechanism.
Choosing Pullers for Garments: Comfort and Security
Garment zippers require a delicate balance between security, flexibility, and skin comfort. Because clothing moves with the body, the hardware must be lightweight enough to drape naturally with the fabric while remaining securely closed during activity.

When selecting a slider for clothing, match the hardware to lightweight or medium-weight teeth. Fine nylon coils (often found on dresses and skirts) and invisible zippers require specialized, low-profile sliders. For trousers, jeans, and fitted jackets, auto-lock or semi-auto-lock mechanisms are essential. Without an auto-lock slider, the lateral tension created by walking, sitting, or breathing will cause the zipper to slowly slide down, leading to wardrobe malfunctions.
The physical design of the pull tab is equally important for wearable items. Choose pull tab shapes and materials that lay flat against the body. Rounded metal tabs, molded plastic tabs, or fabric pull cords prevent the hardware from poking through outer layers of clothing or scratching the skin. Avoid oversized, heavy, or sharply decorative metal tabs on delicate fabrics like silk, chiffon, or fine knits, as they can catch on the fibers and cause snags.
Additionally, consider the maintenance requirements of the garment. Check the manufacturer’s care labels before installing a replacement puller. Garments undergo frequent washing, drying, and sometimes dry cleaning. Ensure the puller material—whether it is painted metal, molded plastic, or leather—can withstand hot water, high dryer heat, and chemical solvents without chipping, melting, or degrading.
Selecting Heavy-Duty Pullers for Bags and Luggage
Bags, backpacks, and travel luggage subject zippers to extreme tension, rough handling, and environmental exposure. For these applications, lightweight garment sliders will quickly fail, making heavy-duty pullers a necessity.
Heavy-duty gear requires sizing up to accommodate large resin, metal, or thick nylon coil teeth. These tracks are typically designated as size #8, #10, or even larger. The sliders designed for these tracks have wider, deeper internal channels to guide the heavy teeth into alignment without jamming.
Oversized or extended pull tabs are highly beneficial for bags and luggage. They provide a larger surface area, allowing you to grip and pull the slider easily, even when wearing heavy winter gloves or dealing with a tightly packed bag. Many outdoor backpacks utilize corded pull tabs with textured plastic ends, which offer excellent grip and reduce metallic rattling during movement.
For luggage and travel duffels, look for double-pull slider designs. These configurations feature two sliders on a single track facing opposite directions, allowing you to open the bag from either side. Many double-pull sliders include integrated locking loops on the slider bodies or pull tabs, allowing you to secure them together with a small padlock for travel security.
When inspecting replacement hardware, prioritize reinforced metal construction. Look for sliders cast from solid brass, stainless steel, or high-grade zinc alloys. Avoid cheap, thin-walled alloy sliders, which can easily bend outward under the pressure of an overstuffed bag, causing the slider to lose its grip on the teeth and split the zipper open.
How to Measure and Match Your Existing Zipper Size
Before purchasing a replacement zipper puller, you must accurately identify the size and style of your existing zipper track. Installing an incompatible slider will result in a zipper that either jams constantly or fails to close the teeth.
The easiest way to find the correct size is to inspect the back or bottom of the original slider. Manufacturers often stamp a size number (such as 3, 5, 8, or 10) directly onto the metal. You may also see letters indicating the zipper type or manufacturer, which can help you find an exact match.
If the stamped number has worn off or is missing, you can determine the size by measuring the width of the closed zipper teeth. Use a precise ruler or a digital caliper to measure across the teeth in millimeters while the zipper is zipped shut. The measurement corresponds directly to the zipper size; for example, a tooth width of approximately 5 millimeters indicates a #5 zipper, while a width of 8 millimeters indicates a #8 zipper.
Next, verify the teeth profile. Zippers generally fall into three categories: nylon coil (where the teeth are formed by a continuous plastic spiral), molded plastic (individually molded teeth fused to the tape), and metal (individual metal teeth clamped onto the tape). A slider designed for a #5 metal zipper will not function correctly on a #5 nylon coil zipper because the internal channel shapes are cut differently to guide those specific tooth geometries.
Once you have selected a replacement slider, test it on a small, open section of the zipper track before finalizing the repair. Gently slide it back and forth to ensure it glides smoothly and locks the teeth together securely without catching or leaving gaps.
Troubleshooting and Replacing Broken Zipper Pullers
A broken zipper does not always mean you need to replace the entire slider or discard the item. Diagnosing the specific failure point will help you choose the quickest and most effective repair method.
If the slider body is still intact and glides smoothly, but the pull tab has snapped off, you do not need to remove the slider from the track. You can easily attach a universal replacement pull tab. These handy accessories feature a small, openable wire clasp or a lobster-style hook that loops directly through the eyelet of the existing slider body. Alternatively, threading a loop of durable utility cord or paracord through the eyelet provides a lightweight, quiet, and highly functional pull tab.
However, if the zipper consistently splits open behind the slider as you pull it closed, the slider body itself is worn out. Over time, the metal side walls of a slider can stretch outward due to tension, preventing them from compressing the zipper teeth together at the correct angle. In this scenario, you must replace the entire slider body.
Before forcing a stuck or jammed puller, check the track for obstructions. Fabric caught in the slider channel, accumulated dirt, or slightly misaligned teeth are common culprits. Gently back the slider away from the obstruction and clear any loose threads or debris. Applying a small amount of zipper lubricant or beeswax to the teeth can also restore smooth operation.
For complex structural issues—such as missing teeth on the track, damaged bottom boxes on separating zippers, or repairs on high-end leather goods and technical waterproof gear—it is best to stop DIY adjustments. In these cases, consult a professional tailor or a specialized luggage repair service to avoid permanently damaging the item.
Frequently Asked Questions (FAQ)
Can I use a heavy-duty bag zipper puller on a lightweight jacket?
No, you should not use a heavy-duty bag zipper puller on a lightweight jacket. Heavy-duty sliders are designed with wider internal channels to accommodate thick teeth, meaning they will fail to compress and interlock the fine teeth of a lightweight garment zipper. Additionally, the physical weight of an oversized metal slider will cause a lightweight fabric to sag, distorting the drape of the jacket and potentially tearing the delicate zipper tape during wear or washing. Always match the replacement slider precisely to the original zipper’s size number and teeth profile.
How do I attach a replacement zipper pull tab without removing the slider?
You can easily attach a replacement pull tab without removing the slider by using a universal attachable pull tab or a DIY cord loop. Universal tabs feature a small, built-in metal clasp or split ring that opens, allowing you to hook it directly through the eyelet on the top of the slider body before snapping it shut. For a tool-free, quiet alternative, thread a short loop of durable nylon cord or paracord through the eyelet, tie a secure knot at the end, and slide a piece of heat-shrink tubing over the knot to seal it. Avoid using weak wire or brittle plastics, as they will quickly snap under normal pulling tension.

Community discussion
Share your experience or ask a question. Comments are reviewed before publication.