
Starting an embroidery project is an exciting creative endeavor, but walking into a craft store can quickly become overwhelming. The sheer variety of spools, skeins, and fibers on display often leaves beginners wondering which option will yield the best results without causing unnecessary frustration. For those just starting out, the most reliable and forgiving sewing string is six-strand stranded cotton embroidery floss. This versatile thread is specifically designed for decorative needlework, allowing you to easily adjust the thickness of your stitches to match your fabric and design. By focusing on a few fundamental characteristics—such as material composition, thread weight, and ply—you can confidently select your first spools and ensure a smooth, enjoyable stitching experience.
Choosing the right thread directly impacts how easily your needle glides through the fabric, how neatly your stitches lie, and how durable your finished piece remains over time. High-quality threads resist fraying and knotting, which keeps the focus on learning new stitches rather than untangling knots. By understanding how different materials behave and how to read product labels, you can avoid common pitfalls and set yourself up for a successful first project.
Understand the Basic Types of Embroidery Sewing String
Before purchasing your first skein, it is helpful to understand the primary materials used in embroidery threads. The most common options you will encounter are cotton, polyester, and rayon. Each material has distinct physical properties that affect how it behaves during stitching and how it looks on the finished fabric.
Products mentioned in this guide
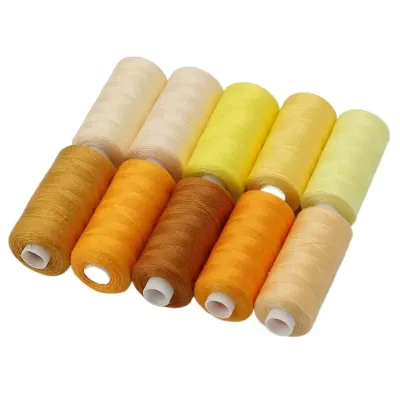
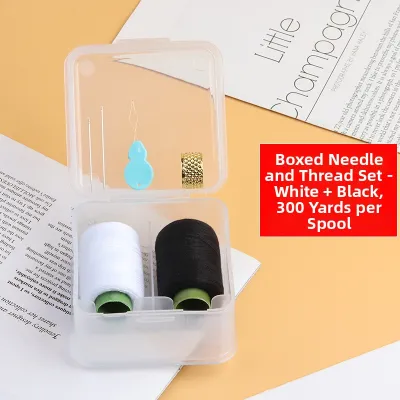
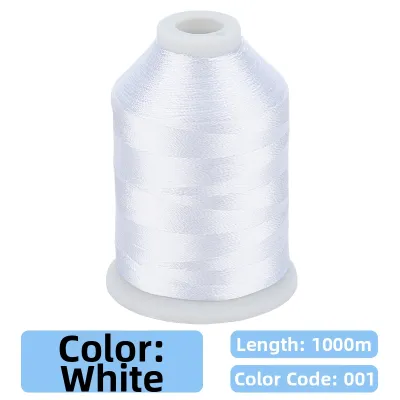
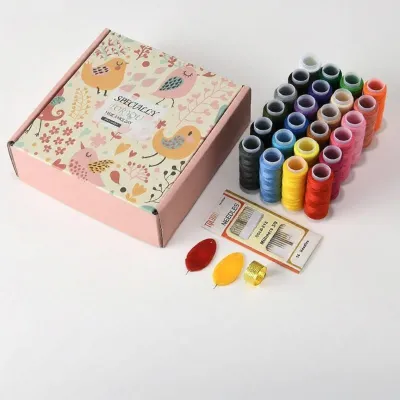
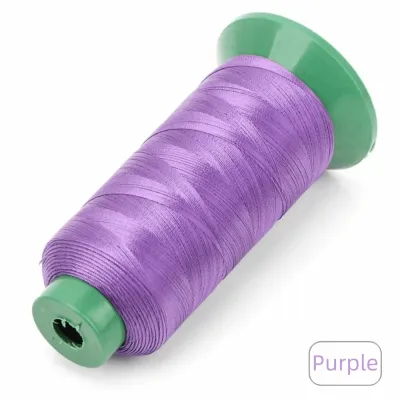
Prices are valid at publication and may change. Please refer to the product page for the latest price.
Cotton is the traditional choice and the most highly recommended option for beginners. Standard cotton embroidery floss is typically mercerized, a chemical treatment process that increases luster, improves dye uptake, and strengthens the fibers. This results in a smooth sewing string that has a subtle, elegant sheen and behaves predictably. Cotton fibers have a natural grip, which helps stitches stay in place and maintains consistent tension, making it incredibly forgiving for those still developing their hand control.
Polyester embroidery thread is another widely available option, known primarily for its exceptional strength and resistance to fading. It is highly durable and can withstand frequent washing and exposure to sunlight, making it suitable for items like clothing or outdoor gear. However, polyester has more elasticity than cotton. This inherent springiness can make it slightly more challenging for beginners to manage, as the thread may loop or knot more easily if your tension is inconsistent.
Rayon thread is favored for its intense, silk-like high luster and vibrant color payoff. While it looks stunning on finished pieces, rayon is notoriously slippery and prone to unraveling. It lacks the natural friction of cotton, meaning it can easily slip out of the needle eye or untwist during stitching. For a beginner, this slippery nature often leads to frustration, so it is generally best to save rayon for accent details once you have gained more experience.
When shopping, always check the manufacturer’s label on the packaging. The label will specify the fiber content, care instructions, and colorfastness. For your initial projects, look for labels indicating 100% cotton and machine-washable properties, which ensure the thread is easy to handle and maintain.
Match the Sewing String to Your Fabric and Project
Selecting the right sewing string is not just about the thread itself; it is about how that thread interacts with your chosen fabric. Achieving a balanced embroidery design requires matching the weight and density of the thread to the weave of the fabric. If the thread is too heavy for a delicate fabric, it will pull the fibers, cause puckering, and leave large, unsightly holes. Conversely, if the thread is too thin for a heavy fabric, the stitches will sink into the weave and fail to stand out.

For beginner-friendly projects, medium-weight woven fabrics with a visible, stable weave are ideal. Cotton calico, linen, and even basic canvas are excellent starting points because they support the weight of the stitches without stretching or distorting. When working with these fabrics, standard six-strand cotton floss allows you to customize the thickness of your sewing string to match the scale of your design.
If you are practicing basic surface embroidery techniques—such as backstitch, satin stitch, or French knots—using two to three strands of cotton floss typically provides excellent coverage and definition. For cross-stitch projects on Aida fabric, the count of the fabric (the number of squares per inch) determines the thread thickness. Typically, two strands of floss are perfect for 14-count Aida, providing full coverage without crowding the holes.
Before committing to your main project, always perform a visual and tactile compatibility check on a small scrap of your fabric. Thread your needle with your chosen sewing string and make a few test stitches. Observe how easily the needle and thread pass through the fabric. If you have to tug hard to pull the thread through, or if the fabric puckers around the stitch, you may need to use fewer strands, a larger needle, or a lighter thread weight.
Check Thread Weight, Ply, and Labeling
Understanding how thread weight and ply are labeled is essential for selecting the correct sewing string for your design. Embroidery threads are packaged differently depending on their type, with the two most common formats being skeins and spools. Skeins are loosely wound bundles of thread, typically eight meters in length, designed to be pulled from one end to prevent tangling. Spools are wound around a rigid plastic or wooden core, which is standard for continuous machine or hand-sewing threads.
Stranded cotton floss is unique because it is a divisible thread. Each length of floss consists of six individual, lightly twisted strands. This design allows you to customize the thickness of your sewing string by separating the strands. To separate them cleanly without creating a tangled mess, cut a manageable length of floss, pinch the top of the cut piece, and pull one individual strand straight up and out. Once separated, you can recombine the desired number of strands for your stitching.
Non-divisible threads, such as pearl cotton (sometimes labeled as Perle cotton), are twisted tightly and cannot be separated. These threads are labeled with numbers to indicate their thickness, such as size 3, 5, 8, or 12. In this numbering system, a smaller number indicates a thicker thread. For example, size 3 is quite thick and heavy, while size 12 is very fine. Beginners should generally avoid extremely fine threads, as they require many passes to fill space, which can be tedious and discouraging.
Similarly, unusually heavy threads or specialty fibers like metallic threads should be avoided in the beginning. Metallic threads are stiff, prone to fraying, and difficult to thread through a needle. Staying with standard, divisible six-strand cotton floss ensures you have maximum control over your stitch thickness while keeping the physical handling of the thread as simple as possible.
Step-by-Step Guide to Selecting and Testing Your First Spool
To ensure you purchase the right sewing string without wasting money or encountering unexpected issues mid-project, follow this systematic selection and testing workflow.
First, define your project requirements. If you are using a pre-made pattern or an embroidery kit, check the instructions carefully. Most patterns will list the recommended thread types, color codes, and the number of strands to use for each stitch. If you are creating your own design, sketch it out and decide which areas require bold, thick lines and which require delicate, fine details.
Second, read the packaging labels when shopping. Look for reputable brands that clearly state the fiber content and colorfastness. Colorfastness is particularly critical if you plan to wash your finished embroidery or if you live in a warm, humid climate where moisture can cause non-colorfast dyes to bleed into the surrounding fabric. Choosing high-quality, mercerized cotton threads minimizes this risk.
Third, conduct a physical test on a scrap piece of your project fabric. Cut a length of thread about 45 centimeters long, thread your needle, and tie a simple knot at the end. Stitch a straight line of backstitches and a small cluster of satin stitches. Watch for any signs of fraying near the eye of the needle, excessive twisting, or structural weakness. If the thread frays quickly, it is a sign of friction, which can be resolved by adjusting your needle size.
Fourth, match your needle eye size and type to your chosen sewing string. The eye of the needle must be large enough for the thread to pass through easily without being squeezed or scraped, yet small enough that the needle shaft does not leave a permanent, gaping hole in the fabric. For most beginner projects using two to three strands of cotton floss, an embroidery (crewel) needle in size 7 or 8 is an excellent, balanced choice.
Common Beginner Mistakes and How to Avoid Them
Many common frustrations in beginner embroidery can be traced back to simple mistakes in thread selection, handling, and storage. Recognizing these issues early will save you time and keep your stitching experience enjoyable.
One of the most frequent mistakes is confusing standard sewing string with dedicated embroidery floss. Standard sewing thread is designed for structural seams on a sewing machine or for basic hand repairs. It is thin, tightly spun, and lacks the coverage, luster, and thickness needed to create beautiful, visible embroidery stitches. Using it for decorative hand embroidery will result in thin, sparse stitches that require excessive effort to fill a design.
Another common error is cutting thread lengths that are too long. While it is tempting to cut a long piece of thread to avoid the hassle of re-threading your needle, lengths over 50 centimeters are highly prone to twisting, knotting, and wearing down. As the thread repeatedly passes through the fabric, the friction weakens the fibers, causing them to fray and look fuzzy. Keep your thread cuts to a manageable length, roughly matching the distance from your fingertips to your elbow.
Finally, improper storage can quickly ruin high-quality threads. Leaving your sewing string exposed to dust, direct sunlight, or high humidity can weaken the fibers and cause the colors to fade over time. In tropical or humid environments, store your threads in airtight plastic containers or dedicated embroidery organizers. Using plastic bobbins to wind up loose threads keeps them organized, prevents tangles, and protects them from environmental moisture.
Frequently Asked Questions (FAQ)
Can I use regular sewing string for embroidery?
While you can technically use regular sewing string for embroidery, it is not recommended for most decorative projects. Regular sewing thread is very thin, tightly twisted, and designed to blend into seams rather than stand out. Using it for hand embroidery requires many more stitches to fill an area, and the finished design will lack the texture, volume, and luster that dedicated embroidery floss provides. However, regular sewing thread can be useful for extremely fine details, delicate outlines, or subtle textures where standard floss would look too bulky. Always check your pattern’s recommendations before starting.
How do I stop my embroidery thread from tangling?
To minimize tangling, keep your thread cuts to a manageable length of about 45 to 50 centimeters. As you stitch, let your needle hang freely every few stitches to allow the thread to untwist naturally. Pull the needle and thread straight up through the fabric rather than pulling at an angle, which reduces friction and loop formation. If you are working with a thread that is prone to static or twisting, you can run the length of the thread through a dedicated thread conditioner or beeswax, provided it is compatible with your fabric and thread material.

Community discussion
Share your experience or ask a question. Comments are reviewed before publication.