
Selecting the correct replacement zipper requires matching the original zipper’s structural type, accurately measuring the functional length, and ensuring the tape and slider are compatible with your specific fabric and project. Whether you are repairing a favorite tropical linen dress to withstand Singapore’s humid climate, restoring a heavy-duty canvas backpack, or fixing a cushion cover, getting the specifications right before purchasing is essential. A mismatched zipper can lead to puckered seams, split tracks, or a slider that jams constantly, turning a simple repair into a frustrating headache.
By taking a systematic approach to analyzing the broken zipper, you can easily identify the exact replacement part needed. This guide walks you through the essential checks, measurements, and material considerations to make a confident purchasing decision at your local haberdashery or online craft store.
Identify the Zipper Type and Teeth Structure
The first step in choosing a replacement zipper is identifying the material and structure of the zipper teeth, as this dictates the zipper’s flexibility, weight, and overall durability. Zipper teeth generally fall into three primary categories: nylon coil, molded plastic, and metal. Each type has distinct visual and tactile characteristics that make it suitable for specific applications.
Products mentioned in this guide
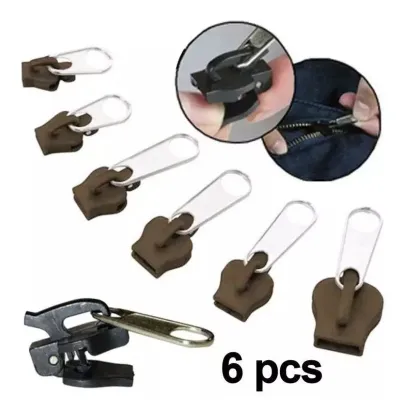
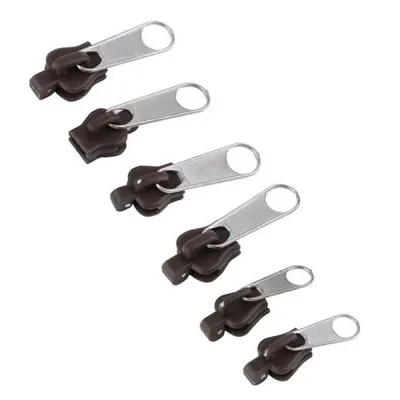
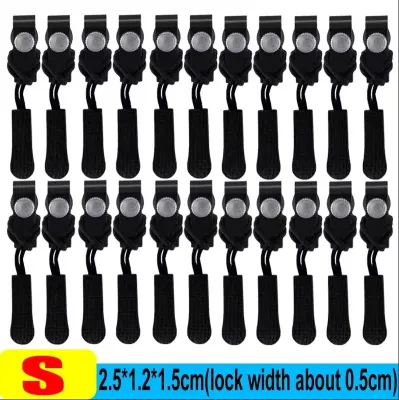
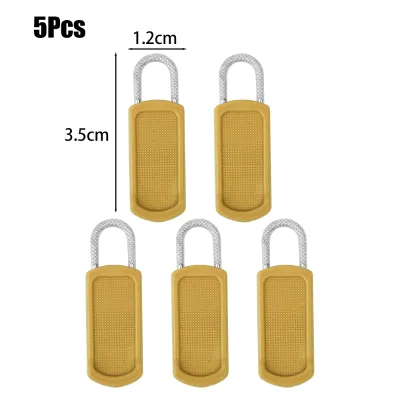
Prices are valid at publication and may change. Please refer to the product page for the latest price.
Nylon coil zippers feature a continuous loop of synthetic monofilament coiled like a spring and sewn onto the carrier tape. These zippers are highly flexible, lightweight, and soft against the skin, making them the standard choice for lightweight garments, skirts, dresses, inner pockets, and cushions. Because the coils are continuous, they distribute tension evenly and are less prone to snagging on delicate fabrics.
Molded plastic zippers, often made of polyacetal resin, consist of individual teeth molded directly onto the fabric tape. These teeth are highly durable, rigid, and resistant to chemical exposure, salt water, and extreme weather conditions. You will typically find molded plastic zippers on outdoor gear, heavy jackets, sportswear, and marine equipment where flexibility is secondary to rugged durability.
Metal zippers feature individual metal teeth—commonly made of brass, aluminum, nickel, or antique bronze—clamped onto the fabric tape at regular intervals. Metal zippers offer the highest tensile strength and a classic, premium aesthetic. They are ideal for heavy-duty applications such as denim jeans, leather jackets, workwear, and heavy canvas bags where the zipper must withstand significant pulling force.
To ensure functional compatibility, you must also check the interlocking mechanism and the shape of the original slider. A slider designed for a metal zipper will not glide smoothly over a nylon coil zipper, even if they are the same size. Always match metal teeth with a metal-compatible slider, molded plastic with a plastic-compatible slider, and nylon coils with a coil-compatible slider.
Measure the Exact Zipper Length Needed
Purchasing a zipper of the correct length is critical to ensuring a clean installation without fabric distortion. The advertised length of a replacement zipper refers strictly to the functional length, not the total length of the fabric tape. Measuring the wrong portion of the zipper is one of the most common mistakes made during repair projects.

To measure a closed-end zipper—such as those used in trousers, skirts, pockets, and bags—measure the distance from the top stop (the small metal or plastic barrier at the top of the teeth) to the bottom stop (the larger barrier where the teeth join at the bottom). Do not include the extra fabric tape extending beyond the stops at either end, as this extra length is designed solely for sewing into the seam allowance.
To measure a separating or open-end zipper—such as those used in jackets, coats, and cardigans—measure from the top stop all the way down to the very bottom of the pin and box mechanism. The pin and box are the rigid components at the bottom that allow you to separate the two sides of the zipper completely. This entire functional run must match the opening of your garment exactly.
If you cannot find a replacement zipper of the exact length required, it is generally safer to purchase a slightly longer zipper and shorten it to fit. Shortening a zipper is highly feasible, but the method depends on the teeth material. Nylon coil zippers can be shortened easily by cutting the excess tape and sewing a dense thread bar tack over the coils to form a new stop. Metal and molded plastic zippers require you to physically pry off the excess teeth with pliers and crimp a new metal stop onto the tape, which requires a bit more patience and precision.
Match the Tape Width to Your Fabric Weight
The zipper tape is the fabric strip on either side of the teeth that is stitched into the garment. Matching the weight and width of this tape to your project’s fabric is essential for structural integrity and a professional finish. If the tape is too weak for the fabric, the stitches may tear out under tension; if it is too stiff, the seam will pucker and look unnatural.
Evaluate the weight and thickness of your original fabric before selecting a replacement. Heavy fabrics like denim, canvas, upholstery, and leather require a wide, thick polyester or cotton-blend tape that can withstand high tension and frequent washing. Lightweight fabrics like silk, chiffon, linen, and thin cotton require a narrow, flexible tape that moves naturally with the drape of the garment.
Verify the tape material to ensure it aligns with the garment’s care instructions. Most modern replacement zippers feature 100% polyester tape because it is highly durable, resistant to shrinking, and quick-drying. If you are repairing a vintage garment made of natural fibers, look for a cotton-blend tape, but keep in mind that cotton tapes can shrink during washing. If you sew a high-shrinkage tape onto a stable fabric, or vice versa, the zipper line will warp after the first wash.
Finally, confirm that the tape width fits comfortably within the existing seam allowance of your repair project. Measure the distance from the edge of the original zipper teeth to the edge of the fabric tape. If the replacement tape is too narrow, you may struggle to catch it securely with your sewing machine needle; if it is too wide, it may overlap with other seams or create unnecessary bulk inside the garment.
Choose a Compatible Slider and Pull Tab
The slider is the mechanism that opens and closes the zipper teeth, and choosing a compatible one is vital for smooth operation. Sliders are sized according to a standard numbering system (such as #3, #5, #8, or #10) which corresponds directly to the width of the interlocked zipper teeth in millimeters. For example, a #5 zipper has teeth that measure approximately 5 mm across when closed, and it requires a matching #5 slider.
Using the wrong slider size or type will cause the zipper to jam, derail, or fail to lock the teeth together. In addition to matching the size, you must select the correct locking mechanism based on how the item is used. Auto-lock sliders feature a tiny internal pin that locks the slider in place as soon as you let go of the pull tab, preventing the zipper from sliding open on its own. This is essential for trousers, skirts, and activewear.
Non-lock sliders move freely along the teeth without any resistance, making them ideal for bags, luggage, cushions, and bedding where you want to open the zipper quickly by pulling the fabric apart. Semi-auto-lock sliders lock only when the pull tab is pushed flat against the zipper teeth, offering a middle ground often used in sportswear and jackets.
If you wish to retain the original look of your garment, inspect the pull tab attachment point on the new slider. Many custom or decorative pull tabs can be transferred to a new slider if the attachment loop is large enough. If you are purchasing a complete replacement zipper, ensure the included pull tab matches the aesthetic and functional needs of your project.
Pre-Purchase Selection Checklist
Before heading to a local craft store in Singapore or ordering from an online marketplace, run through this quick checklist to verify your specifications. Taking a few minutes to double-check these details will save you time and prevent the hassle of returning incorrect items.
- Zipper Type: Is it closed-end (for pockets/trousers) or separating (for jackets)?
- Teeth Material: Is it nylon coil, molded plastic, or metal?
- Size/Gauge: Have you identified the size number (e.g., #3, #5) by measuring the closed teeth width?
- Functional Length: Have you measured from stop to stop (or stop to pin-and-box) without including the extra tape?
- Tape Width and Material: Does the tape weight match your fabric, and will it fit within the seam allowance?
- Slider Lock Type: Do you need an auto-lock slider for clothing or a non-lock slider for bags?
Additionally, check for any specialized requirements. If you are repairing outdoor rainwear or cycling gear, look for water-resistant polyurethane-coated zippers. If you are repairing a sleek evening gown, ensure you purchase an invisible zipper, which has teeth on the reverse side and requires a specialized invisible zipper sewing foot to install.
When shopping in person, it is highly recommended to bring the original broken zipper or the entire garment with you. This allows you to physically compare the teeth profile, gauge size, and color against the retail stock. If you are purchasing online, avoid relying solely on generic descriptions; instead, consult the seller’s detailed millimeter size charts and product labels to confirm a precise match. Replacement zippers are relatively inexpensive, typically ranging from S$2 to S$8 depending on the length and material, making a careful pre-purchase check well worth the effort to ensure a flawless repair.
Frequently Asked Questions (FAQ)
Can I shorten a replacement zipper that is too long?
Yes, you can shorten a replacement zipper to fit your project, but the method depends entirely on the teeth material. For nylon coil zippers, simply measure the desired length from the bottom, cut the excess tape with scissors, and sew a dense bar tack of thread over the coils at the new end point to act as a secure stop. For metal or molded plastic zippers, you must shorten them from the top to preserve the bottom stop or separating mechanism. Use pliers to carefully pull off the individual teeth from the top section of the tape until you reach the desired length, then crimp a new metal top stop onto the fabric tape to prevent the slider from running off the track. Never cut a separating zipper from the bottom, as this will destroy the pin and box mechanism and render the zipper useless.
How do I determine the zipper size number if the slider is missing?
If the original slider is missing and there are no size markings stamped on the back of the pull tab, you can determine the gauge size by measuring the width of the interlocked zipper teeth. Zip a small section of the teeth together by hand and use a precise ruler or caliper to measure the width of the closed teeth chain in millimeters. A chain width of approximately 3 mm corresponds to a #3 zipper, 4.5 mm to 5 mm corresponds to a #5 zipper, and 7 mm to 8 mm corresponds to a #8 zipper. Once you have this millimeter measurement, cross-reference it with the manufacturer’s specific size chart before purchasing your replacement zipper or slider, as minor variations can occur between different brands.

Community discussion
Share your experience or ask a question. Comments are reviewed before publication.