
A broken zipper does not mean a favorite garment, backpack, or travel bag must be discarded. In most cases, the zipper tape and teeth remain perfectly intact while the zip slider itself has worn down, stretched open, or lost its pull tab. Replacing only the slider is a highly cost-effective and sustainable repair that restores the item to full utility.
Choosing the correct replacement zip slider requires matching the specific teeth material, measuring the gauge width accurately, and selecting the appropriate locking mechanism. Because sliders are engineered to fit precise teeth profiles, a mismatch will prevent the zipper from closing or cause permanent damage to the track. With a few simple tools and the right measurements, you can easily identify and install the exact part needed for a lasting repair.
Identify the Zipper Type and Teeth Material
Before purchasing a replacement zip slider, you must determine the material and structure of the zipper teeth. Zippers generally fall into three primary categories: nylon coil, plastic molded teeth, and metal teeth. Each type uses a completely different slider shape internally to guide, mesh, and separate the teeth.
Products mentioned in this guide
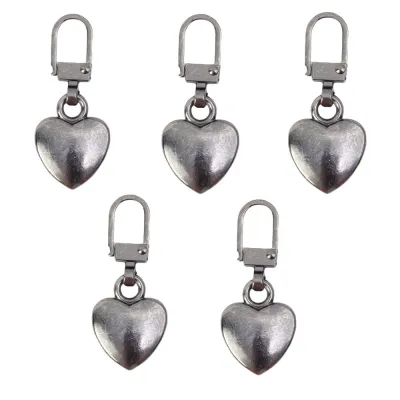
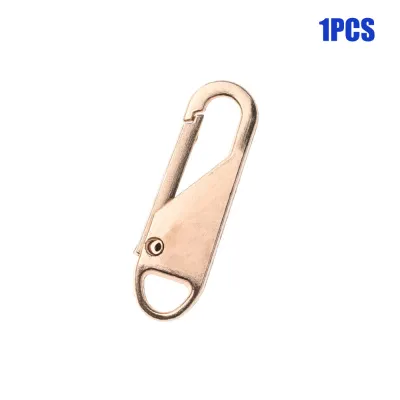
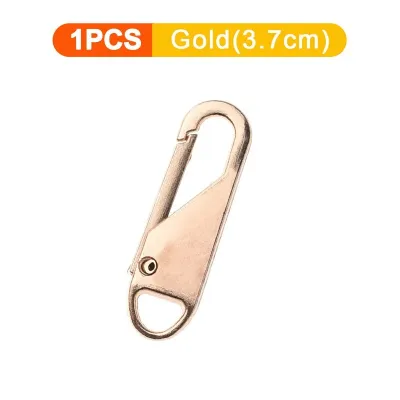
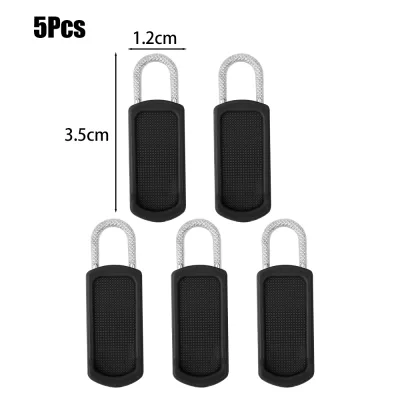
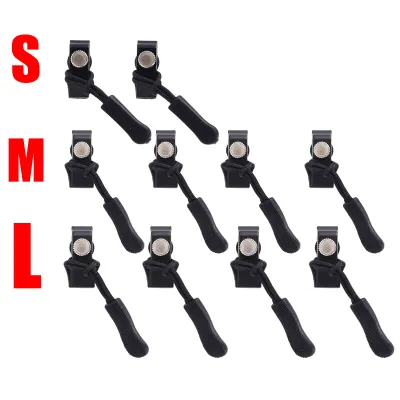
Prices are valid at publication and may change. Please refer to the product page for the latest price.
Nylon coil zippers feature a continuous spiral of nylon filament sewn onto the zipper tape. When viewed from the back, the teeth look like a continuous plastic spring. These zippers are highly flexible, lightweight, and commonly found on dresses, cushions, sleeping bags, and lightweight luggage compartments. Sliders designed for nylon coil zippers have a rounded internal channel to accommodate the smooth, continuous curve of the coil.
Plastic molded zippers, often referred to as Vislon zippers, consist of individual, blocky plastic teeth melted directly onto the tape. These teeth are highly visible and distinct. They are commonly used on heavy winter jackets, outdoor gear, and wet suits due to their water-resistant properties and strength. The corresponding sliders have a wider, flatter internal profile to guide the individual plastic blocks into place.
Metal teeth zippers feature individual metal pieces clamped onto the edge of the fabric tape. These are exceptionally durable and are standard on jeans, leather jackets, heavy-duty workwear, and premium handbags. Metal sliders are built with a robust, angular internal channel designed to withstand the friction of metal-on-metal contact.
Invisible zippers are a specialized sub-type of nylon coil zippers where the teeth are hidden on the reverse side of the fabric tape. When installed correctly, only the tiny pull tab is visible from the outside of the garment. Invisible zippers require a highly specialized slider with deep, curved channels on the underside to roll the coiled teeth open and closed. Attempting to use a standard nylon coil slider on an invisible zipper will result in immediate jamming and can tear the delicate fabric tape.
Mismatching slider profiles with teeth materials carries significant risks. A metal slider forced onto a nylon coil zipper will quickly shred the plastic loops, ruining the entire zipper assembly. Conversely, using a coil slider on a molded plastic track will fail to engage the teeth, causing the zipper to split open under the slightest tension. Always verify the teeth material visually and tactically before selecting your replacement part.
Measure the Zipper Gauge to Determine Slider Size
Once you have identified the teeth material, you must determine the zipper gauge, which refers to the physical width of the interlocking teeth when zipped closed. Zipper sizes are standardized numerically, with larger numbers representing wider and heavier teeth. Standard sizing conventions typically range from #3 for delicate items to #10 for heavy-duty gear.

To find the correct size, use a digital caliper or a precise ruler to measure the width of the closed teeth in millimeters. For example, if the closed teeth measure approximately 5 millimeters across, you will need a #5 zip slider. If the zipper is completely broken and cannot be zipped closed, measure the width of the slider body itself or measure one side of the teeth and double the value, though measuring closed teeth remains the most reliable method.
Standard sizing conventions generally align with specific product categories. A #3 zipper is typically found on delicate garments, interior pockets, and lightweight cushions. A #5 zipper is the most common size, used on standard jackets, backpacks, and everyday bags. Heavy-duty items like luggage, tents, and industrial workwear usually require a #8 or #10 slider to handle the increased physical stress.
Because teeth can wear down, stretch, or deform over time, it is important to measure multiple points along the zipper track. Take measurements near the top, middle, and bottom of the intact sections of the track to account for any manufacturing variations or localized wear. If your measurement falls between two standard sizes, consult the manufacturer’s specifications or opt for a multi-size repair kit to test the fit physically.
Match the Slider Lock and Pull Tab to Your Item
Selecting the right slider involves more than just matching the size and material; you must also choose a locking mechanism that suits how the item is used. Zip sliders are manufactured with different internal locking systems to control when and how the zipper slides open.
Auto-lock sliders feature a small internal pin that drops into the teeth when no tension is applied to the pull tab. This mechanism prevents the zipper from sliding open on its own. Auto-lock sliders are essential for trousers, skirts, boots, and jackets, where body movement would otherwise cause the zipper to slowly work its way down.
Non-lock sliders slide freely along the track without any resistance, regardless of whether the pull tab is being held. These are ideal for bags, backpacks, and luggage. A non-lock slider allows you to open a bag quickly by pulling the fabric sides apart, which would damage an auto-lock slider.
Semi-auto-lock and pin-lock sliders offer intermediate solutions. Semi-auto-lock sliders lock only when the pull tab is pressed completely flat against the slider body, allowing for free movement when the tab is lifted. Pin-lock sliders use physical pins on the tab itself that drop into the teeth when pushed down. These are often used in specialized sportswear and vintage garments.
The design of the pull tab also affects the usability and aesthetics of the repaired item. Longer tabs provide better leverage and grip, which is particularly useful for outdoor gear, winter coats, or bags used while wearing gloves. If you are repairing a high-end handbag or a specific brand of clothing, look for sliders with open-loop attachment points that allow you to transfer the original, branded pull tab to the new slider body.
Steps to Remove the Old Slider and Install the New One
Replacing a zip slider is a straightforward mechanical process that requires a few basic hand tools. Before beginning, gather a pair of needle-nose pliers, end-cutting nippers, a seam ripper, and a flathead precision screwdriver. Work on a clean, well-lit surface to keep track of small components.
When using end-cutting pliers or precision screwdrivers to remove old metal stops, wear protective eyewear to guard against flying metal fragments, and work on a flat, stable surface to prevent slips. Keep your fingers clear of the cutting edges at all times.
First, you must remove the old, damaged slider. For open-ended zippers, such as those on jackets, use your pliers or nippers to gently pry open or cut off the top stops. These are the small metal or plastic crimps located at the very top of the zipper tape. Be extremely careful not to cut or tear the fabric tape itself. For closed-ended zippers, such as those on bags or trousers, you may need to use a seam ripper to carefully unpick the securing stitches at the bottom of the zipper to expose the ends of the track.
Once the stops are removed, slide the old slider off the top of the tape. To install the new slider, position it with the nose—the narrower end—pointing downward toward the closed portion of the zipper. Gently feed both sides of the zipper tape into the top channels of the slider simultaneously.
Alignment is critical during this step. Ensure that the teeth on both sides enter the slider at the exact same level. If one side is fed higher than the other, the teeth will misalign, causing the zipper to bunch up, split, or fail to close properly. Once the teeth are aligned inside the channels, gently pull the slider down onto the track.
After verifying that the slider moves smoothly and the teeth mesh correctly, you must install new top stops to prevent the slider from running off the track. Place a new metal top stop over the fabric tape just above the top tooth on each side. Use your needle-nose pliers to crimp the stop firmly into place, ensuring it grips the fabric securely without cutting it. If you unpicked any stitches at the bottom of the zipper, sew a few secure hand stitches across the bottom of the track to create a new bottom stop.
Troubleshoot Common Issues After Slider Replacement
After installing a new slider, you may encounter minor operational issues. The sliding smoothness and teeth engagement depend on the exact material combination of the slider and the teeth. Before finalizing the repair, perform an observable trial by gently pulling the slider up and down several times to verify that it glides without catching or splitting the track.
If the slider is stiff or difficult to pull, do not force it. Apply a small amount of zipper lubricant, beeswax, or paraffin wax along the teeth to reduce friction. Avoid using liquid oils or household grease, as these can stain the surrounding fabric and attract dirt, which will eventually grind down the slider’s internal channels.
If the teeth fail to mesh completely or split open behind the slider, the jaws of the new slider may be slightly too loose. You can adjust the jaw tension using needle-nose pliers. Place the pliers over the top and bottom plates of the slider and apply very gentle, incremental pressure to squeeze them closer together. Work in tiny increments and test the zipper after each adjustment; cast metal sliders are brittle and will crack easily if subjected to excessive force.
If the slider pulls completely off the track under tension, check the security of your top and bottom stops. If the stops are tight but the slider still derails, inspect the zipper tape for missing or broken teeth. A zipper with multiple missing teeth cannot be reliably repaired with a new slider.
Knowing when to stop DIY adjustments is essential for preserving your item. If the fabric tape supporting the zipper teeth is torn, frayed, or structurally compromised, a new slider will not resolve the issue. In these cases, attempting to force a repair can ruin the garment or bag permanently. Seek professional alteration services to have the entire zipper assembly replaced using industrial sewing equipment.
Frequently Asked Questions (FAQ)
Can I use a metal slider on a plastic or nylon coil zipper?
No, you should avoid using a metal slider on plastic or nylon coil zippers. Metal sliders are designed with sharp, rigid internal channels that match the hardness of metal teeth. When placed on a nylon coil or molded plastic zipper, the hard metal edges will shave, cut, or deform the softer plastic teeth during normal operation. This mismatch leads to rapid wear, frequent jamming, and eventual structural failure of the zipper track. Always match the slider material to the specific teeth material of your zipper.
What should I do if the zipper tape is torn near the slider?
If the fabric tape supporting the zipper teeth is torn, a new slider will not fix the problem. The tape provides the structural foundation that keeps the teeth aligned; a tear allows the teeth to shift out of alignment, causing the slider to jam or derail. While minor edge fraying can sometimes be stabilized with a small amount of fabric glue or clear nail polish, a physical tear across the tape requires a complete zipper replacement. In this situation, the old zipper must be unpicked from the item and a entirely new zipper assembly must be sewn in place. Use a professional tailoring service if you do not have the specialized sewing tools required for heavy fabrics.

Community discussion
Share your experience or ask a question. Comments are reviewed before publication.