
Starting embroidery in Singapore is an accessible and deeply rewarding way to explore textile arts. To begin with confidence, choosing the right needle and thread set is the most critical first step. A well-curated starter kit provides the exact tools and materials needed to learn fundamental stitches without the overwhelming process of sourcing individual items. For beginners, the ideal set balances high-quality, reusable hardware with clear, step-by-step instructions that guide you through your very first project. By focusing on sets that offer sturdy hoops, smooth needles, and colorfast threads, you can avoid common frustrations like fabric puckering or thread breakage, ensuring a smooth and enjoyable introduction to this classic craft.
How to Evaluate Beginner Embroidery Sets
When browsing online marketplaces or local craft stores, it is easy to be swayed by kits that promise hundreds of thread skeins at incredibly low prices. However, a successful embroidery experience relies on the usability of the materials rather than sheer quantity. A beginner set with twenty high-quality, smooth threads is far more valuable than one containing a hundred rough, easily tangled threads that fray mid-stitch. Evaluate whether the kit is designed for actual practice or if it simply bundles cheap, leftover manufacturing materials that will hinder your progress.
Instructional quality is another major differentiator among starter sets. Many budget-friendly kits only include a basic visual outline printed on paper, leaving you to guess which stitches to use and how to execute them. Look for sets that provide comprehensive, beginner-friendly instructions. These should include a detailed stitch dictionary explaining how to perform essential techniques like the backstitch, satin stitch, and French knot. Clear diagrams or links to video tutorials add immense value, transforming a simple collection of tools into a true learning experience.
Products mentioned in this guide
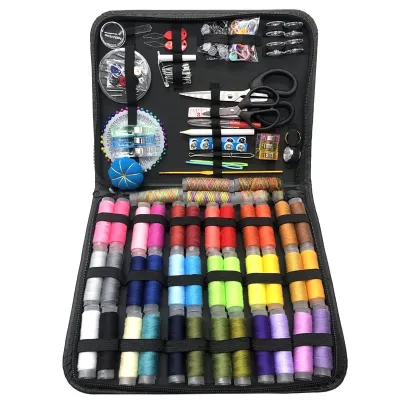
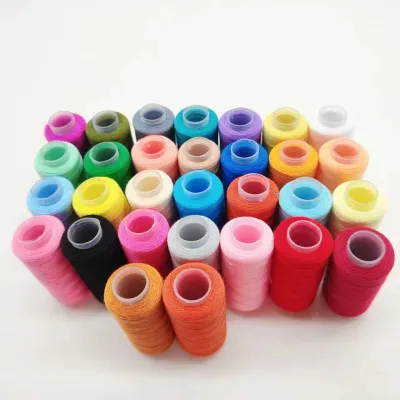
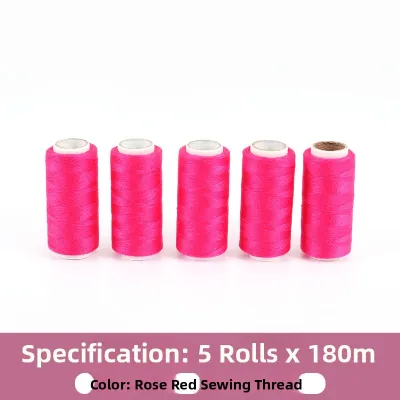
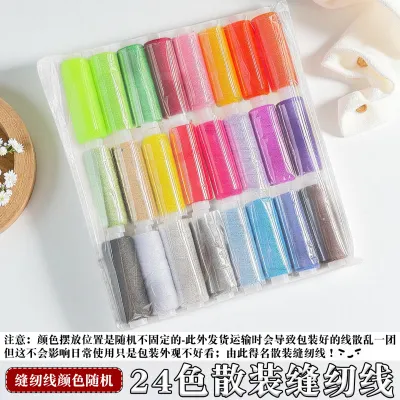
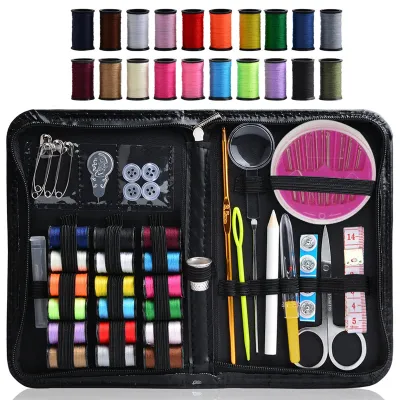
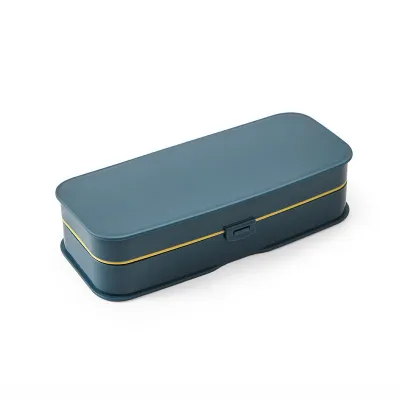
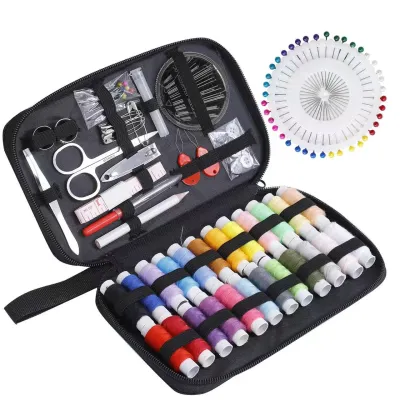
Prices are valid at publication and may change. Please refer to the product page for the latest price.
Packaging also plays a significant role in the long-term value of your purchase. Cheap kits often arrive in single-use plastic bags that tear immediately upon opening, leaving you with no way to organize your materials. Opt for sets that come with reusable storage solutions, such as sturdy cardboard boxes, zippered canvas pouches, or plastic organizer trays. These storage options protect your threads from dust and tangling, which is especially important in Singapore’s humid climate where moisture can degrade unprotected fibers over time.
Finally, assess whether the kit offers a logical progression of skills. The best beginner sets do not expect you to complete a highly complex, multi-layered design on day one. Instead, they feature patterns that gradually introduce new techniques, allowing you to build muscle memory and confidence as you progress. A kit that starts with simple outlines and transitions into filled textures will keep you motivated and prevent the creative burnout that often comes from tackling overly ambitious projects too early.
Must-Have Components in a Starter Kit
A complete embroidery starter kit should allow you to open the package and begin stitching immediately without requiring additional trips to a craft store. Understanding the baseline specifications of these components helps you identify which kits are worth your investment.

Needles, Hoops, and Tools
The hardware in your kit forms the foundation of your embroidery practice. Needles designed specifically for embroidery, often called crewel needles, feature medium-to-long eyes that easily accommodate multiple strands of embroidery floss. They must have sharp points to pierce closely woven fabrics cleanly without leaving large, unsightly holes. A good starter set should include a variety of needle sizes, typically ranging from size 3 to size 9, allowing you to experiment with different thread thicknesses.
The embroidery hoop is responsible for maintaining consistent fabric tension, which is crucial for preventing puckered stitches. Wooden hoops, particularly those made of smooth bamboo, are popular for their classic look, but they must be checked for splinters and uneven gaps. Plastic hoops often provide a more secure grip due to a molded tongue-and-groove design along the inner rim. Regardless of the material, ensure the hoop has a sturdy tightening mechanism, such as a metal screw with a deep slot that allows you to tighten it firmly with a screwdriver or by hand.
Basic tools are often overlooked but are essential for a seamless workflow. A reliable starter kit must include a pair of small, sharp embroidery scissors or thread snips capable of cutting clean thread ends without fraying. A simple wire-loop needle threader is another indispensable tool, especially when working with thicker strands of floss. Some premium kits also include a water-soluble or heat-erasable fabric marking pen, which allows you to trace custom designs or make temporary guidelines directly onto your fabric.
Threads, Fabrics, and Patterns
The consumables in your kit directly affect the visual and tactile quality of your finished piece. Embroidery floss is typically made of six-strand cotton, which can be separated into individual plies depending on the desired thickness of your stitches. High-quality floss should be smooth, slightly mercerized for a subtle sheen, and completely colorfast. In Singapore’s warm and humid environment, low-quality dyes can easily bleed when exposed to moisture or during the washing process, ruining hours of hard work. Look for kits that feature pre-sorted threads organized on labeled cards to keep your workspace tidy.
The fabric included in your set must have an appropriate weave and weight to support your stitches. For beginners, medium-weight natural fabrics like cotton calico, linen, or even-weave cotton are ideal. These fabrics have a stable structure that holds its shape under tension and allows the needle to pass through smoothly. Avoid kits that include synthetic, slippery fabrics or extremely loose weaves like burlap, as these are difficult to control and can cause stitches to sag or distort.
The pattern itself should act as a clear roadmap for your project. A high-quality beginner kit features a pattern pre-printed directly onto the fabric using water-soluble ink, which disappears completely when rinsed in cool water. The pattern guide should clearly indicate which stitch types to use for each section, how many strands of thread are required, and the specific color codes to follow. This level of detail removes the guesswork, allowing you to focus entirely on mastering your stitching technique.
Matching the Set to Your Learning Goals
Before purchasing a needle and thread set, take a moment to consider your personal learning style and creative goals. Some beginners prefer a highly structured approach, while others enjoy a more flexible, open-ended creative process. Matching the kit’s design to your expectations ensures that your new hobby remains engaging rather than feeling like a chore.
Comprehensive all-in-one kits are perfect for those who want to complete a specific decorative piece from start to finish. These kits contain exactly the right amount of thread, a pre-printed fabric panel, and a matching hoop that doubles as a frame for displaying your finished work. On the other hand, modular starter sets provide a broader selection of tools, a wide range of thread colors, and blank fabric. Modular sets are highly versatile, allowing you to design your own patterns or practice various stitches freely, making them an excellent choice if you plan to pursue embroidery as a long-term hobby.
Aesthetic preferences and complexity levels should also guide your choice. If you are drawn to modern, minimalist designs, look for kits featuring simple botanical outlines, geometric shapes, or modern typography. If you prefer traditional styles, you might enjoy kits with detailed floral patterns or landscape scenes. Be honest with yourself about your patience threshold; starting with a massive, fully filled satin-stitch design can be overwhelming. A smaller, outline-focused pattern allows you to experience the satisfaction of completing a project quickly, which builds momentum for future, more complex designs.
Consider the time commitment required for the projects included in the kit. Some starter sets are designed to be completed in a single afternoon, making them ideal for busy schedules or weekend crafting sessions. Others feature large stitch samplers that can take several weeks to finish. Samplers are incredibly educational, as they dedicate specific sections of the fabric to practicing different stitch techniques, but they require a sustained time commitment. Deciding whether you want a quick, decorative win or a comprehensive, slow-paced learning tool will help you select the perfect set.
Shopping Checklist for Online Marketplaces
When shopping for embroidery kits on e-commerce platforms in Singapore, a systematic approach helps you avoid low-quality products and unreliable sellers. Because you cannot physically inspect the items before purchasing, relying on specific verification steps is essential for ensuring a successful transaction.
Start by cross-referencing the seller’s product descriptions with detailed user reviews. Pay close attention to customer photos, which often reveal the true colors of the embroidery floss and the quality of the wooden hoops. Look for reviews that specifically mention whether the kit arrived with all listed components, if the needles were sharp and rust-free, and if the printed pattern on the fabric was clear and aligned correctly. If multiple reviews complain about splintered hoops or dry, brittle threads, it is best to look for an alternative seller.
Check the shipping origin and estimated delivery times carefully. While many affordable kits are shipped from overseas, this can result in longer transit times and a higher risk of damage during transport. If you are purchasing a set as a time-sensitive gift or for an upcoming weekend project, look for local Singapore-based sellers who offer rapid shipping options. Local sellers are also more likely to package their items securely to withstand transit, reducing the likelihood of receiving cracked plastic hoops or bent needles.
Verify the seller’s return policy and responsiveness to customer inquiries. A reputable seller should be willing to replace damaged tools or send missing items promptly. You can test their responsiveness by sending a quick question about the kit’s fabric material or thread brand before making your purchase. A prompt, helpful response is a strong indicator of good customer service.
Finally, compare the total cost of the kit, including shipping fees in S$, against the cost of purchasing individual components from local physical craft stores in Singapore. While a pre-packaged kit is highly convenient, ensure that the pricing is reasonable for the quality of materials provided. If a kit is priced exceptionally low, it may contain sub-standard tools that will need to be replaced almost immediately, ultimately costing you more in the long run.
Frequently Asked Questions (FAQ)
Can I use regular sewing thread instead of embroidery floss?
While it is technically possible to use regular sewing thread for embroidery, it is not recommended for beginners. Standard sewing thread is designed to be thin, strong, and unobtrusive, meaning it lacks the thickness and volume needed to cover fabric efficiently. Embroidery floss is a six-strand cotton thread designed specifically to be separated, allowing you to adjust the thickness of your lines. Sewing thread also lacks the mercerized sheen of embroidery floss, resulting in flat, dull stitches that do not stand out against the fabric. Using sewing thread for embroidery often leads to sparse coverage and a frustratingly slow stitching process.
Do I need to wash the fabric before starting my first project?
For most beginner kits that feature pre-printed patterns, you should not wash the fabric before you finish stitching. The patterns are typically printed with water-soluble ink designed to dissolve upon contact with water; washing the fabric beforehand will erase your guidelines completely. However, if you are working with blank fabric and transferring your own design, pre-washing can be beneficial. Natural fabrics like cotton and linen can shrink slightly when washed, which can distort your finished stitches if done after the project is complete. If you do pre-wash blank fabric, use cool water, a mild detergent, and let it air dry completely before ironing it flat for stitching.
How do I keep my threads from tangling while stitching?
Thread tangles are a common frustration for beginners, but they can be easily managed with a few simple habits. First, avoid cutting your thread too long; a good rule of thumb is to use a length equal to the distance from your fingertips to your elbow, roughly 45 to 50 centimeters. Longer threads are highly prone to knotting and fraying as they pass through the fabric repeatedly. Second, consider using a thread conditioner like beeswax to smooth the fibers and reduce static. Finally, let your needle hang freely every few stitches to allow the thread to untwist naturally, preventing the tension buildup that causes loops and knots.

Community discussion
Share your experience or ask a question. Comments are reviewed before publication.