
Choosing the correct laminating film for your machine is essential to prevent jammed rollers, bubbly seals, and permanent damage to your documents. While it might seem as simple as picking a sheet that fits your paper, you must match the film’s physical dimensions and thickness to your specific laminator’s mechanical limits. Using incompatible supplies can overheat the adhesive, strain the motor, or leave your documents partially unsealed.
To get the best results, you need to verify your machine’s entry width, understand how film thickness is measured, and assess the physical demands of the document you are preserving. Taking a few moments to check these specifications before purchasing supplies ensures a smooth, professional finish.
Checking Your Laminator's Maximum Width and Film Type
Before buying any laminating film, you must determine the maximum entry width your machine can physically accommodate. This limit is typically printed directly on the machine’s casing near the feed slot, on the specification plate underneath the unit, or within the manufacturer’s instruction manual. Standard office and home laminators are commonly designed for A4 or A3 paper sizes, which dictates the maximum width of the entry path.
Products mentioned in this guide
![[✅SG Ready Stock]Laminating Pouch A4 Size Laminate Sheet 100PCS 100 Micron Laminating Film For Laminator Machine 塑封膜](https://img.lazcdn.com/g/p/b43d141aaba4b96660a1a587efd2c8dc.jpg_400x400q80.jpg_.webp)
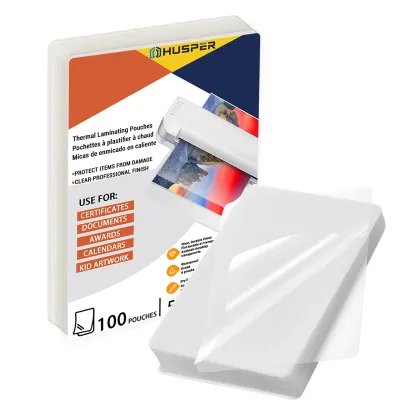
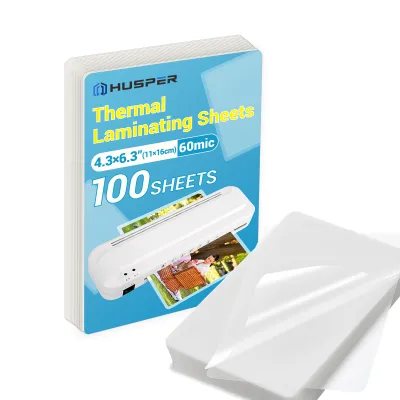
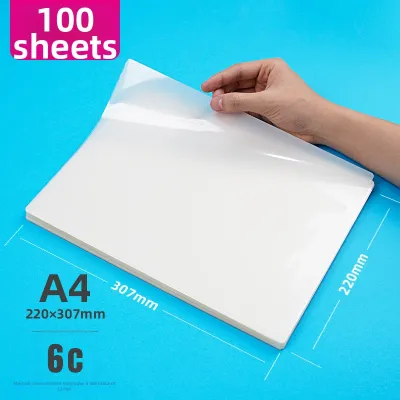
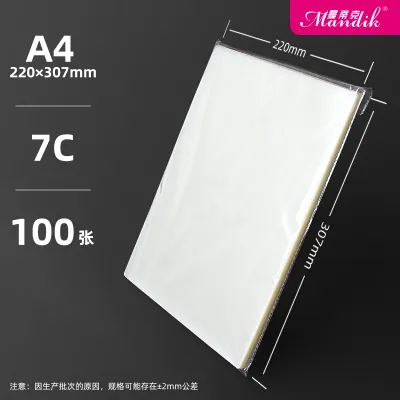
Prices are valid at publication and may change. Please refer to the product page for the latest price.
You also need to identify whether your machine is a pouch laminator or a roll laminator, as they use entirely different film formats. Pouch laminators use pre-cut, double-sided sheets sealed on one edge, which are ideal for standard document sizes like business cards, A4 sheets, or menus. Roll laminators, on the other hand, use continuous rolls of film mounted on spindles, allowing you to laminate extremely long banners or custom-sized items.
If you are using a pouch laminator, the length of the pouch is generally unrestricted by the machine itself, provided the width fits comfortably within the entry slot. The machine will continuously feed the pouch through the rollers until it exits the rear. However, you must never attempt to feed a pouch that is wider than the entry slot, as this will cause immediate folding, jamming, and potential adhesive buildup on the internal rollers.
Understanding Film Thickness: Microns vs. Mils
Laminating film thickness is measured in two different units depending on your region: microns (a metric measurement, often abbreviated as mic) or mils (an imperial measurement, where one mil equals one-thousandth of an inch). In Singapore and other metric-based markets, microns are the standard unit of measurement found on packaging. Understanding how these units translate is crucial when purchasing film from international suppliers or online marketplaces.

A common point of confusion is how manufacturers label the thickness on pouch packaging. Some brands list the thickness “per side” (for example, 75 microns), while others list the “total pouch” thickness (which would be 150 microns for two 75-micron layers). Always read the product label carefully to confirm whether the stated number represents a single sheet or the combined thickness of the entire pouch.
Do not assume that a thicker film is always the better choice for your project. Thicker films require more heat and slower feed speeds to melt the adhesive properly, which can easily overwhelm a basic laminator. If your machine is rated only for standard thin films, feeding a thick pouch through it will result in a cloudy, poorly sealed document because the heating element cannot reach the required temperature.
Matching Thickness to Your Document and Usage
Selecting the right film thickness depends heavily on how the finished document will be handled and stored. Thinner films, such as 75 to 80 microns per side, offer excellent flexibility, making them ideal for documents that need to be folded, rolled, or kept lightweight. These are commonly used for classroom worksheets, office reference sheets, and standard filing documents.
Thicker films, ranging from 125 to 250 microns per side, provide substantial rigidity and heavy-duty protection. These are best suited for items that must stand upright on their own, such as restaurant menus, outdoor signs, or ID badges. The added thickness prevents the document from bending or creasing under heavy daily use, though it makes the final product completely rigid and impossible to fold.
You must also consider the weight of the paper you are laminating, as heavy cardstock combined with thick film can create an extremely stiff piece that may curl at the edges. Conversely, very thin paper laminated with thin film might remain too flimsy for display purposes. For outdoor use or environments with high humidity, thicker films provide a more robust barrier against moisture, provided the edges are sealed with a generous border of film.
Step-by-Step Guide to Verifying Compatibility
To ensure your laminating film is fully compatible with your machine, start by locating the maximum allowable thickness specification in your laminator’s manual. This specification is usually expressed in microns per side (such as “up to 125 microns”) and represents the physical clearance limit of the rollers and the torque capacity of the drive motor. Attempting to pass a thicker combination through the machine can stall the motor or strip the internal gears.
Next, check if your laminator features adjustable temperature or speed settings. Machines with variable controls allow you to increase the heat or slow down the motor to properly seal thicker films, while basic models often operate at a single fixed temperature optimized only for standard 75-micron or 80-micron pouches. If your machine lacks these adjustments, stick strictly to the standard thickness recommended by the manufacturer.
Before laminating an important or irreplaceable document with a new brand or thickness of film, always perform a test run. Use a scrap piece of paper of the same weight inside a sample pouch to observe how the adhesive melts and seals. Check the test piece for bubbles, cloudiness, or curling; if the seal is cloudy, the heat may be too low, whereas warping or bubbling indicates the heat is too high or the feed speed is too slow.
Frequently Asked Questions (FAQ)
Can I use a thicker film if my laminator has adjustable heat settings?
While adjustable heat settings allow you to increase the temperature to melt thicker adhesives, they do not change the physical clearance of the machine. Your laminator still has a strict mechanical limit on the total thickness that can pass between its rollers. Even if the heat is sufficient, a pouch that exceeds the maximum physical clearance can jam the rollers, strain the motor, or scrape adhesive onto the heating elements.
What happens if the laminating film is wider than the machine's maximum entry width?
Using a film that is wider than the machine’s entry slot will cause the edges of the pouch to fold, wrinkle, or catch on the sides of the feed guide. This misalignment almost always results in a severe jam inside the machine, where the film can wrap around the hot rollers. This can permanently damage the silicone rollers, overheat the motor, and create a significant hazard if the adhesive melts directly onto the heating elements.

Community discussion
Share your experience or ask a question. Comments are reviewed before publication.