
Starting your first crochet project is an exciting journey into the world of fiber arts, but walking into a craft store or browsing an online marketplace can quickly feel overwhelming. With hundreds of hook sizes, materials, and yarn types available, it is easy to buy incompatible items or spend money on tools you do not yet need. Often searched as crotchet, this classic needlecraft relies on a simple harmony between your hook size, your yarn thickness, and your hand tension. By understanding how these elements interact, you can assemble a highly effective, budget-friendly starter kit that minimizes frustration and sets you up for success from your very first stitch.
In Singapore’s warm and humid climate, local crafters often have unique preferences when it comes to selecting materials. While heavy wools might be popular in colder regions, local enthusiasts frequently lean toward breathable cottons and lightweight acrylics for their projects. However, regardless of the final item you want to make—whether it is a cute amigurumi plushie, a coaster, or a lightweight summer top—the fundamental rules of choosing your first tools remain the same. Focusing on comfort, visibility, and ease of handling will help you master the basic stitches without struggling against your materials.
Understanding Crochet Hook Materials and Sizes
The crochet hook is the primary tool of your craft, acting as an extension of your hand as you form loops and chains. For beginners, the hook material plays a significant role in how easily the yarn slides and how comfortable the tool feels. Standard aluminum hooks are the most common and affordable option. They are durable, lightweight, and feature a smooth surface that allows yarn to glide effortlessly. However, because they are thin and rigid, holding them tightly for long periods can cause hand fatigue or cramping, especially for beginners who are still adjusting their grip tension.
Products mentioned in this guide
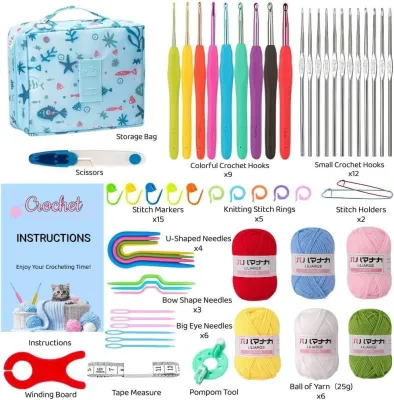
![[✅SG Ready Stock] 70Pcs DIYI Crochet Kit for Beginners Complete Crochet Knitting Kit Adorable Animal Crochet Starter Pack](https://img.lazcdn.com/g/p/2d3fdc639d4d617dd2a33c60c591bddb.png_400x400q80.png_.webp)
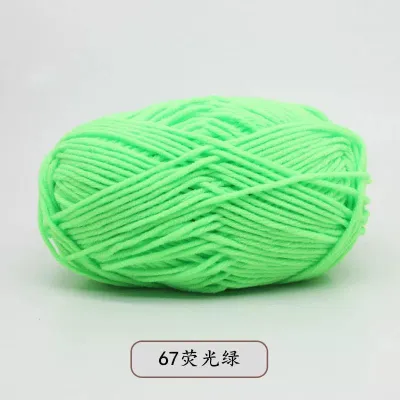
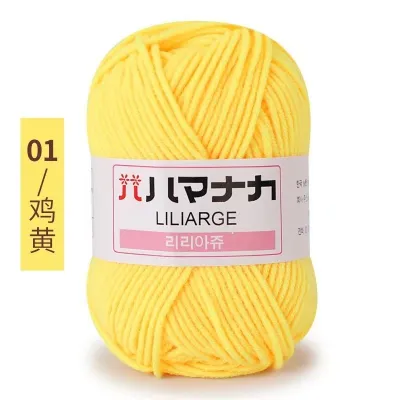
![[SG Ship]4-Ply Milk Cotton Yarn Yellow Pink White Red Knitting Crochet 4-Strand](https://img.lazcdn.com/g/p/cdff029035ac4266f5d7c84a3fec8225.jpg_400x400q80.jpg_.webp)
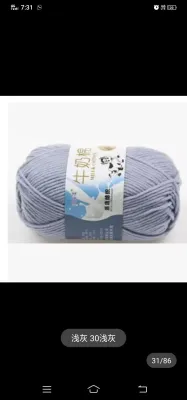
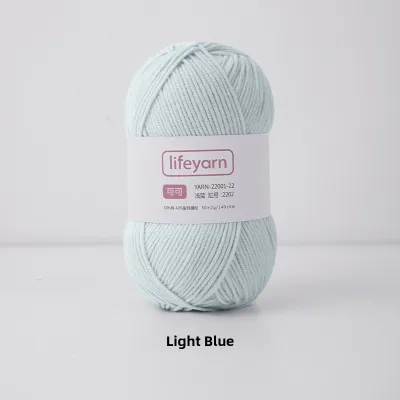
Prices are valid at publication and may change. Please refer to the product page for the latest price.
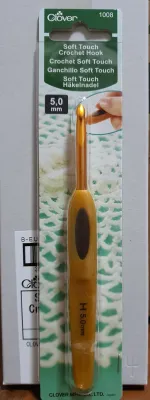
To address hand fatigue, many crafters prefer ergonomic handled hooks. These tools feature a standard metal hook tip embedded in a wider, cushioned handle made of silicone, rubber, or soft plastic. The larger grip diameter allows your hand to remain in a relaxed, open position, reducing strain on your fingers and wrist. If you plan to practice for more than a few minutes at a time, starting with an ergonomic hook makes the learning process much more comfortable. While they are slightly more expensive than plain aluminum hooks, the investment is worth it to prevent physical discomfort as you build muscle memory.
Understanding how hook sizes are labeled is another crucial step in building your starter kit. Hook sizes can be confusing because different regions use different labeling systems. For example, the United States uses a letter and number system (such as G/6 or H/8), while the United Kingdom historically used a reverse numbering system. To avoid confusion, always look for the metric measurement in millimeters (mm), which is the universal standard. In Singapore, almost all modern patterns, yarn labels, and retail listings specify the recommended hook size in millimeters. Verifying the metric size on the hook shaft is essential for accuracy.
Matching your hook size to your yarn weight is the final piece of the puzzle. If your hook is too small for the yarn you are using, the hook throat will not be wide enough to catch the strand, causing the yarn to split, fray, or slip off constantly. Conversely, if your hook is too large for the yarn, your stitches will be loose, floppy, and full of accidental gaps, making it difficult to see if you have executed the stitch correctly. Fortunately, you do not have to guess the correct pairing. Every skein of yarn comes with a paper band label that displays a recommended hook size range, giving you a reliable starting point for your practice.
Selecting the Right Yarn Weight and Fiber for First Projects
Yarn is classified by its thickness, commonly referred to as its “weight.” For absolute beginners, medium-weight yarn—often labeled as worsted, Aran, or 8-ply—is the standard starting point. This thickness is ideal because it is thick enough that you can easily see the anatomy of your stitches, yet thin enough that it does not feel clumsy or heavy in your hands. Working with yarn that is too thin, such as lace or fingering weight, requires intense focus and precise finger movements that can be frustrating when you are still trying to figure out where to insert your hook.

The fiber content of the yarn determines how it behaves on the hook and how forgiving it is of mistakes. Acrylic yarn is popular for beginners because it is affordable, widely available, and comes in a vast array of colors. It also has a natural elasticity, meaning it stretches slightly as you work, which helps absorb some of the uneven tension common in beginner work. Furthermore, acrylic is highly forgiving of being unraveled—a process crafters call “frogging”—allowing you to rip out your mistakes and reuse the exact same yarn repeatedly without it losing its structure.
Cotton yarn is another excellent option, particularly favored in Singapore for its breathability and crisp finish. Cotton has virtually no stretch, which means it provides outstanding stitch definition; every loop, chain, and post stands out clearly, making it very easy to count your stitches and identify errors. However, because cotton does not stretch, it can feel a bit stiff to work with initially, and maintaining consistent tension requires a bit more conscious effort. Many beginners find that a cotton-acrylic blend offers the best of both worlds, combining the stitch clarity of cotton with the soft flexibility of acrylic.
When choosing your very first skein, avoid several yarn types to save yourself from frustration. Stay away from very dark colors like black or deep navy; these shades absorb light and make it nearly impossible to see the stitch loops. Avoid highly textured novelty yarns, such as chenille, bouclé, or “eyelash” yarns, which hide the stitch structure completely under a layer of fuzz. Finally, steer clear of slippery silk, bamboo, or rayon blends, as these fibers slide off the hook too easily and make maintaining tension a constant struggle. Stick to light, solid colors in a smooth, medium-weight acrylic or cotton blend.
Building a Cost-Effective Beginner Starter Kit
You do not need to purchase a massive, multi-piece craft cabinet to start your crochet journey. In fact, buying too many tools upfront leads to clutter and wasted money on items you may never use. A highly effective, budget-friendly starter kit requires only five essential items. First, you need two or three versatile hook sizes—typically 4.0 mm, 5.0 mm, and 6.0 mm—which cover almost all medium-weight yarns. Second, you need one or two skeins of light-colored practice yarn. Third, a pair of sharp craft scissors is necessary to cut your yarn cleanly without leaving frayed ends.
The fourth essential tool is a tapestry needle, sometimes called a yarn needle. Unlike standard sewing needles, tapestry needles are blunt and have a large eye designed to accommodate thick yarn strands. You will use this needle to weave the loose yarn tails back into your finished fabric so your work does not unravel. Fifth, a small pack of locking plastic stitch markers is indispensable. These clips attach directly to your stitches, helping you keep track of the beginning of a round or marking the first and last stitches of a row, which prevents your work from accidentally shrinking or growing.
When assembling your kit, you will face the choice of buying a pre-packaged beginner set or selecting individual items. Pre-packaged sets sold on online marketplaces are tempting because they offer dozens of items for a low price. However, these budget sets frequently suffer from quality issues, such as plastic hooks with rough manufacturing seams that snag your yarn, or metal hooks that bend under pressure. They also tend to include specialized tools—like cable needles or point protectors—that are designed for knitting rather than crochet, leaving you with items you do not need.
Selecting your items individually is often the more satisfying route. By purchasing just one or two high-quality ergonomic hooks (which typically cost around S$5 to S$12 each) in the specific sizes required for your first project, along with a single skein of reliable yarn, you ensure a much smoother learning experience. You can easily substitute household items for some accessories; for example, a standard safety pin or a scrap of contrasting yarn works perfectly well as a temporary stitch marker, and any sharp household scissors will do. This approach keeps your initial investment low while ensuring that the tools you use are of excellent quality.
What to Check Before Buying Your First Crochet Supplies
Before you head to the checkout counter or click “buy” on an online marketplace, taking a few moments to verify your selections can save you from the hassle of returns. The first step is learning to read the yarn band label carefully. This paper sleeve contains all the vital statistics of the yarn. Look for the weight category icon, which is usually represented by a small picture of a yarn skein with a number inside; for beginners, look for the number 4 (Medium). Next, locate the recommended crochet hook size, typically shown next to a small hook icon. Finally, check the yardage to ensure you have enough material, and review the care symbols to see if the finished item can be machine washed.
Next, perform a quick physical quality check on the hooks you plan to buy. If you are shopping in a physical retail store, run your fingers along the throat, groove, and tip of the hook. The surface should feel completely smooth, with no sharp edges, metal burrs, or rough plastic seams that could catch and split the delicate fibers of your yarn. If you are purchasing online, where you cannot touch the product beforehand, spend a few minutes reading customer reviews. Look specifically for feedback mentioning whether the hooks “snag the yarn” or if the rubber handles slide off the metal shafts during use, as these are common issues with low-quality budget sets.
Finaly, always verify the return and exchange policies of the seller, especially when shopping on online marketplaces. Many craft retailers have strict policies regarding yarn and hooks; for instance, yarn that has been unraveled, wound into a ball, or had its paper label removed is rarely eligible for a return. Additionally, some budget online sellers do not offer free returns for low-cost items, meaning shipping fees could exceed the value of the hook itself if you order the wrong size. Double-checking your cart to ensure the millimeter sizes of your hooks match the requirements of your chosen yarn will help you avoid these common purchasing pitfalls.
Frequently Asked Questions (FAQ)
Do I need to buy an expensive ergonomic hook set to start?
No, you do not need to invest in an expensive ergonomic hook set to begin learning. Standard aluminum hooks are highly affordable, widely available, and perfectly adequate for mastering basic stitches, tension control, and stitch anatomy. However, if you find that your hands cramp or tire quickly during practice, you do not need to buy a whole new set. Instead, simply purchase a single ergonomic hook in your most frequently used size (such as 5.0 mm) to see if the cushioned grip improves your comfort before committing to a larger investment.
Can I use any knitting yarn for crochet projects?
Yes, almost any yarn that is marketed for knitting can also be used successfully for crochet projects. Yarn fibers and weights are universal across both crafts, meaning a worsted-weight acrylic yarn will work beautifully whether you are using knitting needles or a crochet hook. However, it is important to keep in mind that crochet stitches generally consume about twenty-five to thirty percent more yarn than knitting stitches to cover the same surface area. If you are adapting a knitting pattern or estimating yarn quantities, always ensure you purchase a little extra yardage to avoid running out mid-project.
How do I know if my crochet hook is the right size for my yarn?
The easiest way to verify compatibility is to check the paper band label on your yarn skein, which displays a recommended hook size range in millimeters. If you have lost the label, you can perform a quick visual check by placing the yarn strand into the throat of the hook; the yarn should fit snugly inside the groove without spilling over the sides or getting lost in a massive gap. To be absolutely certain, crochet a small square swatch of about ten stitches by ten rows; if the resulting fabric feels stiff and board-like, your hook is too small, and if it looks loose and full of holes, your hook is too large.

Community discussion
Share your experience or ask a question. Comments are reviewed before publication.