
Selecting the correct bubble wrap pouch size is the key to ensuring your items survive transit without incurring unnecessary shipping costs. If the pouch is too small, the seams will stretch and burst under pressure; if it is too large, the item will slide around inside, reducing the effectiveness of the protective air bubbles. To find the perfect fit, you must calculate the item’s three-dimensional measurements, add a specific allowance for the bubble thickness, and compare these adjusted dimensions against the pouch’s usable inner dimensions rather than its nominal outer size.
The Core Formula for Sizing Bubble Wrap Pouches
To determine the minimum pouch size required, you must use a reliable sizing formula that accounts for the item’s length, width, and depth. The most common mistake is matching the flat dimensions of an item directly to the listed dimensions of a pouch. Because bubble wrap pouches have physical thickness, the air-filled bubbles occupy internal space, which reduces the actual room available for your item.
For flat items like documents or photographs, the calculation is straightforward. You should add at least 15mm to 20mm to both the length and the width of the item to allow for easy insertion and to ensure the self-adhesive flap can seal without tension. This extra space also prevents the edges of the paper or cardstock from bending during handling.
Products mentioned in this guide
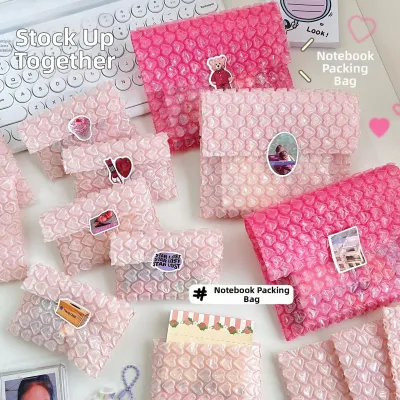
![[SG SELLER] Matte Bubble Mailer Poly Mailer Self-Seal Adhesive Padded Envelope Water Resistant Shipping Bags for Mailing](https://img.lazcdn.com/g/p/a61faf78eab8d6675425500915db76e8.png_400x400q80.png_.webp)
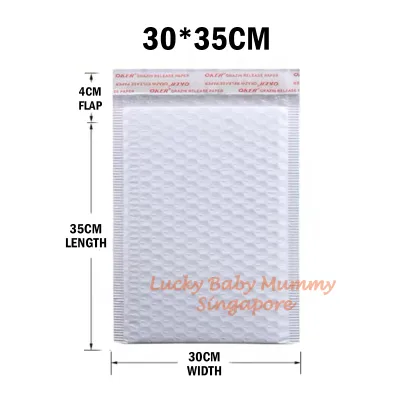
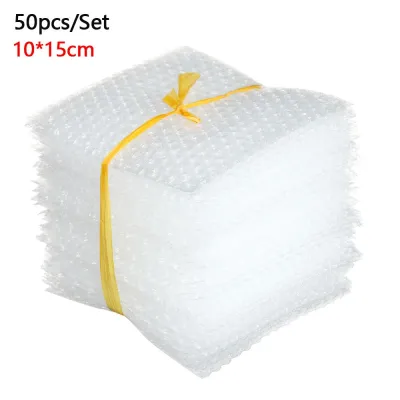
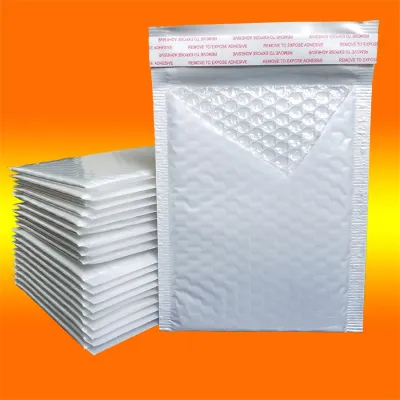
Prices are valid at publication and may change. Please refer to the product page for the latest price.
For three-dimensional items, the formula must incorporate the depth of the object. A reliable formula to calculate the minimum usable width of the pouch is: Item Width + Item Depth + 20mm. To find the minimum usable length, use the formula: Item Length + Item Depth + 20mm. This additional allowance ensures the pouch can expand around the item’s thickness without putting excessive stress on the side seals.
When browsing packaging supplies, always check the manufacturer’s specification sheet for the distinction between outer dimensions and inner dimensions. The outer dimensions include the heat-sealed borders and the adhesive flap, which do not contribute to the usable storage space. Relying solely on outer dimensions often results in purchasing pouches that are too tight for your inventory.
Sizing for Small and Flat Items
Low-profile items such as postcards, stickers, thin booklets, and small electronic components require a snug fit to prevent shifting. If a flat item is allowed to slide freely inside a large pouch, it can bunch up in a corner, making the package uneven and more susceptible to getting caught in sorting machinery.

For flat paper goods, choosing a pouch that closely matches the item’s dimensions plus the standard 15mm allowance is ideal. This keeps the item centered and flat, preserving its pristine condition. If you are shipping delicate items like photographs, placing a rigid piece of backing cardboard inside the pouch alongside the item provides excellent resistance against bending.
Small 3D items, such as jewelry boxes, keys, or USB flash drives, present a different challenge. These items have concentrated weight and can easily puncture the thin plastic film if they slide around with high velocity. For these objects, select a small-format pouch that holds the item firmly in place, ensuring the surrounding bubbles absorb any external impacts.
When evaluating small-format pouches, consider the closure method. Self-sealing adhesive strips are highly efficient for high-volume shipping, providing a quick and secure bond. However, if you are shipping high-value small items, heat-sealing the open end of the pouch offers an airtight, tamper-evident closure that provides superior security during transit.
Sizing for Medium and Boxed Items
Medium-sized goods, such as retail-packaged cosmetics, mugs, or small electronic devices, often come in their own primary cardboard boxes. In these scenarios, the primary box provides structural support, while the bubble wrap pouch serves as a protective barrier against moisture, dust, and surface scratches.
To calculate the correct pouch size for a boxed item, you must account for the rigid corners of the inner box. Unlike soft items, a cardboard box will not deform to fit a tight pouch. You must ensure the pouch width is wide enough to accommodate the box’s width and depth combined, with an additional 25mm safety margin to prevent the sharp corners of the box from puncturing the bubble lining.
If you attempt to force a medium-sized box into a standard flat pouch, the plastic seams will stretch to their limit. This tension makes the seams highly vulnerable to splitting if the package is dropped or stacked under heavier boxes. If the depth of your boxed item exceeds 50mm, a standard flat pouch may not be sufficient.
In such cases, look for gusseted bubble wrap pouches. Gusseted pouches feature folded sides that expand outward, allowing the pouch to assume a three-dimensional box shape. This design distributes the tension evenly across the material, ensuring the seams remain intact and the item is fully cushioned on all sides.
Sizing for Large, Fragile, or Odd-Shaped Items
Shipping large, highly fragile, or irregularly shaped items requires a careful assessment of the structural limits of bubble packaging. Items like glassware, ceramics, or large electronic components carry a high risk of damage and demand a more robust packaging strategy.
Standard bubble wrap pouches have physical weight limits. If an item is exceptionally heavy, the weight can pop the air bubbles upon impact, rendering the protection useless. For heavy or highly valuable items, it is best to transition from a simple pouch to a sturdy corrugated box, using bubble rolls or packing peanuts as void fill to suspend the item in the center of the box.
For fragile items that are lightweight enough for a pouch, consider sizing up to allow for double-bagging. Placing the item inside a smaller bubble pouch and then sliding that entire assembly into a larger bubble pouch doubles the cushioning layers. This method is highly effective for delicate glassware or hand-painted ceramics.
Odd-shaped items, such as tools, toys, or decorative ornaments, must be measured at their absolute widest, tallest, and deepest points. Because these items often have protruding parts, you must add a generous allowance of at least 30mm to 40mm to your measurements. Wrapping any sharp protrusions in thick paper or foam sleeves before placing them in the pouch prevents punctures and ensures the integrity of the outer packaging.
How to Measure and Verify the Perfect Fit
To avoid wasting money on bulk orders of incorrect sizes, establish a systematic process for measuring your items and verifying the fit with physical samples.
Step 1: Measure the Item’s Dimensions Use a standard ruler or measuring tape to record the maximum length, width, and depth of the item. Always round up to the nearest millimeter to ensure you do not underestimate the size.
Step 2: Apply the Sizing Formula Add the depth of the item plus a safety margin of 20mm to both the length and width measurements. This gives you the target usable inner dimensions for your pouch.
Step 3: Perform a Physical Fit Test Obtain a sample pouch of the calculated size. Gently slide the item inside. The item should slide in smoothly without requiring you to force or squeeze it through the opening.
Step 4: Inspect the Seams and Seal Once the item is inside, inspect the side seams. If the seams look white, stretched, or strained, the pouch is too small. Ensure the self-adhesive flap folds over easily and seals completely flat against the back of the pouch without any wrinkles.
Step 5: Check for Sharp Points Feel the outside of the pouch. If you can feel sharp corners pressing hard against the plastic, wrap those corners in scrap cardboard or thick paper first, then repeat the fit test with a slightly larger pouch size if necessary.
Balancing Protection and Material Efficiency
Optimizing your packaging size is not just about protecting the item; it also directly impacts your business’s bottom line and environmental footprint. Using oversized pouches leads to unnecessary material waste and increases the dimensional weight of your shipments, which can raise shipping costs by several S$ over time.
When handling multi-item orders, you must decide whether to use one large pouch or multiple smaller ones. Grouping several loose items into a single large pouch often leads to them rubbing against each other, causing scratches or breakage. Using individual, smaller pouches for each item before placing them in a shared outer mailer is a much safer and more professional approach.
An oversized pouch also harms the unboxing experience. If a customer receives a small item swimming in a giant, folded-over bubble pouch, it looks unprofessional and suggests a lack of care. The excess plastic must be folded and taped down, which wastes packing tape and increases the time spent preparing each order.
Finally, always check the bubble size specification on the pouch label. Pouch labels typically specify the bubble height and diameter. Smaller bubbles (around 3mm height) are excellent for scratch protection and space efficiency, while larger bubbles (6mm or more) provide superior shock absorption for fragile items. Matching the bubble size to the item’s fragility allows you to choose a more compact pouch without sacrificing protection.
Frequently Asked Questions (FAQ)
Can I use a bubble wrap pouch for heavy items like books?
While bubble wrap pouches provide excellent scratch and impact protection, they are not ideal for heavy, dense items like hardcover books. The concentrated weight of a heavy book can easily burst the side seams of a plastic pouch during transit, or cause the paper backing of a padded mailer to tear. For heavy items, it is highly recommended to use reinforced kraft mailers, corrugated cardboard boxes, or heavy-duty poly mailers with reinforced edges to ensure the package remains intact.
Do I need to tape the inside item if the pouch has a self-seal strip?
The self-seal strip on a bubble wrap pouch is designed solely to close the outer opening of the pouch, not to secure the item inside. If the item is loose, fragile, or has multiple parts, you should secure it with a small piece of removable tape or wrap it individually before placing it in the pouch. This prevents the item from shifting, sliding out of its protective alignment, or scratching itself during handling and transport.

Community discussion
Share your experience or ask a question. Comments are reviewed before publication.