
Packing a bicycle for shipping or long-term storage requires a strategic combination of surface scratch prevention and heavy impact absorption. To achieve this, the ideal setup involves using two distinct types of bubble wrap: a thin, small-bubble wrap (around 10mm bubble diameter, 50 microns thickness) for the initial scratch-resistant layer, and a thick, large-bubble wrap (around 25mm bubble diameter, 75 to 100 microns thickness) for outer shock absorption. For a standard adult bicycle, a roll width of 30 to 50 centimeters is highly manageable for wrapping individual tubes, while a total roll length of 15 to 20 meters ensures you have enough material for multiple protective layers and overlaps.
Selecting the wrong specifications can lead to costly consequences. Wrap that is too thin will easily puncture when pressed against sharp metal components like chainrings or brake levers, while oversized rolls can make the wrapping process clumsy and lead to excess bulk that increases shipping box dimensions. By understanding how to match bubble thickness, bubble diameter, and roll dimensions to your specific bicycle frame, you can ensure your ride arrives at its destination without a single scratch or dent.
Quick Selection Guide: Matching Bubble Wrap to Bicycle Parts
Bicycles are complex assemblies of varying materials, shapes, and vulnerabilities. A single wrapping approach applied uniformly across the entire bike often results in under-protected fragile components or an excessively bulky package that will not fit into a standard shipping carton. To pack efficiently, you must categorize the bicycle into distinct zones based on their susceptibility to structural damage, cosmetic scratches, and puncture risks.
Products mentioned in this guide
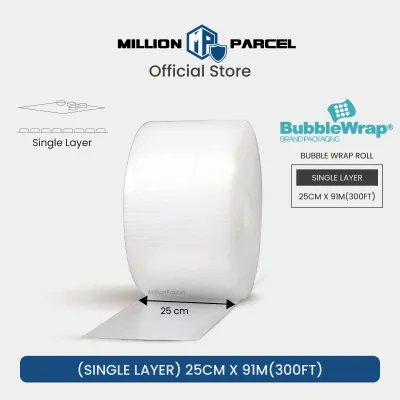
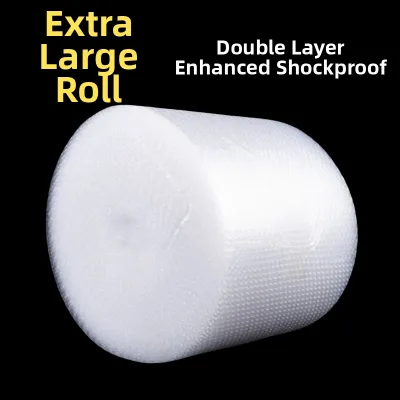
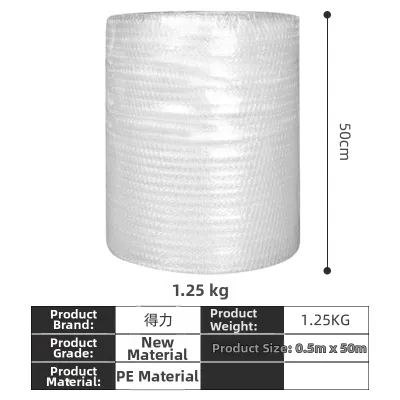
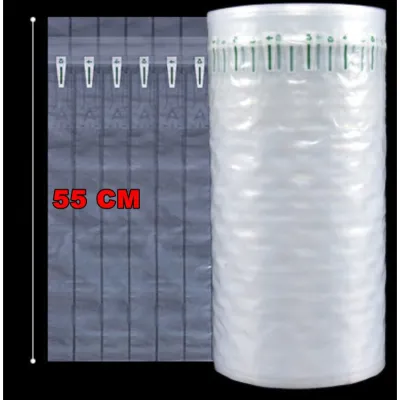
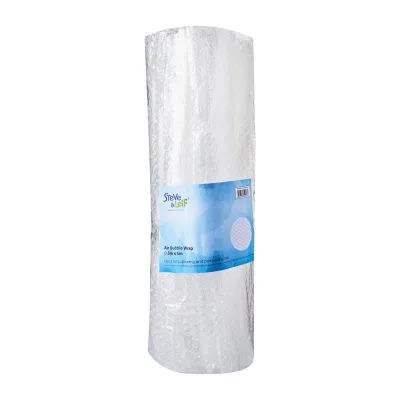
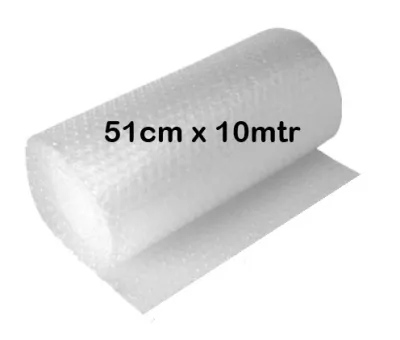
Prices are valid at publication and may change. Please refer to the product page for the latest price.
The frame tubes, fork, and handlebars represent large, smooth surfaces that are highly prone to cosmetic scuffing and paint chips during transit. Conversely, protruding mechanical components such as the rear derailleur, brake calipers, shifters, and cranksets are highly vulnerable to structural bending or snapping under impact. These mechanical parts also feature sharp edges that can easily slice through thin packaging materials under pressure.
To simplify your packing preparation, use the following framework to match each zone with the correct bubble size and layer count:
- Main Frame Tubes (Top Tube, Down Tube, Seat Tube): Use small bubbles (10mm diameter) for the first 2 layers to prevent paint friction, followed by 2 layers of large bubbles (25mm diameter) to absorb side impacts.
- Front Fork and Rear Stay: Use small bubbles (10mm diameter) for 3 to 4 tight layers, as these areas are narrow and prone to rubbing against the shipping box walls.
- Handlebars and Brake Levers: Use large bubbles (25mm diameter) for 3 layers, ensuring the levers are fully enveloped to cushion against drops.
- Rear Derailleur and Chainring: Shield first with heavy cardboard, then wrap with 4 layers of large bubbles (25mm diameter) to create a thick, shock-absorbing barrier.
- Wheel Hubs and Axles: Use 3 layers of large bubbles (25mm diameter) to prevent the sharp axle ends from puncturing the outer shipping box.
When preparing a bicycle for international shipping, increase the layer count by at least one additional layer across all zones to account for prolonged handling and multiple transit transfers. For local storage where the bicycle remains stationary, a simpler two-layer small-bubble wrap is generally sufficient to keep dust and light moisture away from the frame.
Understanding Bubble Size and Thickness for Impact Protection
The protective capability of bubble wrap is determined by two primary physical specifications: bubble diameter (size) and film thickness. Bubble diameter dictates the cushion depth and the wrap’s ability to conform to complex shapes, while film thickness—typically measured in microns or mils (one-thousandth of an inch)—determines the material’s tensile strength and puncture resistance.

Small bubbles, which typically measure 10 millimeters in diameter and 3 to 4 millimeters in height, excel at surface protection. Because the bubbles are small and densely packed, they distribute pressure evenly across flat or gently curved surfaces, preventing the packaging material from rubbing against the bicycle’s paint finish. However, small bubbles collapse easily under heavy, concentrated loads and offer minimal protection against deep structural impacts.
Large bubbles, measuring 25 millimeters or more in diameter and up to 12 millimeters in height, act as heavy-duty shock absorbers. The larger volume of trapped air creates a significant physical buffer zone between the bicycle and external forces. This makes large bubble wrap indispensable for protecting the outer perimeter of the bicycle, especially when packed inside a flexible flight bag or a standard cardboard bike box.
The thickness of the plastic film itself is what prevents sharp metal edges, such as cable guides, chainring teeth, and pedal threads, from popping the bubbles. Standard-duty bubble wrap often uses a film thickness of 40 to 50 microns, which is highly flexible but easily punctured by sharp bicycle components. For robust bicycle packing, look for heavy-duty or industrial-grade bubble wrap with a thickness of 75 to 100 microns (approximately 3 to 4 mils). This thicker film retains its air pressure far better under sustained loads and resists tearing when pulled tightly around sharp corners.
While it is tempting to use the thickest, largest bubble wrap available for the entire bicycle, you must consider the trade-offs of bulk and weight. Excessive layers of large bubble wrap can quickly inflate the outer dimensions of your packed bicycle, making it difficult to slide into a standard bike box without compressing the bubbles and reducing their effectiveness. Additionally, while bubble wrap is lightweight, using an entire industrial roll can add noticeable weight to your package, potentially pushing your shipment into a higher pricing tier on local courier services.
Choosing the Right Roll Width and Length for Full Coverage
Selecting the correct roll dimensions is critical to achieving a seamless, secure wrap without wasting material or creating weak points. If the roll is too narrow, you will spend excessive time taping multiple small pieces together, creating seams that can easily split during transit. If the roll is too wide, wrapping tight, intricate areas like the chainstays or handlebars becomes incredibly awkward.
To determine the minimum roll width required for your bicycle, measure the widest structural sections of the frame. For most standard road, mountain, or hybrid bicycles, the main frame tubes have a circumference of approximately 15 to 25 centimeters. A roll width of 30 centimeters is the ideal sweet spot for these sections, allowing you to wrap the tubes cleanly with a slight overlap on each rotation. For wider components like the handlebars or the wheelset, a 50-centimeter wide roll provides excellent coverage in a single pass, reducing the need for multiple overlapping strips.
Calculating the total roll length requires estimating the surface area of the disassembled bicycle and multiplying it by the desired number of layers. A standard adult bicycle, when disassembled (wheels removed, handlebars turned or detached), has an approximate surface area of 1.5 to 2 square meters, including the wheels. To ensure adequate protection, you should plan for an average of three layers of bubble wrap across the entire surface, plus an additional 20 percent margin for overlaps, structural corners, and mistakes.
You can estimate your required roll length using this simple calculation framework:
- Step 1: Calculate the target wrapping area. Multiply the bicycle's estimated surface area (approx. 2 square meters) by your target layer count (3 layers), which equals 6 square meters of total material needed.
- Step 2: Account for overlaps. Add a 20 percent buffer to your total (6 square meters x 1.2), resulting in a final requirement of approximately 7.2 square meters of bubble wrap.
- Step 3: Convert to roll length. Divide your required square meters by the width of your chosen roll. For a 30-centimeter (0.3-meter) wide roll, you would need a length of 24 meters (7.2 / 0.3). For a 50-centimeter (0.5-meter) wide roll, you would need a length of 14.4 meters (7.2 / 0.5).
Using a wider roll (50 centimeters) is highly advantageous for wrapping the wheels and the main frame triangle in continuous, unbroken sheets. However, keeping a smaller, secondary roll of 30-centimeter wide wrap on hand is highly recommended for wrapping smaller, detached parts like the seatpost, pedals, and quick-release skewers.
Step-by-Step Wrapping Strategy for Maximum Protection
Having the right bubble wrap is only half the battle; applying it systematically is what guarantees your bicycle survives the rigors of transit. Before you begin wrapping, gather your materials: your selected bubble wrap rolls, a pair of heavy-duty scissors or a utility knife, high-tack packaging tape, cardboard scraps, and zip ties. Always exercise caution when using cutting tools to avoid personal injury or accidental damage to your bicycle’s paint and cables.
Step 1: Disassembly and Surface Preparation Begin by thoroughly cleaning your bicycle to remove any dirt or grit that could act as an abrasive under the bubble wrap. Disassemble the bicycle as required for your shipping box: remove the pedals, seatpost, front wheel, and handlebars. Shift the chain onto the largest chainring and the largest rear cog to pull the rear derailleur inward, reducing its profile.
Step 2: Shielding Sharp Edges and Vulnerable Points Before applying any bubble wrap, you must protect the wrap itself from being punctured from the inside. Wrap sharp metal edges, such as the chainring teeth, front and rear dropouts, and brake levers, with thick pieces of folded cardboard or foam pipe insulation. Secure these protective shields in place with zip ties or a small amount of tape, ensuring the tape does not touch the bicycle’s painted surfaces.
Step 3: Applying the Inner Scratch-Prevention Layer Take your 30-centimeter wide, small-bubble wrap and begin wrapping the individual frame tubes. Keep the flat side of the bubble wrap facing the bicycle frame, with the raised bubbles facing outward. Wrap each tube tightly, overlapping each turn by approximately 5 centimeters. Apply at least two full layers to the top tube, down tube, seat tube, and fork. Secure the ends of the wrap with packaging tape, ensuring the tape only adheres to the bubble wrap itself, never to the bicycle frame.
Step 4: Applying the Outer Impact-Absorption Layer Once the frame is fully cocooned in small-bubble wrap, apply the heavy-duty, large-bubble wrap (25mm bubbles) over the high-impact zones. Focus on the outer perimeter of the bicycle, including the front fork tips, the rear stays, and the handlebar ends. Wrap these areas with two to three layers of large-bubble wrap to create a thick, resilient cushion.
Step 5: Securing and Bundling If you are packing the bicycle into a cardboard box, bundle the detached handlebars and front wheel to the main frame using zip ties. Place a layer of bubble wrap between the frame and the bundled components to prevent metal-on-metal contact. Finally, run several bands of packaging tape around the entire bundled assembly to compress the bubble wrap slightly and prevent it from shifting during handling. Ensure you do not tape too tightly, as over-compression will pop the bubbles and destroy their cushioning ability.
Frequently Asked Questions (FAQ)
Can I reuse old bubble wrap for packing a bicycle?
Reusing packaging materials is an excellent way to reduce waste, but you must inspect the material thoroughly before trusting it with a high-value item like a bicycle. Lay the used bubble wrap flat and check for popped bubbles, micro-tears, and signs of plastic fatigue. If more than 10 percent of the bubbles in a given section are deflated, that section will not provide adequate impact protection.
You can safely reuse slightly worn bubble wrap for the inner, scratch-prevention layers of your bicycle frame, where the primary goal is preventing friction rather than absorbing heavy impacts. However, for the critical outer impact zones, such as the fork tips, rear derailleur, and frame extremities, always use new, fully intact, heavy-duty bubble wrap to ensure maximum shock absorption.
Is bubble wrap alone enough to protect a bicycle during shipping?
No, bubble wrap alone is not sufficient to protect a bicycle during commercial shipping. While bubble wrap excels at absorbing localized shocks and preventing surface scratches, it lacks the structural rigidity required to withstand the heavy crushing forces encountered in transit trucks and sorting facilities.
To ensure complete safety, your bubble-wrapped bicycle must be placed inside a rigid outer container, such as a heavy-duty double-walled cardboard bike box or a dedicated plastic travel case. Additionally, you should use supplementary structural reinforcements, such as plastic dropout spacers to prevent the fork and frame stays from being crushed inward, and foam blocks or cardboard corner protectors to keep the bicycle centered and immobile within the box.
How do I prevent bubble wrap from leaving marks on the bicycle paint?
When bubble wrap is wrapped tightly against a bicycle frame for extended periods, especially in warm or humid climates, the polyethylene plastic can trap moisture or react with certain paint finishes. This can result in permanent cosmetic damage, such as ghosting, cloudy water spots, or textured bubble patterns imprinted directly into the clear coat.
To prevent this chemical and physical reaction, never apply bubble wrap directly to a damp bicycle frame. If you are shipping or storing the bicycle in a humid environment, apply a soft, breathable inner barrier layer before wrapping it in plastic. Wrapping the frame tubes in acid-free packing paper, clean microfiber cloths, or specialized foam sleeves will protect the paint finish while allowing any trapped moisture to escape safely.

Community discussion
Share your experience or ask a question. Comments are reviewed before publication.