
To choose the right magic slate board for sketching practice, prioritize pressure sensitivity for line weight control, high screen contrast for visibility, a physical lock switch to protect your work, and a screen size that matches your portability needs. Avoid boards with dim displays that wash out under standard lighting, or those lacking a lock switch. The ideal decision path begins with identifying your specific sketching style—whether rapid thumbnailing, detailed drafting, or outdoor sketching—and then matching those needs to the board’s physical and functional specifications.
Evaluating Screen Size and Active Drawing Area
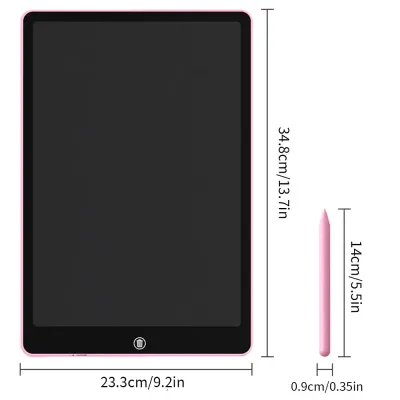
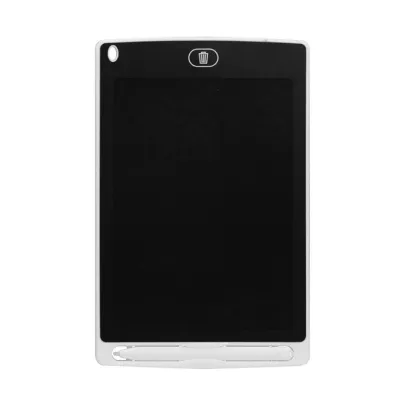
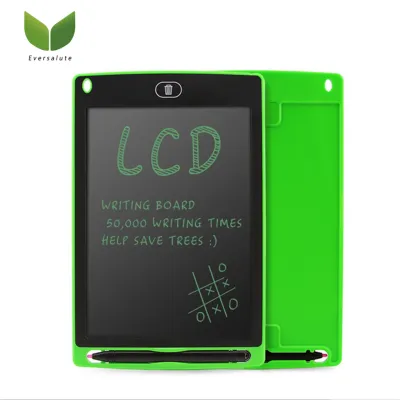
Selecting the right physical dimensions for your magic slate board directly impacts your drawing ergonomics and how you structure your sketches. Compact formats, typically featuring screen sizes around 8.5 to 10 inches, are highly suited for quick thumbnails, rapid ideation, and layout planning. These smaller boards mimic the form factor of a pocket notebook, making them incredibly easy to slip into a small bag or carry during a daily commute on the train.
Larger formats, ranging from 12 to 15 inches, are better suited for detailed drafting, architectural layouts, and full-page compositions. These dimensions provide the physical space required for broader arm movements, allowing you to draw from the shoulder or elbow rather than just the wrist, which is essential for maintaining straight lines and correct perspective. However, these larger boards require more desk space and a larger backpack or portfolio case for transport.
Products mentioned in this guide
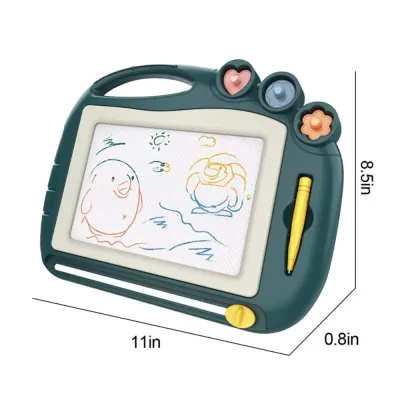
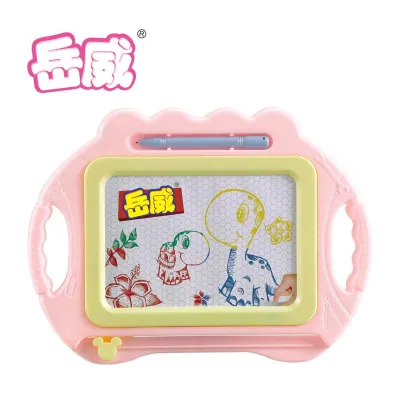
Prices are valid at publication and may change. Please refer to the product page for the latest price.
Bezel width is another critical factor that affects the actual usable drawing space and your overall comfort. A flush, narrow bezel maximizes the active drawing area while keeping the device footprint minimal, but a slightly wider bezel can serve as a comfortable hand rest. Because most magic slate boards do not feature advanced digital palm rejection, having a dedicated physical border where you can rest the heel of your hand prevents accidental smudging or pressure marks along the edges of the screen.
Weight and portability must be balanced against your typical drawing environment. A lightweight board weighing under 300 grams is easy to hold with one hand while sketching standing up in a park or museum. If you primarily practice at a drafting table or desk, a slightly heavier, sturdier board with non-slip rubber feet on the back will provide a more stable drawing surface that does not slide around as you apply pressure.
Assessing Pressure Sensitivity and Line Contrast
Pressure sensitivity is the most critical feature for translating traditional sketching techniques to a magic slate board. These boards utilize cholesteric liquid crystal displays (ChLCD) that physically respond to the pressure of a stylus. High sensitivity allows you to achieve a wide range of line weights, delicate cross-hatching, and subtle shading simply by varying how hard you press. Without adequate sensitivity, your sketches will look flat and uniform, lacking the depth and expression of a pencil drawing.

Screen contrast determines how clearly your sketches stand out against the background. Standard boards feature a dark green or bright neon line on a deep black background, which offers excellent legibility in most environments. While some boards offer multi-color gradient backgrounds, these can be distracting for technical drafting or architectural sketching where uniform line color is preferred for clarity.
Visibility varies significantly depending on your lighting conditions. Indoor studio spaces with bright overhead lights require a screen with a matte, anti-glare coating to prevent distracting reflections. For outdoor sketching, look for a board with a highly reflective background layer. These screens utilize ambient sunlight to illuminate the drawn lines, making the contrast sharper and easier to read the brighter the sun shines.
Stylus design and nib material directly influence the tactile feel of the board. Hard plastic or polyoxymethylene (POM) nibs glide smoothly across the screen but can feel slippery, making precise control difficult. Nibs made of softer, textured materials provide a slight resistance that mimics the natural friction of pencil on paper. Ensure the stylus tip is smooth and free of sharp edges, and check if replacement nibs are available, as a worn or jagged tip can permanently scratch the screen surface.
Erasing Mechanisms, Lock Switches, and Workflow
Your sketching workflow is heavily influenced by how you correct mistakes and manage your canvas. The most common erasing mechanism is the full-screen instant erase, which clears the entire board with a single button press. This is incredibly efficient for rapid-fire thumbnailing and gesture drawing where you want to start a new sketch immediately, but it can be frustrating if you make a minor error on a highly detailed drawing.
Advanced magic slate boards offer partial erase capabilities, allowing you to correct localized mistakes without losing your entire composition. These systems often use a specialized eraser tip on the stylus or a dedicated erase mode that clears only the areas you rub over. It is important to verify the precision of this feature, as some partial erase mechanisms can leave faint ghost images or slightly dim the surrounding lines, which may affect the clean look of technical sketches.
A reliable physical lock switch is a non-negotiable safety feature for any serious sketching practice. This switch physically disables the erase button, ensuring that your work is protected from accidental clearing while you are carrying the board in a bag or resting your hand near the button. Look for a switch that is recessed or firm enough that it cannot be easily toggled by accident during transit.
Evaluate the placement and responsiveness of the erase button relative to your drawing hand. The button should be easily accessible for quick clearing but positioned away from where your wrist naturally rests to prevent accidental activation. A slightly recessed button or one that requires a firm, deliberate press is ideal for maintaining an uninterrupted creative flow.
Power Source, Battery Life, and Build Durability
Understanding the power requirements of a magic slate board helps ensure it is always ready when inspiration strikes. Most standard boards are powered by a replaceable coin cell battery, such as a CR2016 or CR2025. Because these screens are bi-stable—meaning they require zero power to maintain an image and only consume electricity during the brief erase cycle—a single coin cell can last for tens of thousands of erases, often translating to over a year of daily use.
Rechargeable systems featuring built-in lithium-ion batteries charged via USB-C offer a modern alternative. While this eliminates the need to purchase replacement coin cells, it adds slightly to the overall weight of the board and introduces the risk of a dead battery mid-sketch. Weigh the convenience of USB-C charging against the absolute reliability of a coin-cell system that requires no charging cables.
Build durability is essential if you plan to use your board outside of a controlled studio environment. Look for a frame constructed from high-impact ABS plastic, which provides excellent drop resistance and structural rigidity. The screen itself should have a scratch-resistant protective layer to withstand the constant friction of the stylus and the occasional accidental scrape from keys or tools in your bag.
Stylus storage is a minor detail that can make or break the usability of your board. Magnetic slots along the side of the frame are highly convenient for quick access but can easily knock loose when sliding the board into a backpack. A physical slot, a built-in silo within the frame, or a dedicated tether hole that allows you to secure the stylus to the board with a cord is much more reliable for preventing the stylus from getting lost.
Building Your Shortlist: Matching Features to Your Practice Style
To help you select the right magic slate board, match your primary drawing habits to one of the following user profiles:
- The Quick Thumbnailer: If your practice consists of rapid ideation, quick layout planning, or brainstorming design concepts, prioritize speed and portability. A compact 8.5-inch to 10-inch board with a simple full-screen erase and a lightweight frame is ideal. A basic coin-cell setup will serve you well for months without maintenance, with reliable options typically ranging from S$15 to S$30.
- The Detailed Architectural Drafter: For those practicing precise perspective drawings, structural layouts, or detailed compositions, screen real estate and control are paramount. Look for a larger 12-inch to 15-inch board with high pressure sensitivity to capture fine lines. A partial erase function is highly recommended to allow for precise corrections without restarting the entire drawing, and a matte, anti-glare screen is essential for long hours under studio lights.
- The On-the-Go Urban Sketcher: If you love sketching outdoors—perhaps capturing the unique facades of local shophouses or the lush greenery of nearby parks—durability and outdoor visibility are your top priorities. Choose a medium-sized (10-inch to 12-inch) board with a rugged, drop-resistant ABS frame. Ensure the screen has high contrast under direct sunlight, and look for a secure stylus attachment, such as a physical tether, to prevent losing your pen while moving between locations.
Before making a final purchase, always cross-reference product labels, packaging claims, and user manuals to verify these specific features. Look for terms like “pressure-sensitive liquid crystal,” “partial erase technology,” and “anti-glare coating” to ensure the board meets your technical requirements. If you are shopping in a physical stationery store, test the screen contrast under the store’s lighting and try drawing a few light strokes to check the responsiveness and tactile feedback of the stylus.
Frequently Asked Questions (FAQ)
Can I use a magic slate board for professional architectural drafting?
While magic slate boards are excellent for rough conceptual sketches, quick perspective practice, and spatial brainstorming, they are generally not suitable for professional-grade architectural drafting. They lack the precision grid alignment, exact scaling tools, and vector export capabilities required for technical blueprints. Because you cannot save multiple layers or easily export editable CAD files directly from a basic slate board, they serve best as a digital scratchpad rather than a primary drafting tool.
How do I clean the screen without damaging the surface?
To clean the screen safely, start by turning on the lock switch to prevent accidental erasing. Use a dry, soft microfiber cloth—similar to the ones used for eyeglasses—to gently wipe away fingerprints, dust, and smudges. Avoid using harsh chemical cleaners, alcohol, or excessive water, as moisture can seep into the edges of the bezel and damage the internal liquid crystal layer. If a dry wipe is insufficient, slightly dampen the microfiber cloth with a tiny drop of water, wipe the surface gently, and dry it immediately with a dry section of the cloth.
Does the stylus need to be a specific brand to work with the board?
In most cases, magic slate boards use passive pressure technology, meaning the screen responds to the physical pressure of the tip rather than an electronic signal from the pen. This means you can often use generic passive styluses or even a clean, rounded plastic tool in a pinch. However, to achieve the best pressure sensitivity, line variation, and to prevent scratching the delicate screen surface, it is highly recommended to use the proprietary stylus that comes with the board. Avoid using sharp objects, metal pens, or standard pencils, as these will permanently scratch and ruin the drawing surface.

Community discussion
Share your experience or ask a question. Comments are reviewed before publication.