
Embroidery beginners often find that threading multi-strand cotton floss through a narrow needle eye is one of the most frustrating parts of starting their first project. A ‘2-in-1’ needle threader solves this issue by combining threading assistance with a secondary utility, such as an integrated thread cutter or a dual-sized loop system. The best option for a beginner is not a one-size-fits-all tool, but rather one that matches the specific needle sizes and thread thicknesses of your project while offering a comfortable grip. By understanding how these tools function and how to verify their compatibility with your supplies, you can avoid split threads, bent wires, and interrupted stitching sessions.
Understanding the '2-in-1' Functionality in Embroidery Tools
When browsing online marketplaces or local craft shops, you will quickly notice that the term ‘2-in-1’ is used to describe two entirely different tool configurations. The first common design features a classic wire loop or hook on one end and a small, integrated cutting blade on the other. This style allows you to thread your needle and snip your embroidery floss using a single handheld device, reducing the number of tools you need to keep track of while working.
The second interpretation of a ‘2-in-1’ threader features two distinct threading ends, typically a fine wire loop for small needle eyes and a thicker, sturdier wire loop or hook for larger needles. This dual-loop configuration is highly versatile for crafters who switch between different embroidery styles, such as delicate crewel work and heavy tapestry stitching.
Products mentioned in this guide
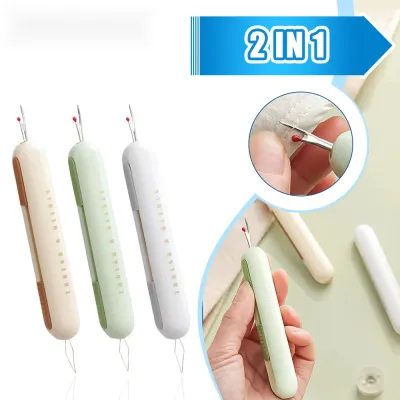
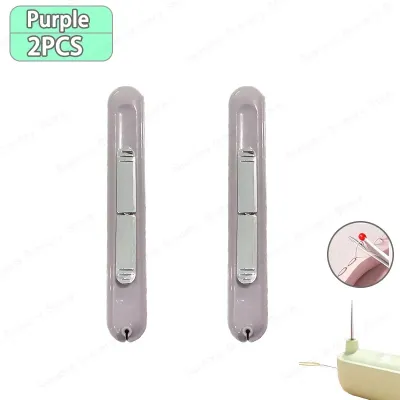
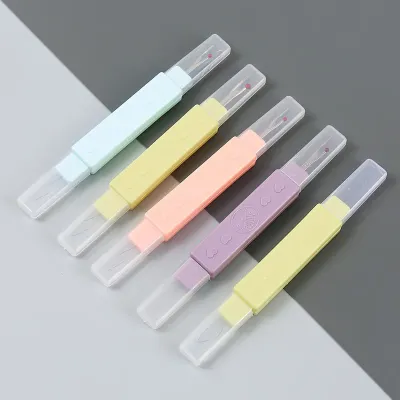
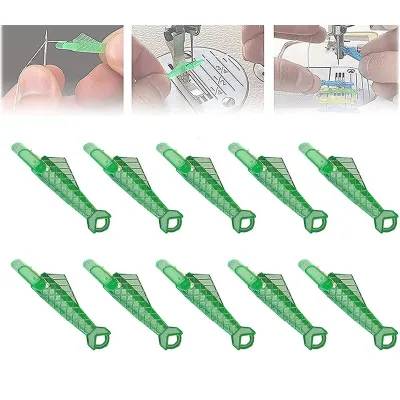
Prices are valid at publication and may change. Please refer to the product page for the latest price.
Because manufacturers use the ‘2-in-1’ label for both styles, you must carefully read the product description and inspect the packaging before making a purchase. Choosing the wrong type can lead to frustration if you expect a built-in cutter but receive a dual-loop tool instead, or vice versa.
It is also important to distinguish between standard sewing threaders and those built specifically for embroidery. Standard sewing threaders often feature incredibly fine, delicate wires designed solely for thin polyester sewing threads. Attempting to pull multi-strand embroidery floss through these delicate loops will almost certainly snap the wire, making a dedicated embroidery-grade threader a much more reliable choice for needlework.
Essential Selection Criteria for Beginners
Selecting a reliable ‘2-in-1’ needle threader requires looking closely at the materials and construction of the tool rather than relying on brand names or aesthetic appeal. The wire loop is the most vulnerable part of any threader, meaning its material composition and attachment method are critical. Look for loops made from high-tensile stainless steel or brass wire, which offer the flexibility needed to pass through a needle eye without permanently bending or snapping.

The connection point where the wire enters the handle is the most common failure zone. When evaluating a threader, check if the wire is deeply embedded into the plastic or metal casing, or if it is secured with a reinforced metal collar. Avoid models where the wire appears lightly glued or merely sandwiched between thin plastic halves, as these tend to pull apart under the tension of thicker embroidery floss.
Ergonomics play a massive role in how comfortable you feel during long crafting sessions. Small, flat metal threaders can be difficult to pinch, especially if you experience hand fatigue, joint stiffness, or limited dexterity. Opt for threaders with contoured, textured plastic handles or wider ergonomic grips that allow you to hold the tool securely without applying excessive pinching force.
If you choose a model with an integrated cutting blade, inspect the safety of the blade placement. The cutter should be recessed within a protective plastic slot to prevent accidental finger cuts while you are reaching into your sewing basket. The blade itself must be sharp enough to slice through cotton floss cleanly; a dull blade will chew and fray the fibers, making the thread even harder to work with.
Finally, consider how the tool will be stored when not in use. Delicate wire loops are easily crushed or bent out of shape when tossed loosely into a craft box. Look for ‘2-in-1’ threaders that feature protective plastic caps, folding mechanisms, or retractable sliders that pull the wire safely inside the handle body when you are finished threading.
Matching the Threader to Your Embroidery Supplies
A common mistake for embroidery beginners is assuming that any threader will work with any needle and thread combination. To ensure a smooth workflow, you must match the physical dimensions of your threader’s wire loop to the eye of your specific embroidery needles. Crewel needles, which are commonly used for standard embroidery, have medium-sized, elongated eyes that accommodate most standard wire threaders.
If you are working with chenille or tapestry needles, which have much larger eyes to accommodate thick wool or heavy pearl cotton, a fine-wire threader may slip through too easily but fail to hold the thick thread securely. Conversely, if you are using very fine needles for delicate detail work, a heavy-duty embroidery threader will simply not fit through the needle eye, and forcing it will damage both the needle and the tool.
Testing your tool with different thread types is the best way to verify compatibility before starting a major project. Multi-strand cotton embroidery floss is made of six individual strands that can easily separate and bunch up. When using a wire loop threader, the loop must be wide enough to hold all six strands together without pinching them so tightly that they shred as they pass through the needle eye.
If you notice that the wire loop struggles to slide through the needle eye, or if you hear a scraping sound as you pull the thread through, the combination is incompatible. Forcing the threader under these conditions will either break the wire or damage the delicate fibers of your embroidery floss. Always check the manufacturer’s packaging for any listed limits on needle sizes or thread weights to guide your setup.
Condition-Based Shortlist: Choosing the Right Style for Your Workflow
The physical design of your ‘2-in-1’ needle threader should align with where and how you prefer to embroider. Handheld compact models are the most traditional and widely available style. These lightweight tools are highly portable, making them the perfect addition to travel embroidery kits, stitching tins, or project bags for crafting on the go. Their small size means they take up virtually no space, though they do require a steady hand and a precise pinch to operate.
For crafters who work primarily at a dedicated sewing desk or table, desktop and standalone threaders offer an excellent alternative. These models sit firmly on your work surface, allowing you to thread your needle using a simple downward press or slide mechanism. Because you do not need to hold the tool itself, desktop models are ideal for individuals who struggle to grip small objects or those who want to minimize hand strain during high-volume projects.
If you prefer to keep your hands completely free and avoid searching for misplaced tools in your fabric pile, thimble-style or ring threaders are a highly practical option. These tools are worn directly on your finger, featuring a small wire loop or hook extending from the band alongside a tiny cutting blade. This setup allows you to thread your needle and cut your floss without ever putting down your fabric or picking up a separate tool.
Each style comes with distinct trade-offs that you must weigh against your personal crafting habits. Compact handheld models are inexpensive and portable but easily lost in couch cushions. Desktop models provide unmatched stability and ease of use but are bulky and unsuitable for travel. Ring threaders offer incredible efficiency but may feel awkward or restrictive if the band does not fit your finger comfortably.
Care, Maintenance, and When to Replace
Even the highest-quality ‘2-in-1’ needle threaders are delicate instruments that require proper handling to maximize their lifespan. When threading a needle, always pull the wire loop straight back through the needle eye rather than pulling it at an angle. Pulling at an angle concentrates all the tension on one side of the wire loop, causing it to bend permanently or snap off at the base of the handle.
Over time, your threader can accumulate oils from your hands, lint from cotton floss, or adhesive residue if you use basting sprays or tapes. To keep the tool performing smoothly, gently wipe the wire loop and the cutting blade with a dry microfiber cloth after each stitching session. Avoid using water or harsh cleaning solvents, which can cause metal components to rust or degrade the plastic housing.
Knowing when to retire a worn-out threader is essential for protecting your embroidery projects from damage. If the wire loop becomes permanently bent, kinked, or loose within the handle, it is time to replace the tool. A compromised wire can snag on your embroidery floss, causing invisible micro-tears in the thread that lead to fraying and breakage mid-stitch.
Similarly, if your ‘2-in-1’ threader features a built-in cutter that begins to chew or tear the floss instead of slicing it cleanly, the blade has become dull. Since these small blades cannot be safely sharpened, replacing the tool is the best way to maintain a clean, professional finish on your embroidery work. Never attempt to force a thick wire threader through a needle eye that is visibly too small, as this remains the leading cause of premature tool failure.
Frequently Asked Questions (FAQ)
Can a 2-in-1 threader handle metallic embroidery threads?
Metallic embroidery threads are notoriously stiff, springy, and prone to fraying because they consist of a synthetic core wrapped in thin metallic foil. Standard wire loop threaders can handle metallic threads, but you must exercise extreme caution. The rough texture of metallic thread can easily snag on a wire loop that has any microscopic burrs or rough edges. Before threading your actual project, test the threader with a scrap piece of metallic thread to ensure it slides smoothly without stripping the metallic coating from the core.
Why does the wire loop keep breaking or bending?
The most common cause of a bent or broken wire loop is using a threader that is too large for the needle eye. When you force a thick wire loop through a tiny needle eye, the metal is subjected to extreme compression and friction, causing it to fatigue and snap. Another frequent error is pulling the threader through the needle at an angle. Always pull the tool straight back in a continuous, gentle motion to distribute the tension evenly across both sides of the wire loop.
Is a 2-in-1 threader necessary if I already have good eyesight?
While excellent eyesight makes finding the needle eye easier, a 2-in-1 needle threader offers significant ergonomic and efficiency benefits that go beyond visual aid. If you are working on a complex embroidery project that requires frequent color changes, threading dozens of needles by hand can quickly lead to finger strain and hand fatigue. Using a threader streamlines this repetitive task, allowing you to maintain a steady rhythm and spend more of your valuable crafting time actually stitching.

Community discussion
Share your experience or ask a question. Comments are reviewed before publication.