
When preparing for a memorable celebration, a corporate gathering, or a festive holiday in Singapore, the presentation of your gifts speaks volumes before they are even opened. Plain, off-the-shelf gift containers often lack the personal touch that makes recipients feel truly valued. Transforming simple goodie bags into stunning, bespoke packages using wrapping paper and ribbons is an accessible way to elevate your presentation. By mastering a few fundamental paper-folding techniques, coordinating textures, and securing your materials with precision, you can create a professional, gift-ready look that stands out on any display table.
The key to success lies in understanding how different papers, ribbons, and adhesives interact. Whether you are preparing a small batch of high-end corporate favors or dozens of party treats, a structured approach ensures consistency and durability. With the right tools and a systematic method, you can easily turn everyday stationery supplies into beautiful, structural works of art that keep their shape and hold their contents securely.
Essential Tools and Materials for Wrapping Goodie Bags
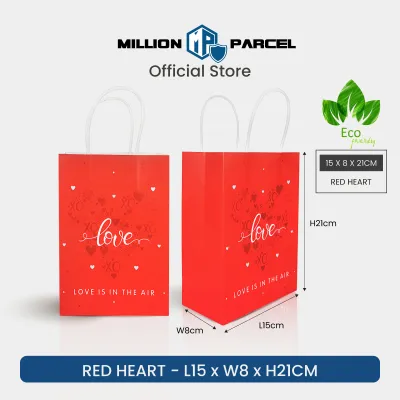
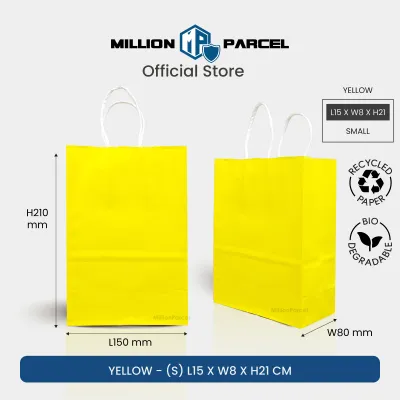
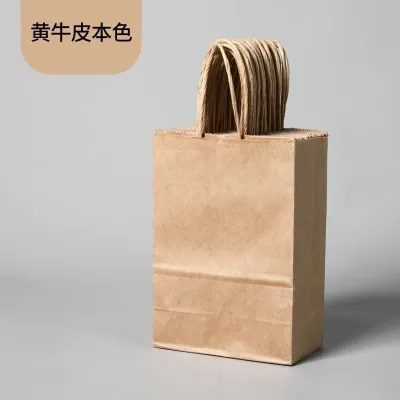
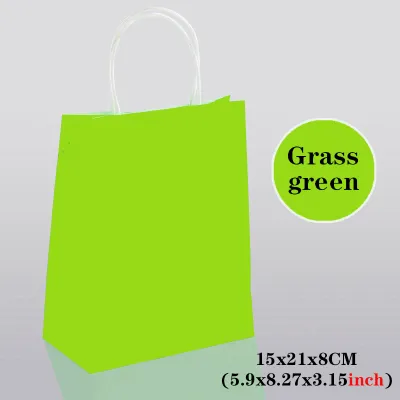
Before beginning the wrapping process, gathering the correct materials is essential to ensure compatibility and a clean finish. The base of your project begins with the bag itself. Flat-bottom kraft paper bags are highly recommended for wrapping because their uncoated, fibrous surface provides excellent grip for standard double-sided tape and craft glue. If you are working with glossy, laminated, or plastic bags, standard adhesives may slide or peel off over time. For these slicker surfaces, high-tack glue dots or specialized double-sided acrylic tapes are necessary to maintain a secure bond. Always test your chosen adhesive on a small, hidden area of the bag first to verify its bonding strength before assembling a large batch.
Products mentioned in this guide


Prices are valid at publication and may change. Please refer to the product page for the latest price.
Choosing the right wrapping paper requires a balance between weight and flexibility. Standard wrapping paper typically ranges from 60 to 80 grams per square meter (gsm). While highly pliable and easy to fold, thin paper can tear easily when stretched over sharp bag corners or when subjected to heavy handling. Opting for a medium-weight paper of around 90 to 120 gsm offers a more premium, structured feel and resists tearing, making it ideal for clean folds. Additionally, consider the scale of the patterns on your paper. Large, sprawling motifs often get lost or cut off on small bags, whereas micro-patterns, geometric prints, or solid colors scale beautifully on smaller surfaces.
Ribbons serve as both a functional closure and a major design element, and they should be selected based on the weight of the bag and the desired aesthetic. Grosgrain ribbons feature a distinct ribbed texture that provides excellent friction, making them highly durable and perfect for functional, load-bearing handles. Satin ribbons offer a smooth, high-gloss finish that exudes elegance, though their slippery nature requires tighter, more secure knotting techniques. Organza ribbons are lightweight and semi-translucent, adding a soft, delicate touch that pairs well with lightweight treats. For a balanced look, match the ribbon width to the bag size: use narrow 9mm ribbons for small favor bags, and wider 25mm to 38mm ribbons for larger bags to create dramatic, eye-catching bows.
To achieve clean, professional results, assemble a toolkit containing sharp craft scissors, a high-quality acrylic ruler, double-sided tape, and a single-hole puncher. Sharp scissors are critical for preventing frayed ribbon edges and jagged paper cuts. A metal or acrylic ruler helps you measure wrap lengths and locate punch holes with mathematical precision. When working with scissors, paper cutters, or strong adhesives, always follow the manufacturer’s safety instructions, work on a flat, stable surface, and keep sharp tools out of reach of young children.
Step-by-Step Guide to Sealing and Tying Goodie Bags with Ribbons
Securing and decorating the top of your bag requires a methodical approach to prevent tearing and ensure a symmetrical, polished finish. Follow these detailed steps to prepare, fold, punch, and tie your bags.

Step 1: Preparing the bag Begin by placing the empty bag flat on a clean, hard work surface. Gently smooth out any wrinkles or creases on the front and back panels. Place your treats or gifts inside the bag, ensuring they settle completely and flatly at the bottom. This distributes the weight evenly and prevents the bag from tipping over or distorting while you work on the top closure.
Step 2: Folding the top edge To create a clean, crisp hem, fold the top 1 to 2 inches (approximately 2.5 to 5 cm) of the bag over. You can fold it toward the back for a seamless front appearance, or fold it toward the front if you are using a double-sided bag with a contrasting interior pattern. Use a bone folder or the flat edge of a ruler to crease the fold sharply. If the paper is thick or springy, apply a small strip of double-sided tape inside the fold to keep it lying perfectly flat.
Step 3: Punching holes correctly Use your ruler to find the horizontal center of the folded top edge. Mark two points at equal distances from the center—typically 1.5 to 2 inches apart, depending on the overall width of the bag. Ensure these marks are positioned at least 0.75 inches (approximately 2 cm) below the top folded edge. This depth is critical; punching holes too close to the top edge or too near the side gussets compromises the structural integrity of the paper, which can cause the bag to rip when lifted or carried. Align your single-hole puncher with the marks and press firmly to cut clean holes through all layers of the folded paper.
Step 4: Threading and tying the ribbon Cut a length of ribbon between 12 and 18 inches, depending on how large you want your final bow to be. To prevent the ribbon ends from fraying during threading, cut them at a sharp 45-degree angle. Thread one end of the ribbon from the front of the bag to the back through the left hole, then thread it from the back to the front through the right hole. This keeps the central length of the ribbon running flat along the back of the fold. Pull the two ends forward so they are of equal length. Tie a secure base knot, such as a surgeon’s knot, close to the paper surface, taking care not to pull so tightly that the paper puckers. Form a symmetrical bow by creating two even loops, crossing them, and pulling them snug. Trim the ribbon tails neatly to finish.
Creative Ways to Apply Wrapping Paper to Goodie Bags
Using wrapping paper to decorate the exterior of a plain bag is an excellent way to customize its design without compromising its structural strength. Rather than wrapping the entire bag, which can look bulky and make the bag difficult to open, targeted paper applications offer a more refined look.
The Half-Wrap Technique for a Two-Tone Look
The half-wrap technique is an elegant way to introduce color and pattern by covering only the lower portion of the bag. To begin, measure the width of your bag’s front panel and the depth of its side gussets. Cut a strip of wrapping paper that matches the desired height (usually the bottom half or third of the bag) and is long enough to wrap completely around the front, sides, and slightly overlap at the back.
Apply thin strips of double-sided tape along the top, bottom, and side edges of the cut wrapping paper strip. Carefully align the bottom edge of the wrapping paper with the bottom seam of the bag. Slowly wrap the paper around the sides, pressing firmly as you go to prevent air bubbles or wrinkles from forming. When you reach the side gussets, fold the paper neatly into the gusset creases. Use a bone folder or the edge of a plastic ruler to crease the paper sharply around the bag’s folds, ensuring the bag can still fold flat if needed. This creates a seamless, two-tone finish that mimics expensive, custom-manufactured packaging.
Custom Paper Accents and Layered Tags
If you have leftover scraps of high-quality wrapping paper, you can repurpose them to create coordinated, lightweight decorations. Patterned wrapping paper often features beautiful illustrations, holiday motifs, or geometric shapes that can be carefully cut out using fine-tip detail scissors.
Because standard wrapping paper is thin and prone to curling, it should be reinforced before being attached to the bag. Apply a thin, even layer of craft glue or a glue stick to the back of the wrapping paper cutout, then press it firmly onto a sheet of sturdy cardstock (around 200 to 250 gsm). Once the adhesive has dried completely, use your scissors to cut around the shape, leaving a thin border of the cardstock visible for a framed, professional look. Attach these reinforced accents or custom gift tags to the front of the bag using double-sided foam tape. This raises the decoration slightly off the surface, creating a subtle 3D shadow effect that adds depth and visual interest without adding unnecessary weight.
Pro Tips for a Polished, Gift-Ready Presentation
Achieving a professional, store-bought look relies on attention to detail, color harmony, and proper preparation for transport. Implementing these advanced styling techniques will ensure your presentation is flawless.
When planning your design, apply the 60-30-10 color rule to maintain visual balance. Let the primary color of the base bag represent 60% of the presentation, the wrapping paper wrap or pattern represent 30%, and the ribbon serve as the final 10% pop of accent color. For a classic, festive aesthetic suitable for celebrations in Singapore, pair a natural brown kraft bag (60%) with a deep forest green or rich red paper wrap (30%), and finish with a shimmering gold satin ribbon (10%). For modern baby showers or bridal events, pair a white base bag with pastel floral paper and a cream grosgrain ribbon.
To add texture and organic beauty, consider tucking a small natural element under the ribbon knot before tightening your bow. A small sprig of dried lavender, a piece of preserved eucalyptus, or a tiny faux floral pick adds a sensory dimension to the gift. These natural elements contrast beautifully with the clean lines of the paper and ribbon, making the package feel incredibly thoughtful and bespoke.
Before finalizing your assembly, always perform a structural integrity check. Lift the completed bag by its ribbon handles to ensure the base remains flat and does not sag under the weight of the contents. If you are gifting heavier items, such as small glass jars of kaya, heavy candles, or multiple stationery items, cut a piece of thick chipboard or corrugated cardboard to fit the exact dimensions of the bag’s interior bottom. Placing this insert inside the bag distributes the weight evenly and prevents the paper bottom from bowing or tearing.
Finally, proper storage and transport are crucial to preserving your hard work. Store the completed bags upright in a shallow, sturdy plastic container or a cardboard tray. Arrange them so they sit snugly against one another to prevent tipping, but do not pack them so tightly that the applied paper wraps crease or the delicate ribbon bows get crushed. Keep the storage containers in a cool, dry room away from direct sunlight and high humidity, which can soften paper fibers and cause adhesives to lose their grip.
Frequently Asked Questions (FAQ)
How do I prevent the ribbon from tearing through a paper goodie bag?
To reinforce the punched holes and prevent the ribbon from tearing the paper under load, apply a small square of clear adhesive tape or decorative Washi tape over the marked spot on both the inside and outside of the bag before punching. This extra layer distributes the tension across a wider surface area. For a highly durable and professional finish, insert metal eyelets (grommets) into the punched holes using an eyelet setting tool, which provides a rigid metal border that completely protects the paper from friction.
Can I use standard wrapping paper to make a goodie bag from scratch?
Standard wrapping paper (typically 60 to 80 gsm) is generally too thin and lacks the tensile strength required to hold items as a standalone bag without tearing at the seams. It is highly recommended to use pre-made blank kraft bags or heavy-weight cardstock (at least 180 gsm) for the bag’s structure, reserving standard wrapping paper strictly for outer decorative wraps, layers, and custom embellishments.
What is the best way to tie a ribbon so it stays secure on a goodie bag?
The most reliable method is to tie a double knot or a surgeon’s knot as the base directly against the paper before forming your bow loops. A surgeon’s knot involves wrapping the ribbon ends around each other twice instead of once, which creates extra friction and prevents the ribbon from slipping or loosening under the weight of the bag’s contents while the bow is being styled.

Community discussion
Share your experience or ask a question. Comments are reviewed before publication.