
Presenting a moon cake box during the Mid-Autumn Festival is a time-honored tradition that celebrates unity, gratitude, and family. While the delicious treats inside are the main attraction, a beautifully wrapped box elevates the entire gifting experience, transforming a simple gesture into a memorable, respectful presentation. By selecting the right decorative paper, mastering precise folding techniques, and securing the package with a perfectly styled ribbon, you can create a stunning gift that reflects the care and thought you put into choosing it.
Achieving a professional finish requires attention to detail, from the initial measurements to the final decorative embellishments. Whether you are wrapping a traditional rectangular tin or a modern square cardboard box, the key lies in maintaining clean lines, sharp creases, and hidden seams. This guide provides step-by-step instructions to help you wrap your moon cake boxes with confidence and elegance.
Materials and Tools You Will Need
Selecting the appropriate wrapping materials is the first step toward a flawless presentation. Because moon cake boxes are often heavy and constructed from thick cardboard, wood, or metal, they require durable paper that can withstand sharp 90-degree corners without tearing. Look for medium-to-heavyweight decorative paper, ideally between 80 and 120 gsm (grams per square meter). Textured papers, such as traditional washi, embossed metallic sheets, or heavy kraft paper, offer excellent durability and a premium tactile feel. Before committing to a large sheet, perform a quick trial fold on a scrap piece to check how easily the paper creases and whether the surface resists tearing along sharp edges.
Products mentioned in this guide
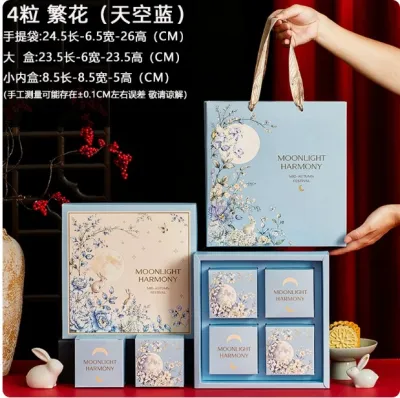
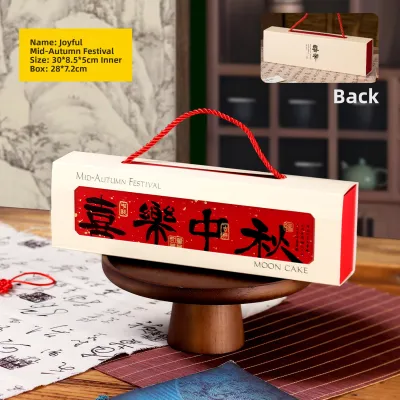
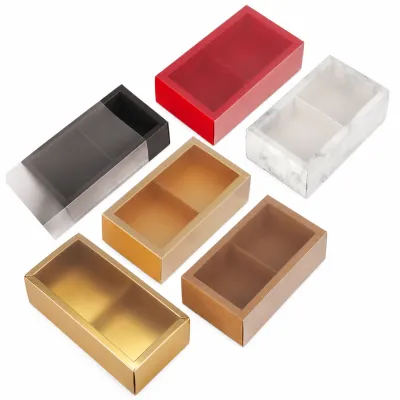
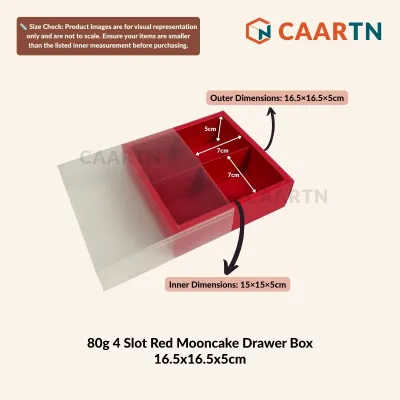
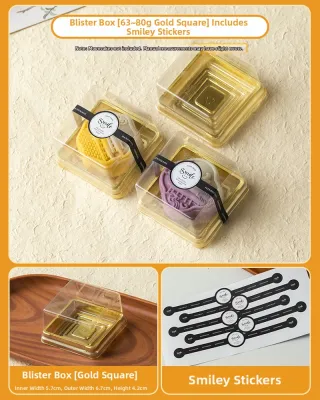
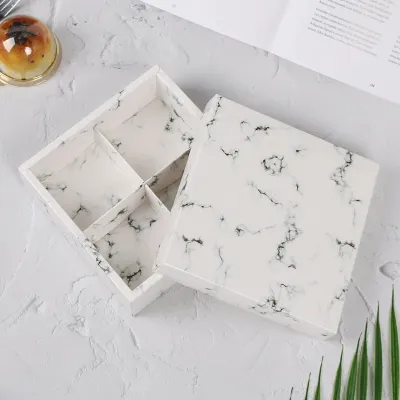
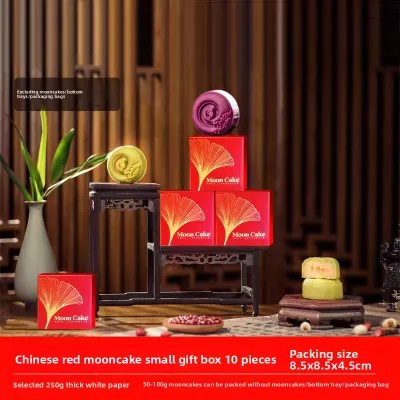
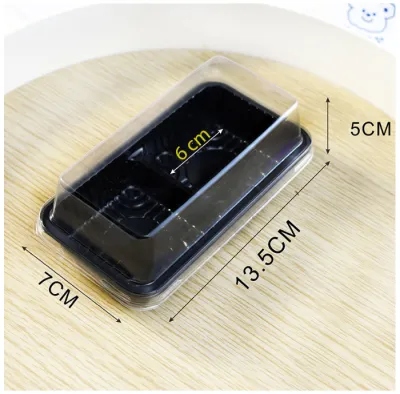
Prices are valid at publication and may change. Please refer to the product page for the latest price.
The choice of ribbon is equally important for both structural support and visual balance. For heavier gift boxes, grosgrain ribbon is highly suitable because its ribbed texture provides excellent grip, preventing the ribbon from slipping off smooth or glossy paper surfaces. Alternatively, wired satin ribbon allows you to sculpt full, voluminous bows that retain their shape during transport. Choose a ribbon width that is proportional to your box; a width of 2.5 to 4 centimeters generally works well for standard-sized moon cake boxes.
To complete the project, gather a few essential crafting tools. High-tack, double-sided tape is indispensable for securing folds invisibly without the messy look of standard clear tape. You will also need a pair of sharp crafting scissors to ensure clean, fray-free cuts on both paper and ribbon. Finally, a bone folder or a smooth plastic ruler is highly recommended for pressing down folds and creating the crisp, sharp creases that define a professional wrap. When using sharp scissors, always work on a flat, stable surface and keep your fingers clear of the cutting path.
Preparing the Moon Cake Box and Paper
Proper preparation prevents common wrapping mistakes, such as bulky corners, misaligned patterns, or paper that does not quite cover the box. Begin by inspecting the moon cake box itself. Ensure the lid is securely closed; if it feels loose or prone to sliding open, secure it with a small piece of low-tack painter’s tape that can be easily removed later. Wipe the exterior of the box with a dry microfiber cloth to remove any dust, fingerprints, or oils, as these can prevent your double-sided tape from adhering properly.

Next, measure your decorative paper to ensure a precise fit. To determine the correct dimensions, wrap the paper around the box to verify that it covers all sides with an overlap of approximately 3 to 5 centimeters. For the ends of the box, the paper should extend slightly more than half the height of the box on each side. If the paper is too long, it will create bulky, uneven folds at the corners; if it is too short, it will leave gaps. Trim any excess paper using your sharp scissors, using a ruler as a guide to keep your cuts perfectly straight.
If your chosen paper features a directional pattern, a large central motif, or festive illustrations, take a moment to align the design. Position the moon cake box face down on the reverse side of the paper, adjusting its placement until the pattern is centered and upright on the top face of the box. You can lightly mark the correct alignment on the back of the paper with a pencil to guide your folds.
Step-by-Step Wrapping Techniques
The folding method you choose should match the specific shape of your moon cake box to ensure a clean, tailored look. Standard rectangular boxes benefit from a classic envelope fold, while square or cube-shaped boxes are ideal candidates for an elegant diagonal wrap.
Regardless of the shape, maintaining consistent tension on the paper throughout the folding process is crucial. Pulling the paper too loosely results in sagging, wrinkles, and shifting, while pulling too tightly can tear the paper at the sharp corners of the box. Keep a firm, steady grip on the paper as you work, smoothing out each section before securing it.
The Standard Envelope Fold for Rectangular Boxes
The standard envelope fold is a highly reliable and clean method for wrapping rectangular moon cake boxes. Start by placing your trimmed paper design-side down on a clean, flat work surface. Position the box face down in the center of the paper, aligning it with your pencil marks if you pre-aligned a pattern.
Pull one long side of the paper up and over the bottom of the box, pressing it flat. Next, pull the opposite long side over, overlapping the first layer by a few centimeters. Apply a continuous strip of double-sided tape along the underside of the overlapping edge, pull the paper taut, and press down firmly to create a straight, seamless joint along the bottom of the box.
Now, turn your attention to one of the open ends. Push the left and right sides of the paper inward against the side of the box, creating two neat, triangular flaps at the top and bottom. Use your bone folder or ruler to crease these diagonal edges sharply. Fold the top triangular flap down tightly against the box end, then apply a strip of double-sided tape to the inside edge of the bottom flap. Pull the bottom flap upward, pressing it firmly against the top flap to seal the end. Repeat this entire process on the opposite end of the box, ensuring both sides are symmetrical and smooth.
The Diagonal Fold for Square Boxes
For square or cube-shaped moon cake boxes, the diagonal fold—often used in professional gift wrapping—creates elegant, sweeping lines and minimizes bulk at the corners. To begin, place your decorative paper on the work surface in a diamond orientation. Position your square box in the center, rotating it so its sides run parallel to the corners of the paper.
Pull the bottom corner of the paper up and over the side of the box, tucking the tip snugly against the inner edge of the box. Next, pull the top corner of the paper over the opposite side of the box, ensuring the paper is pulled tight across the top surface. Secure this fold with a small piece of double-sided tape.
To finish the sides, fold the remaining left and right corners of the paper inward one at a time. As you pull each side over the box, tuck the excess paper along the edges inward to form clean, diagonal seams that meet neatly on the back of the box. Use your bone folder to press along all edges, ensuring the paper hugs the square contours of the box tightly. Secure the final points with double-sided tape, leaving the front and sides of the box completely seamless and smooth.
Tying and Styling the Ribbon
A beautifully tied ribbon not only secures your wrapping paper but also serves as the visual centerpiece of your gift. To ensure you have enough ribbon, wrap it loosely around the box twice—once horizontally and once vertically—and add an extra 30 to 40 centimeters before cutting. This extra length provides ample room to tie a full, symmetrical bow without struggling.
For boxes with intricate or busy paper patterns, a simple single-band style works beautifully. Wrap a single strip of ribbon around the center of the box, secure the ends on the bottom with double-sided tape, and place a flat, tailored knot on top. If your paper has a simpler design, a classic cross style is highly effective. Place the center of the ribbon on the top face of the box, bring the ends to the bottom, cross them over at a 90-degree angle, and bring them back up to the top.
Once the ribbon ends are back on top, tie a secure half-knot. Form a loop with one end, wrap the other end around, and pull it through to create a classic bow. Gently pull the loops and tails to adjust their size, ensuring they are proportionate to the overall dimensions of the moon cake box. To prevent the ribbon ends from fraying and to add a professional touch, fold the ends in half vertically and cut them at a 45-degree angle to create clean, decorative V-shaped tails.
Adding Final Decorative Touches
To elevate your wrapped moon cake box into a truly spectacular Mid-Autumn Festival gift, consider adding small, thoughtful embellishments. Before tightening your ribbon bow, slip a personalized gift tag, a sprig of dried flowers (such as fragrant osmanthus or lavender), or a traditional decorative tassel under the knot. These small additions add texture, color, and a touch of seasonal charm to the presentation.
Once all elements are in place, conduct a final visual inspection of your wrapped box. Check all corners to ensure the paper is tight and the creases are sharp. Look for any exposed double-sided tape or loose edges, and use a small, thin strip of tape to secure any areas that do not sit perfectly flat. Gently smooth out any minor wrinkles in the paper with your fingertips.
Proper storage and transport are essential to preserve your hard work before gifting. Store the wrapped moon cake boxes in a cool, dry place away from direct sunlight, which can cause certain decorative papers to fade or adhesives to weaken. When transporting the gifts, place them flat in a wide-bottomed, sturdy gift bag rather than stacking them, which can crush the delicate ribbon bows or displace the decorative embellishments.
Frequently Asked Questions (FAQ)
How much extra paper do I need for a standard moon cake box?
To calculate the correct paper size, use a simple formula based on the dimensions of your box. The width of your paper should equal the width of the box plus twice the box height, plus an additional 4 to 5 centimeters to allow for a secure overlap. The length of the paper should equal the length of the box plus twice the box height, plus 4 to 5 centimeters. To avoid wasting expensive decorative paper, it is highly recommended to test these measurements first by wrapping the box with a scrap piece of plain kraft paper or newspaper to verify the fit.
What type of ribbon works best for heavy gift boxes?
Heavy moon cake boxes require ribbons with excellent structural integrity and grip to prevent them from slipping. Grosgrain ribbon is highly recommended because its ribbed texture naturally grips the paper, keeping the wrap secure during handling. Wired satin ribbon is another excellent choice, as the thin wire embedded along the edges allows you to sculpt and maintain a full, voluminous bow that will not sag under the weight of the box. If you are using a very smooth, glossy paper and find that the ribbon slides, apply a small, discreet piece of double-sided fabric tape to the underside of the ribbon where it meets the bottom corners of the box to keep it firmly in place.

Community discussion
Share your experience or ask a question. Comments are reviewed before publication.