
Arranging shredded paper in a gift box is an art that elevates a simple present into a curated, boutique-style experience. When done correctly, paper filler does not just sit at the bottom of a box; it acts as an active suspension system that cradles your gift, prevents shifting, and absorbs shocks during transit. Achieving this professional look requires understanding how to manipulate the paper’s volume, density, and placement to match the weight and dimensions of your specific gift.
The secret to a polished presentation lies in the preparation of the material. Many gift-givers make the mistake of pouring shredded paper straight from the packaging into the box, resulting in a flat, uninspired layer that quickly compresses. By learning how to properly fluff, layer, and pack these paper strands, you can create a beautiful, secure nest that keeps your items perfectly positioned for the ultimate unboxing moment.
Choosing the Right Shredded Paper for Your Gift Box
Selecting the ideal shredded paper requires balancing aesthetic appeal with structural support. The weight of the paper, measured in grams per square meter (gsm), directly impacts its load-bearing capacity. Standard copy paper shreds, typically around 70 gsm to 80 gsm, offer robust support for heavier items such as ceramic mugs, glass bottles, or gourmet food jars. Conversely, lightweight tissue paper shreds, which usually range from 17 gsm to 20 gsm, provide a soft, cloud-like texture best suited for delicate, lightweight items like cosmetics or jewelry.
Products mentioned in this guide
![[Cozy Nest] Premium Shredded Paper Decorative Filler for Gift Boxes Packaging and Decoration Available in 20g Packs Shiny Shredded Paper and Glowing Shredded Paper](https://img.lazcdn.com/g/p/e9cdf0b42c12a8a5a92ec456691f29b5.png_400x400q80.png_.webp)
![[Cozy Nest] Assorted 20g Vibrant Shredded Paper Packs Ideal Filler for Gift Boxes Packaging and Decor Lightweight Packaging Solution Eco-Friendly Gift Box Filler Decorative Packaging Material](https://img.lazcdn.com/g/p/762bfc196742000ba38b69c8e90b812f.png_400x400q80.png_.webp)
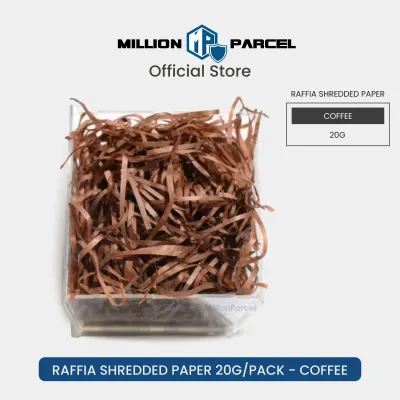
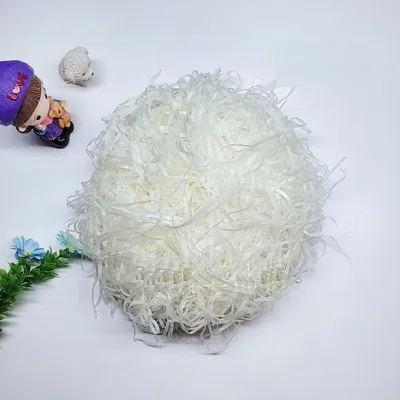
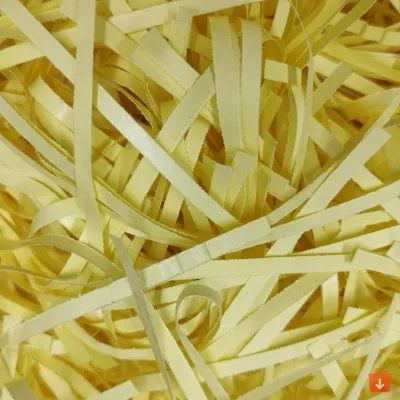
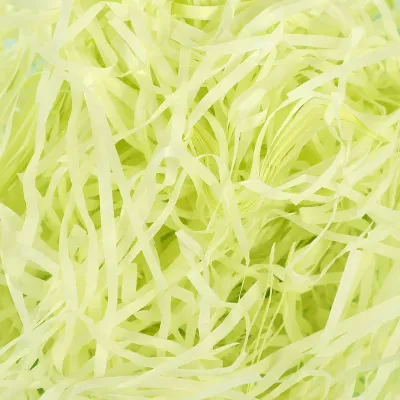
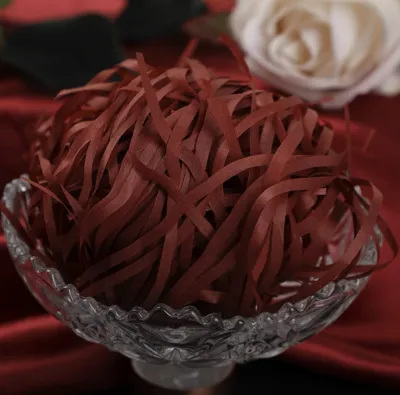
Prices are valid at publication and may change. Please refer to the product page for the latest price.
The cut style of the paper also plays a critical role in how well it cushions your gift. Crinkle-cut paper features distinct accordion-like folds along each strand. These folds interlock when packed, creating a springy, resilient matrix that resists compression and holds its shape under pressure. Straight-cut paper consists of flat, straight strips. While straight-cut paper offers a sleek, modern aesthetic, it lacks the interlocking structural memory of crinkle-cut paper and tends to settle and flatten more easily during transport.
Color coordination is the final element in choosing your filler. Neutral tones like kraft brown or off-white offer a rustic, organic look that pairs naturally with cardboard mailers. For a more dramatic presentation, high-contrast colors can make your gift items pop; for example, deep charcoal or black shreds create a striking backdrop for bright metallic or white products. If you are wrapping a multi-item gift set, select a shred color that matches one of the minor accent colors on your product labels to tie the entire presentation together cohesively.
Tools and Materials Needed
Before you begin arranging your gift box, gather all the necessary materials to ensure a smooth, efficient assembly process. You will need your chosen gift box, the items to be wrapped, and a sufficient quantity of shredded paper. The gift box should be deep enough to allow for at least three centimeters of compressed paper cushioning beneath your items, with additional clearance around the sides and top to prevent the lid from crushing the contents.

Estimating the volume of shredded paper can be challenging because the material is highly compressible. As a general guideline, prepare a volume of loose, unfluffed paper that appears to fill your empty gift box to the brim twice over. This ensures you have enough material to build a dense base and pack the sides firmly.
Optional but highly recommended accessories include sheets of high-quality tissue paper and double-sided tape. Lining your gift box with tissue paper before adding the shreds helps contain any fine paper dust and prevents smaller strands from escaping through the seams of the box. Double-sided tape can be useful for securing lightweight items to the paper nest, ensuring they remain facing upward when the recipient opens the box.
Step-by-Step Guide to Arranging Shredded Paper
To achieve a professional, cushioned presentation, follow this systematic approach to preparing and packing your gift box.
First, fluff the shredded paper thoroughly. Shredded paper is often compressed tightly during manufacturing and shipping. Grab a large handful of the shreds and gently pull them apart over a clean, wide container or table. Work your fingers through the strands to introduce air and separate the individual pieces. This simple step can double or triple the visible volume of your paper, giving it the springiness needed to support your gift.
Next, construct the base layer. Place a generous amount of the fluffed paper into the bottom of your lined gift box. Press down gently with the flat of your hand to compact the paper slightly, aiming for an even, dense layer that is approximately three to five centimeters deep. This layer serves as the primary shock absorber for your gift. If you press down and your hand immediately hits the bottom of the box, add more paper and repeat the process until you feel a firm, springy resistance.
Once the base is secure, position your gift items. Place the heaviest or largest item in the center of the box, pressing it gently into the paper base so it sits slightly nestled rather than resting loosely on top. If you are arranging multiple items, place the largest item first and arrange the smaller items around it, keeping a small gap between each object to prevent them from knocking against one another.
After positioning the items, pack the sides to prevent lateral shifting. Take small pinches of fluffed paper and tuck them firmly into the empty spaces between the gift items and the inner walls of the box. Use your fingers to push the paper down into these side channels, creating a tight border. This step is crucial; without adequate side packing, your items will slide to one side of the box the moment it is tilted or carried.
Finally, add the finishing touches. Inspect the presentation from above to ensure no unsightly gaps are visible. You can add a very light, loose layer of shreds over the top of the items if you prefer a “reveal” style presentation, or leave the top surfaces of the gifts completely clear so they are immediately visible when the lid is lifted. Tuck in any stray paper strands that are hanging over the edges of the box, then gently press the lid down to close it.
Tips for Securing Fragile or Oddly Shaped Items
Fragile, heavy, or irregularly shaped items require specialized packing techniques to ensure they remain safe and beautifully presented. For delicate glassware, ceramics, or cosmetics in glass bottles, standard loose packing may not offer enough protection. Instead, use a nesting technique. Create a deep, form-fitting depression in the center of an exceptionally dense base layer of crinkle-cut paper. Place the fragile item inside this nest, then pack the surrounding paper tightly around it until the item is completely immobilized.
When dealing with multiple small or oddly shaped items, such as a collection of skincare bottles or gourmet treats, they can easily sink or jumble together. To prevent this, you can create custom dividers using folded cardstock or small pieces of cardboard wrapped in matching tissue paper. Place these dividers inside the box first, then fill each individual compartment with shredded paper and its respective gift item. This keeps the presentation organized and prevents items from scratching each other.
It is important to recognize the physical limits of paper filler. If you are shipping an exceptionally heavy, sharp, or highly fragile item over a long distance, shredded paper alone may not provide sufficient impact resistance. In these scenarios, wrap the item securely in bubble wrap or protective foam first. You can then use the shredded paper as an outer decorative layer to hide the industrial packaging and maintain a premium aesthetic.
Common Mistakes to Avoid When Using Paper Filler
Avoiding a few common pitfalls can make the difference between a messy, damaged package and a flawless, professional presentation. One of the most frequent errors is underfilling the box. If you do not use enough paper, the weight of the gift will cause it to sink to the bottom of the box during transit, leaving a large empty space at the top and allowing the item to slide around freely. Always ensure your base layer is dense and springy enough to support the item’s weight.
Conversely, overfilling the box can be equally problematic. Stuffing too much paper into the container creates excessive upward pressure. When you force the lid closed, it can crush delicate gift items, crease the box lid, or cause the sides of the box to bulge outward, ruining the clean lines of your packaging. If the lid does not close easily with gentle pressure, remove small amounts of paper from the top and sides until it fits comfortably.
Another critical mistake is using low-quality paper that could damage your gift. Some colored papers use cheap dyes that can bleed or transfer when exposed to moisture or friction. To prevent ruining expensive gifts, perform a quick dye-stability check before packing. Rub a damp white cloth firmly over a sample strand of the shredded paper; if any color transfers to the cloth, do not use that paper to wrap items with porous surfaces, fabric, or light-colored packaging. Additionally, avoid paper with strong chemical odors, as these smells can linger on the gift and ruin the unboxing experience.
Frequently Asked Questions (FAQ)
Can I use shredded office paper with ink as gift filler?
While using shredded office paper is an eco-friendly way to repurpose waste, it carries several risks when used as gift filler. Printed office paper often contains toner or ink that can easily rub off onto your gift items, especially if they have matte paper packaging, fabric textures, or light colors. Additionally, home or office shredders tend to produce a large amount of fine paper dust, which can coat your gifts in an unsightly white powder. If you choose to use recycled office paper, ensure it is completely dry, free of heavy ink coverage, and thoroughly shaken outdoors to remove excess dust before packing.
How do I estimate the volume of shredded paper needed for a specific box?
Because shredded paper is highly compressible, estimating by weight is rarely accurate. Instead, use a visual volume estimation method. A reliable approach is to loosely fill your empty gift box with the shredded paper until it overflows slightly, then multiply that amount by two. This double-volume amount accounts for the compression that occurs when you pack the base layer and tuck the paper tightly around the sides of your gift items. If you are packing exceptionally heavy items, you may need slightly more paper to create a denser, more supportive base.
Is shredded paper recyclable after being used as gift filler?
Whether shredded paper is recyclable depends heavily on your local recycling facility’s capabilities. Many municipal recycling programs cannot process shredded paper because the small, short fibers can clog sorting machinery or fall through the screens during processing. To minimize waste, encourage the recipient to reuse the shredded paper for future gift-giving or shipping needs. Alternatively, clean, dye-free paper shreds (such as natural kraft paper) can be added to home compost bins or used as mulch in gardens, providing an eco-friendly disposal option.

Community discussion
Share your experience or ask a question. Comments are reviewed before publication.