
Presenting flowers in a structured flower bag is an elegant, modern alternative to traditional flat paper wraps. This method not only provides built-in handles for easy transport but also acts as a self-contained vessel that keeps stems hydrated and upright. By selecting the right bag, preparing a stable base, and layering your blooms strategically, you can create a professional-grade floral gift that remains secure and beautiful from the moment of assembly to the final presentation.
Preparing Your Flowers and Flower Bag
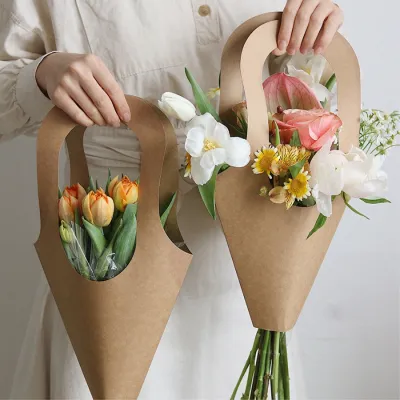
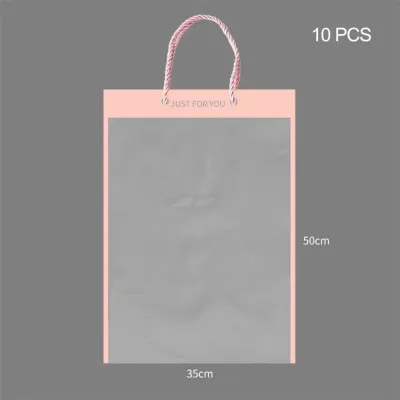
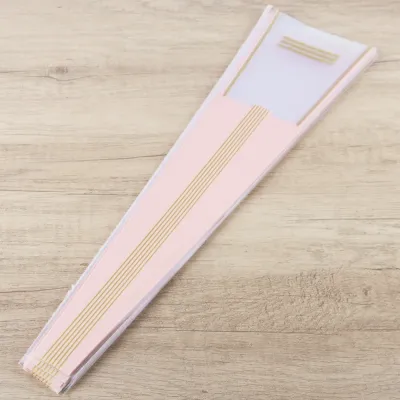
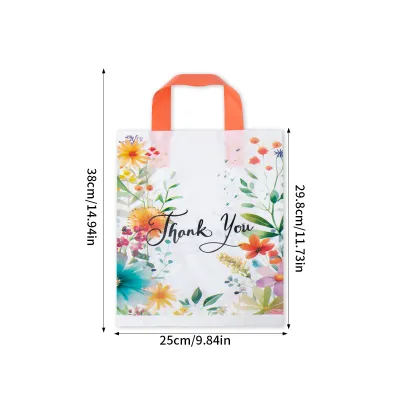
Selecting the right flower bag involves matching its material, size, and shape to the volume and weight of your intended arrangement. Flower bags are available in heavy-duty kraft paper, laminated cardstock, and clear PVC. Trapezoidal bags taper outward to allow blooms to spread naturally, while square-bottomed bags offer a sturdy footprint for denser, heavier arrangements. You must verify that the bag’s height and weight capacity can support your chosen stems without buckling or folding.
Conditioning your flowers before arranging them is essential to maximize their freshness and longevity. Strip away all leaves that will sit below the rim of the bag or inside the water source, as submerged foliage quickly decays and breeds bacteria. Cut each stem at a sharp 45-degree angle using clean floral shears to maximize water uptake. In warm, humid climates, this step is critical to prevent premature wilting and ensure the blooms remain vibrant.
Products mentioned in this guide
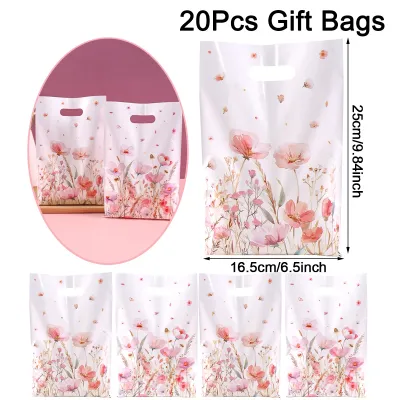
Prices are valid at publication and may change. Please refer to the product page for the latest price.
To keep the stems from shifting during transport, you need a reliable internal support system. Wet floral foam is excellent for precise, multi-directional placements, but it requires a waterproof liner or a plastic-lined bag to prevent leaks. Alternatively, individual water tubes can be fitted onto each stem, which works well for lighter arrangements. For dry or wrapped bouquets, crumpled tissue paper or kraft paper can be packed tightly at the bottom of the bag to act as a dry anchor.
Step-by-Step Guide to Arranging Flowers in a Bag
Assembling a professional floral bag arrangement involves a systematic three-phase process: building a stable base, placing your focal and filler flowers, and securing the entire structure. Working on a clean, dry, and flat surface is essential to prevent the bag from getting wet, scratched, or creased before you even begin.

Building the Base and Structure
Begin by placing your chosen internal support—whether it is a block of soaked floral foam wrapped in plastic or a cluster of water tubes—firmly at the bottom center of the bag. If using floral foam, ensure it is cut to fit snugly against the sides of the bag so it cannot slide around. For bags without a waterproof lining, verify the integrity of your plastic wrap to avoid water damage to the outer paper.
Next, establish the framework of your arrangement using structural foliage and greenery. Insert these stems first around the perimeter of your support base to define the outer boundaries, height, and overall shape of the display. Eucalyptus, monstera leaves, or leatherleaf fern work beautifully to create a lush backdrop. These initial stems should lean slightly outward, mimicking the natural flare of the bag.
As you build this green framework, constantly monitor the physical balance of the bag. Lift the bag by its handles occasionally to check if it tilts or feels top-heavy. If the bag leans to one side, adjust the placement of your heavier foliage or add a small, clean weight—such as a smooth stone wrapped in plastic—to the bottom of the bag to lower its center of gravity.
Placing Focal and Filler Flowers
Once your green structure is secure, it is time to introduce your focal flowers, which are the largest and most eye-catching blooms in your selection. Position these primary flowers at varying heights and angles to create depth and visual interest. Avoid placing them in a flat, straight line; instead, let some sit deeper within the greenery while others emerge slightly forward to catch the light.
After positioning the focal blooms, fill the remaining gaps with secondary filler flowers and delicate accent stems. Materials like baby’s breath, waxflowers, or feverfew are excellent for softening the transition between large blooms and structural greenery. These fillers also serve a practical purpose: they pack the space tightly, hiding the floral foam, water tubes, or internal wrapping mechanics from view.
Throughout this process, step back and view the arrangement from multiple angles. Since a flower bag is often carried and viewed from both the front and the sides, ensure that no unsightly stems or mechanics are visible from any angle. The arrangement should look complete and intentional, even when viewed from slightly above.
Securing the Arrangement
To ensure your floral gift survives transport, you must lock the stems securely in place. If you are using a hand-tied bouquet method inside the bag, bind the stems together near the bag’s opening using waterproof floral tape or flexible florist wire. This prevents individual stems from spinning or slipping out of alignment when the bag is moved.
Pay close attention to the bottom and sides of the bag. Sharp, woody stems from roses or heavy branches can easily puncture paper or thin plastic bags if they are forced downward. Trim any sharp ends flat and wrap them in a layer of soft tissue paper or floral tape to create a protective barrier. This simple check prevents sudden tears and disastrous water leaks.
Perform a gentle stability test before finalizing your work. Lift the bag by its handles and tilt it slightly from side to side. The flowers should remain firmly anchored in their positions without shifting, and the bag should return to a perfectly upright position when set down. If you notice any movement, pack additional crumpled tissue paper around the base to eliminate empty space.
Adding Finishing Touches and Embellishments
The final presentation can be elevated significantly with thoughtful decorative elements. Tie a high-quality satin, grosgrain, or organza ribbon around the handles of the bag, or create a decorative bow at the base of the visible bouquet. If you prefer a rustic aesthetic, natural jute twine or raffia can be wrapped around the collar of the bag to complement a kraft paper finish.
Attaching a personalized gift tag or a small card adds a meaningful touch to the presentation. You can secure the tag to one of the handles using a delicate piece of twine or a small decorative clip. For an extra layer of texture, tuck a small sprig of dried lavender or a single pressed leaf behind the tag.
When adding these embellishments, verify that they do not interfere with the flowers themselves. Heavy ribbons or tags should not rest directly on delicate petals, as this can cause bruising or crushing. Additionally, ensure that any decorative elements are balanced symmetrically so they do not pull the bag to one side or make it awkward to carry.
Transporting and Presenting Your Floral Gift
When it is time to transport your completed flower bag, always support the arrangement from the bottom with one hand while holding the handles with the other. Even reinforced handles can fail if the bag is exceptionally heavy due to wet floral foam or water-filled tubes. Supporting the base distributes the weight evenly and prevents the bottom of the bag from sagging.
Keep the arrangement upright and secure during transit. If you are traveling by car, place the flower bag on a flat, level surface, such as the floorboard, rather than on a slanted car seat. In warm, tropical climates, keep the vehicle air-conditioned and avoid leaving the flowers in a parked car, as extreme heat will cause rapid wilting and moisture loss.
When presenting the gift, share a few simple care tips with the recipient. Let them know if the arrangement is built into wet foam, which requires a small splash of water every day, or if the stems are in individual tubes that can be removed for transferring the flowers to a traditional vase. This ensures their beautiful gift remains fresh and vibrant for as long as possible.
Frequently Asked Questions (FAQ)
Can I use a flower bag for artificial or dried flowers?
Yes, flower bags are highly versatile and work beautifully for dried or artificial arrangements. Because these materials do not require water, you can skip wet floral foam and water tubes entirely. Instead, use dry floral foam or tightly packed tissue paper at the bottom of the bag to anchor the stems. Since dried flowers are lightweight, ensure you add a small weight to the bottom of the bag to keep it from tipping over in drafty rooms.
How do I prevent the flower bag from tipping over?
Preventing a flower bag from tipping over starts with choosing a bag with a wide, flat base. If your arrangement is top-heavy with large blooms, trim the stems shorter to lower the overall center of gravity. You can also add physical weight to the bottom of the bag, such as clean decorative pebbles, glass gems, or a small bag of sand hidden beneath the tissue paper base. Always test the balance on a flat surface before gifting.

Community discussion
Share your experience or ask a question. Comments are reviewed before publication.